Our kids LOVE Legos!!
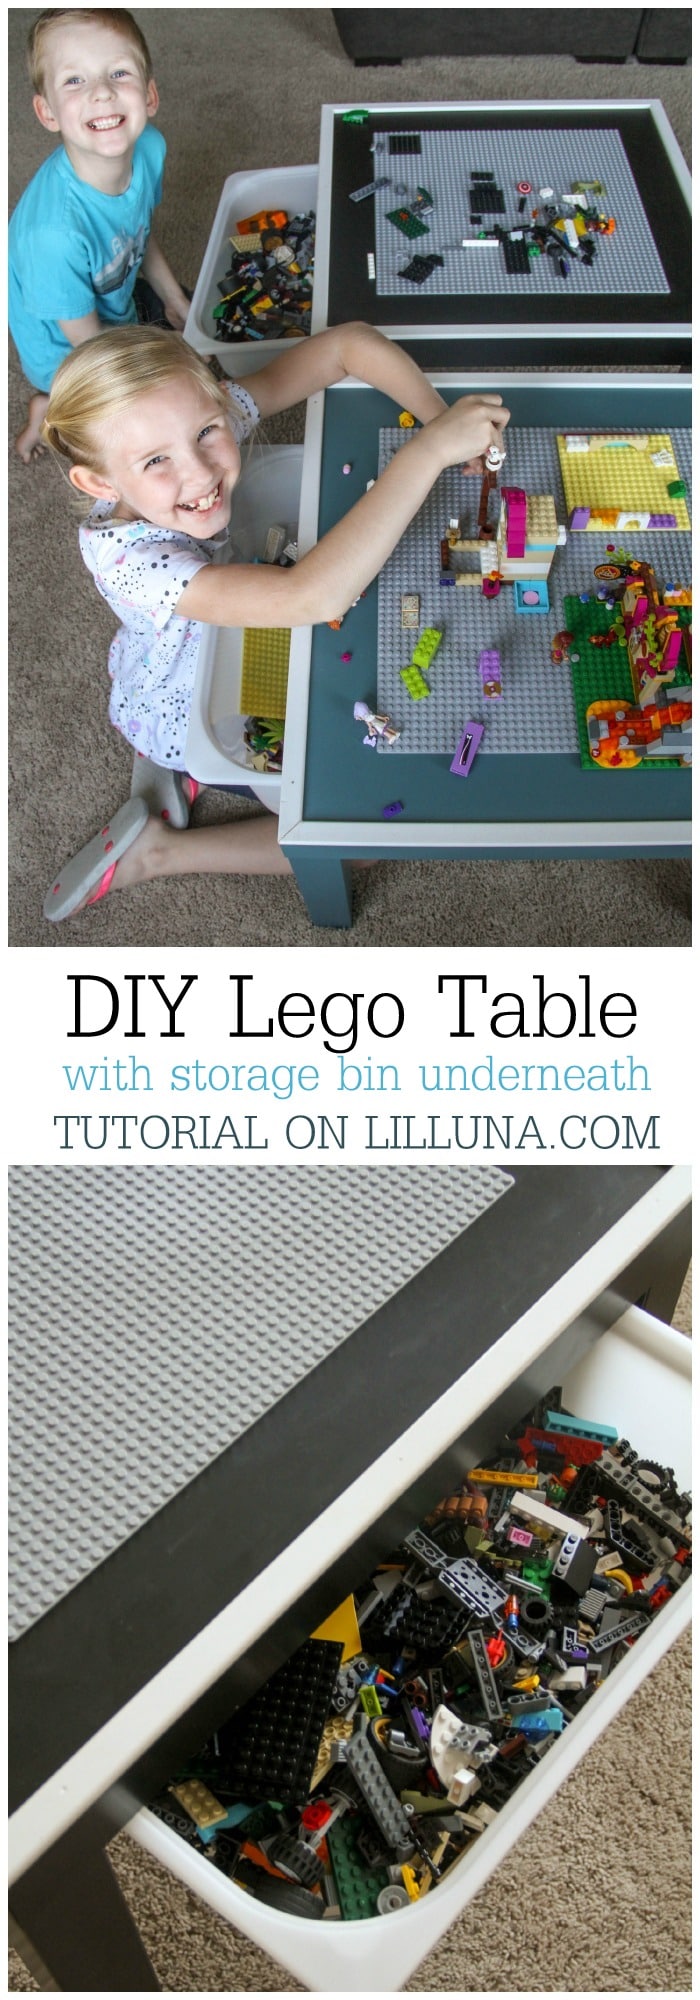
The obsession all began within the last year. Before that, we really only had the big, jumbo Legos, but now they love the tiny, small Legos that are every mom’s nightmare. They wouldn’t be so bad if we didn’t have so many small kids who like to put things in their mouth, but my kids are obsessed with them. With this in mind, the hubby and I set out to make something for them that would help contain the legos and also provide a place for them to play with them. The result was this DIY Lego Table. The hubby and I sketched it out and got to work. We wanted to make sure it had a lip to keep the legos from falling off, and we definitely wanted to make sure it had storage underneath. This was the result!
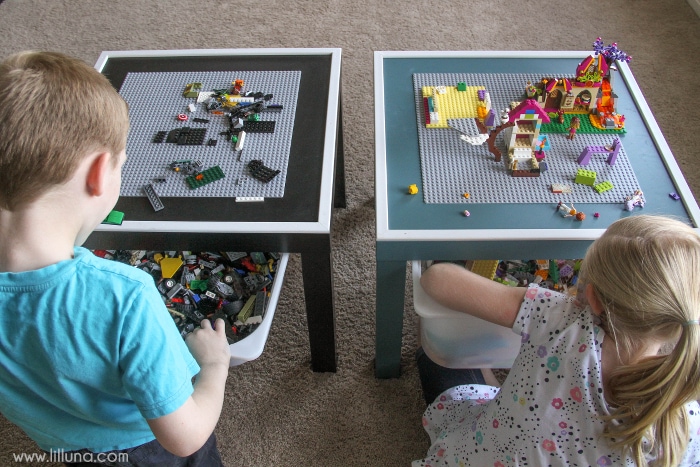
We ended up making one for Gavin for his birthday back in September and then one for Lily for her birthday in October. Evie is patiently waiting for her own that we’ll make for her for Christmas. I’m not even joking when I say they play on this table EVERY DAY!! If we can’t find the kids we know to look in their rooms, and we always find them building on their tables. Fun, right?
We thought we’d take pictures along the way and share how we did it so you could make it for your kids too. It’s perfect for birthday gifts or for Christmas. And best part was it’s INEXPENSIVE!! I promise your kids will love this handmade gift from mom and dad!
Here’s what you’ll need to make it:
TOOLS:
Miter Saw (hand or electric)
Hammer
Drill
SUPPLIES:
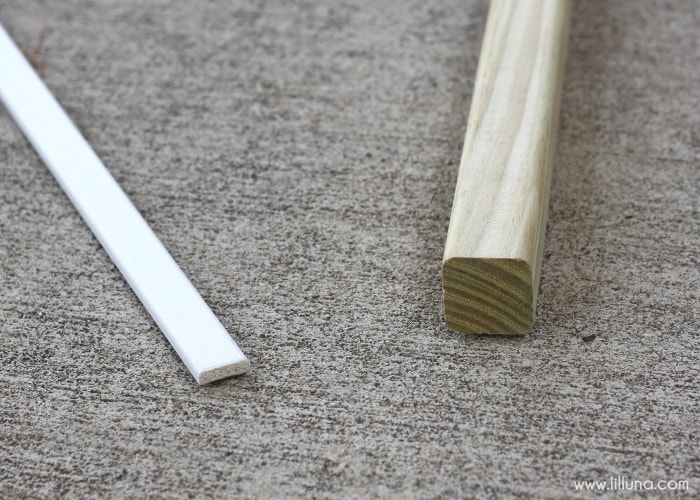
¼″ x ¾″ round moulding x 8′ ($3.72)
2″x2″ x at least 34″ pine or pressure treated wood(We used one with rounded corners, but it works better with sharp corners. ($1.83)
Ikea Lack Side table ($7.99)
Ikea Trofast storage box($4.00)
Construction adhesive ($3.57) (liquid nails, wood glue, or any equivalent)
DIRECTIONS:
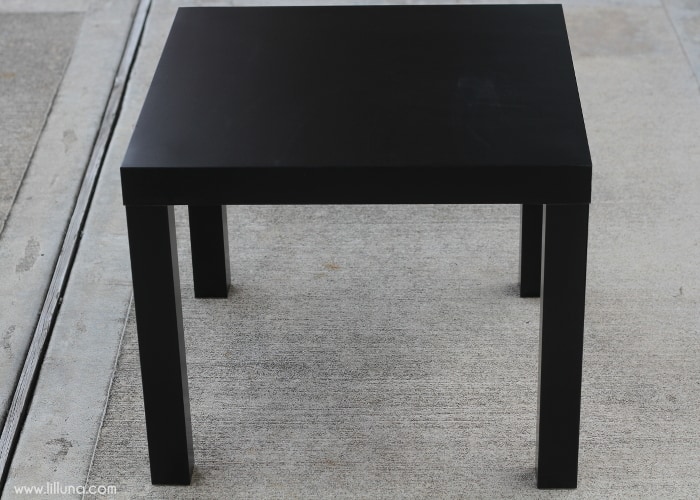
1.Begin by fully assembling the table.
2. The next step is to cut the rails underneath the table. Cut the 2″x2″ board to two pieces 17″ long.
3. Using a table saw or a router, cut a ½″x½″ notch out of one corner of the board.
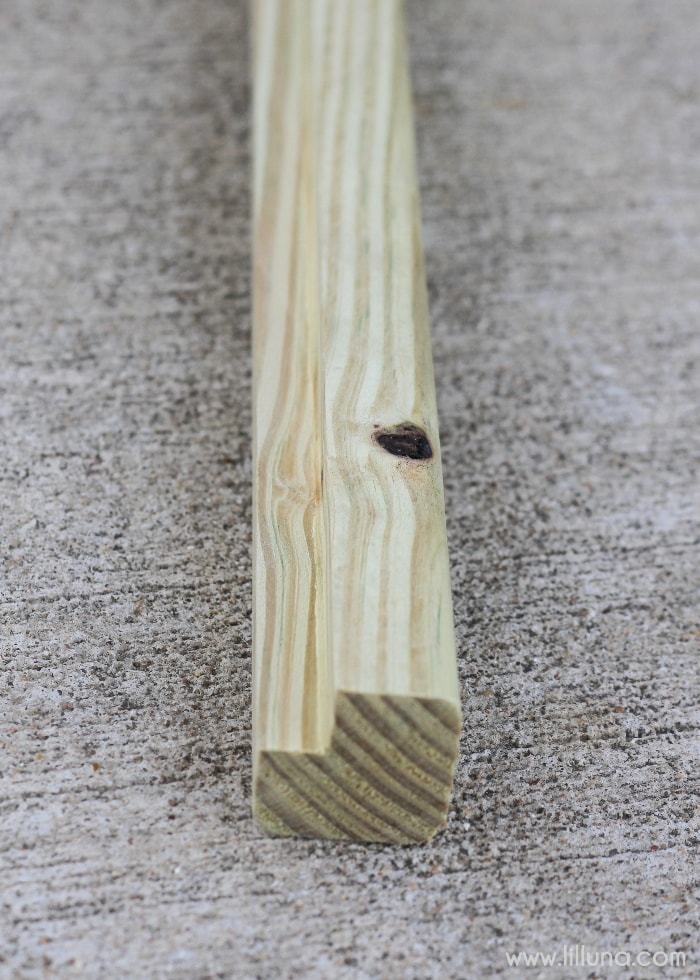
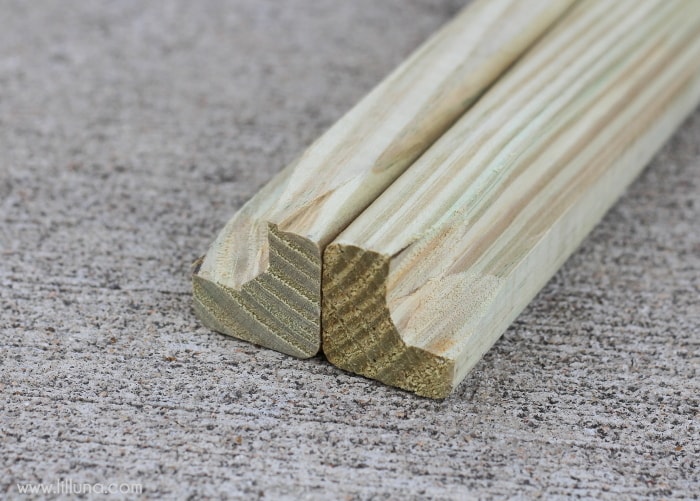
4. In order for the basket to be guided into the channels that were just cut, on one end of both boards, free hand an angled cut off of two of the ½″ notch corners as shown in the picture. We used a hand file to round this off slightly. We didn’t spend too much time getting this perfect, since it is well hidden from view.
5. Paint the rails whatever color you desire. We chose gray and white.
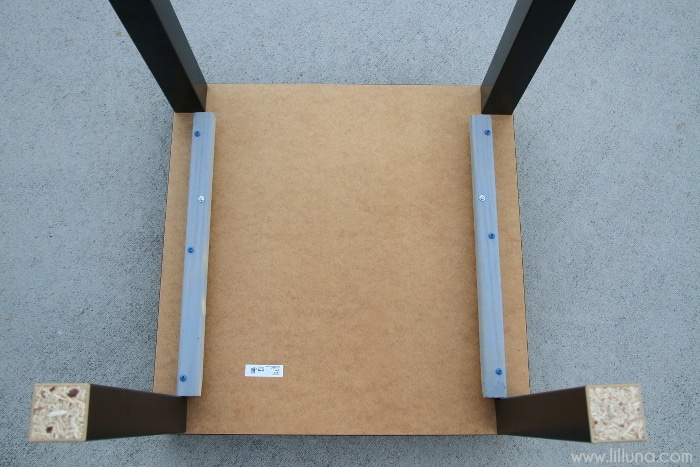
6. Flip the table over to secure the rails to the bottom with the 2 ¼″ screws. The easiest way to do this is pre-drill three holes on each of the rails. Be sure these holes do not penetrate the notch that was cut.
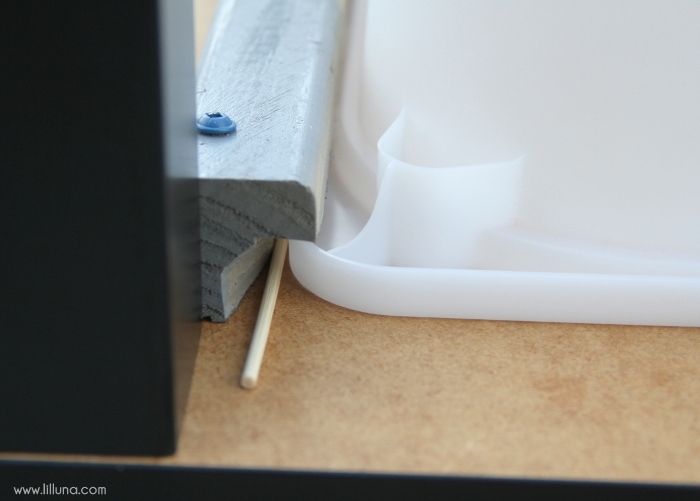
Place the tub upside-down in the centered orientation that it will be in. We placed a temporary ⅛″ piece of wood (we actually used a skewer) as a spacer next to the tub to allow for a gap after the boards are attached. Then lay the two cut bards next to the tub with the grooves that were cut overlapping the edges.
7. Once everything is in place where you want it in the end, drive the screws in to secure the rails.


8. The last step for the rails is to crew a 1 ¾″ screw as a stop in the back of the rails. This screw should go through the notch to stop the bucket from sliding once it hist the back.
9. Paint the trim the desired color. We purchase primed trim, so no paint was necessary.

10.To attach the trim around the edge of the table, cut the end to 45 degrees, and begin marking and cutting lengths until you have all four sides done.
Then run a thin bead of construction adhesive (such as liquid nails) and put the trim in place. You can nail the rails in place as reinforcement, or, since the construction adhesive is strong enough, you can simply tape the rails in place using masking tape until the adhesive dries.
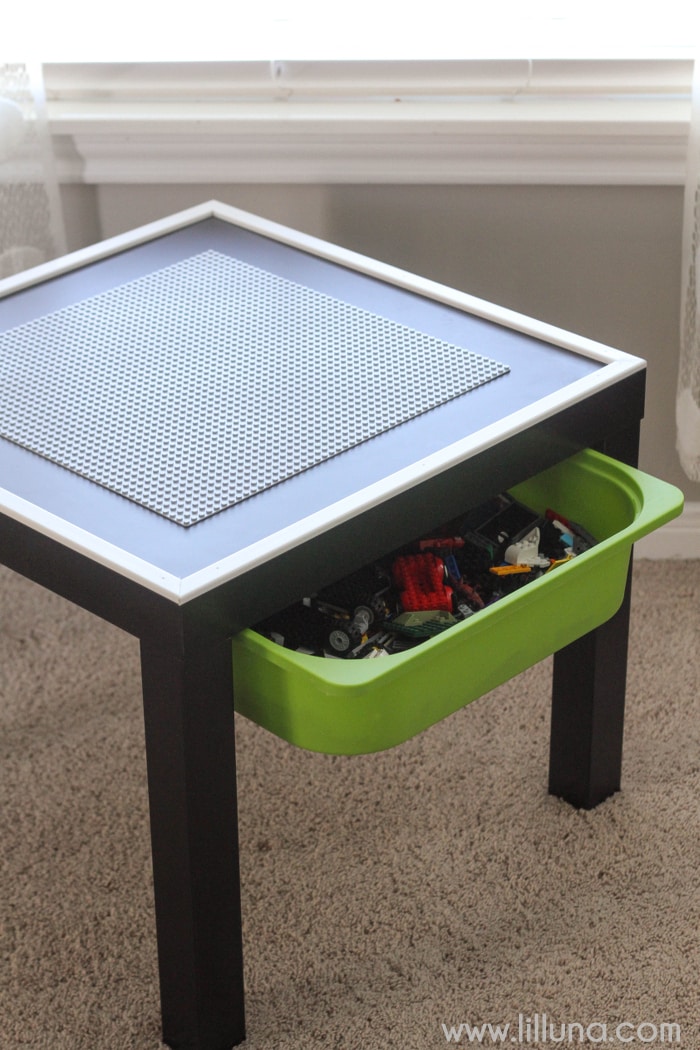
11. Using this same adhesive, glue the lego baseplate into the center of the table. You can rough up the surface under the plate with some sandpaper to improve the grip of the adhesive if desired.
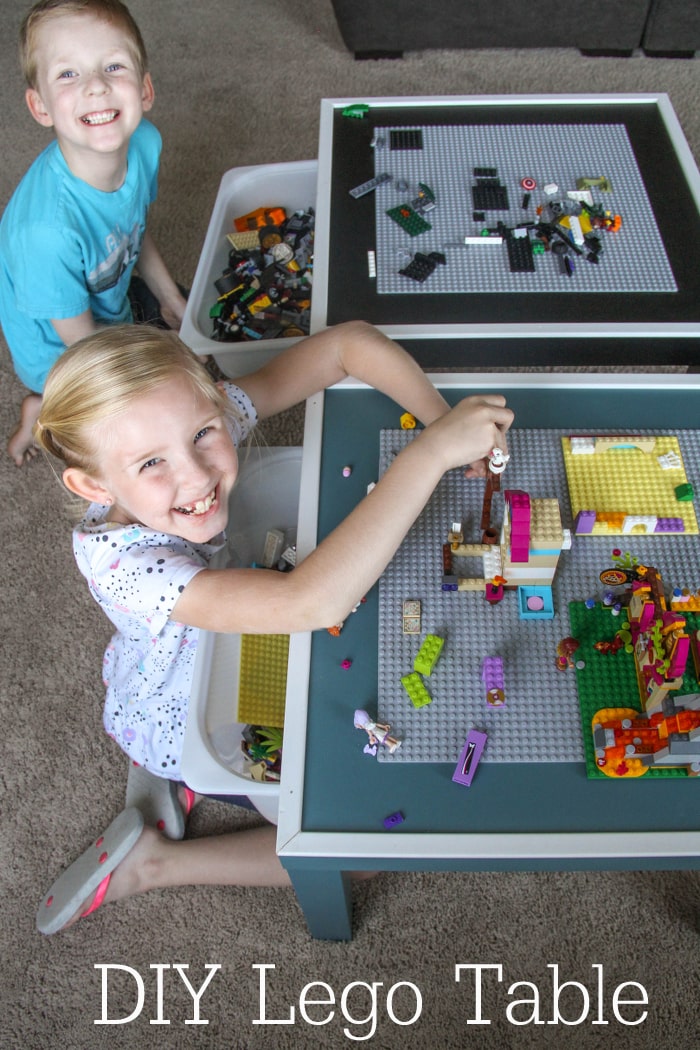
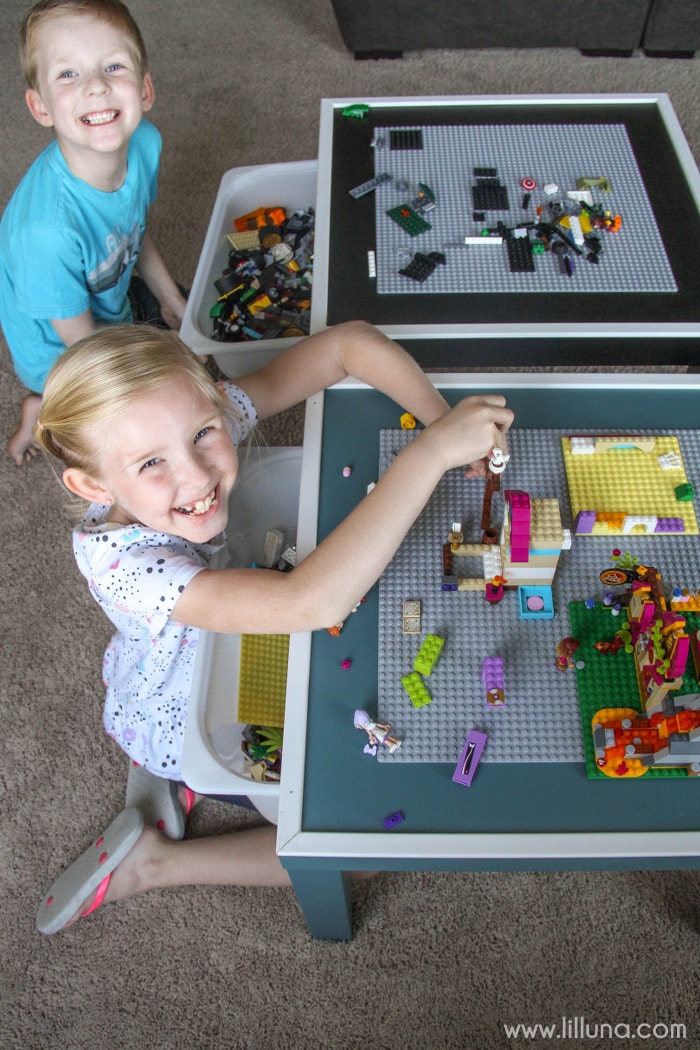
The result:
A table the kids play with EVERY DAY!!! (They’re seriously obsessed)
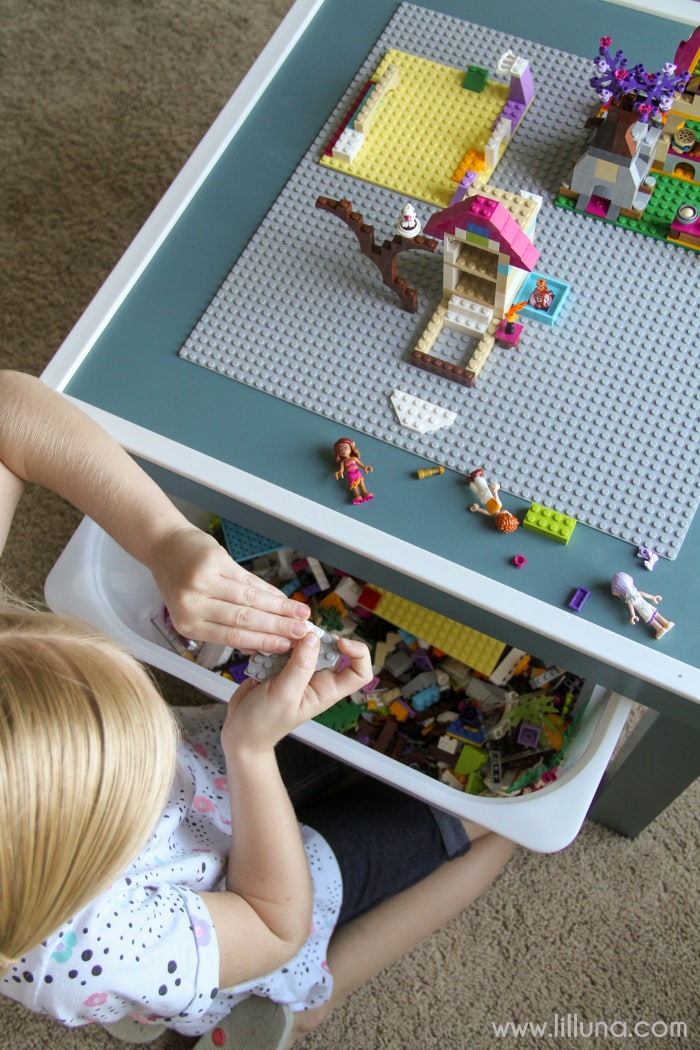
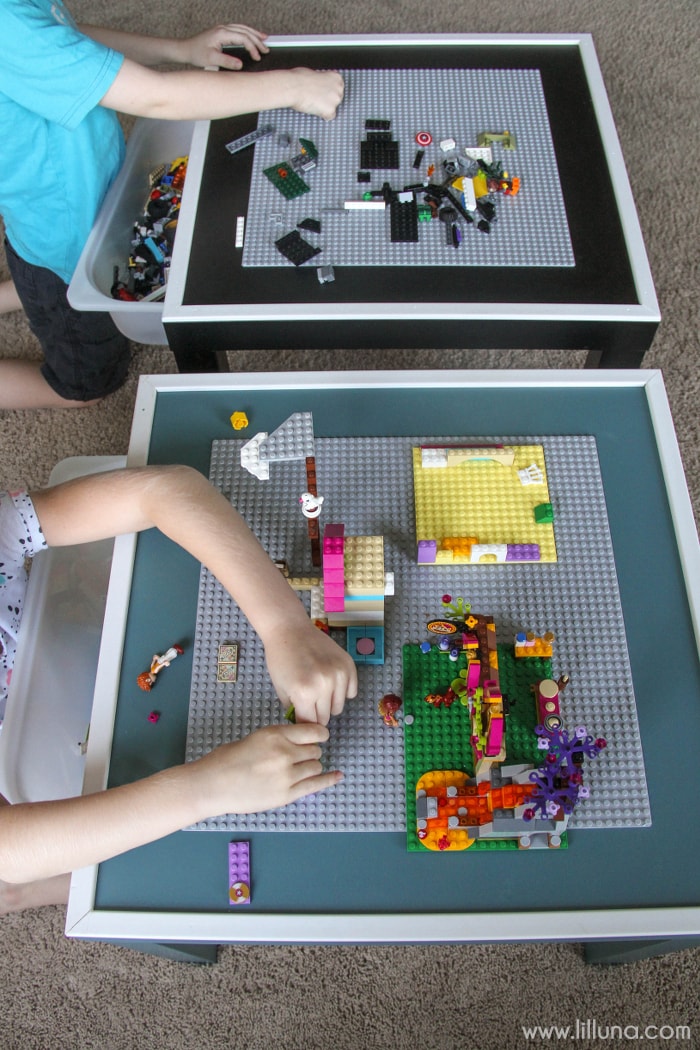
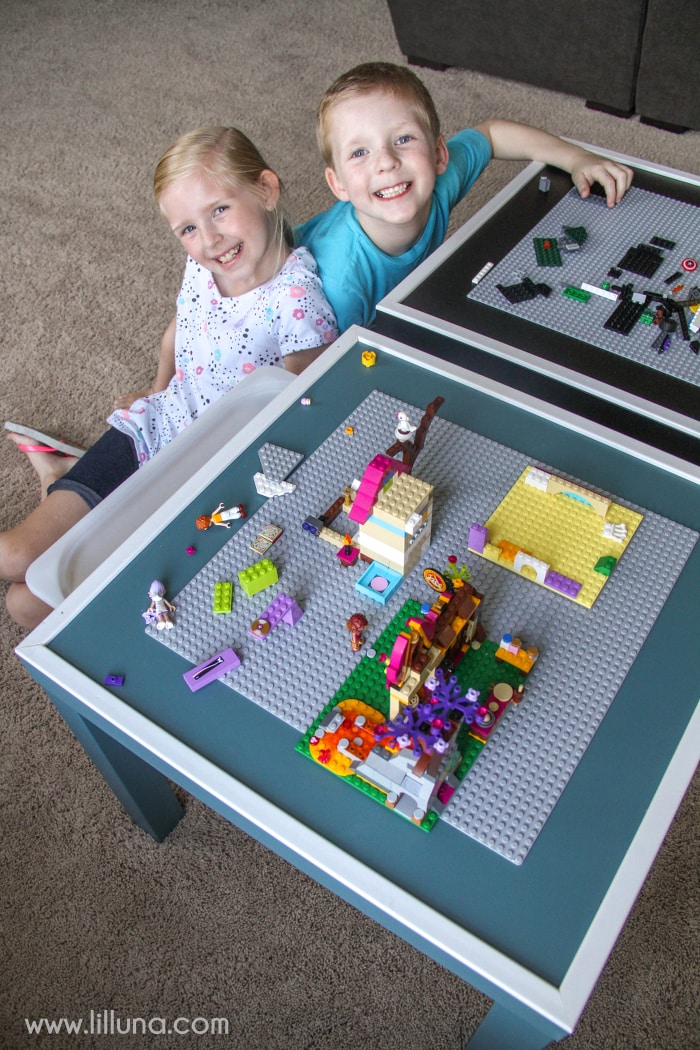
What I love most is there a place to stick all the LEGOS now!!
We were finding them every where and it was driving me crazy! We even made a “Lego Prison.” We have a bin that we stick all Legos at if we find them not in the bin or on the Lego Table. 😉 This really helps to contain everything and has provided days of entertainment already. 😀
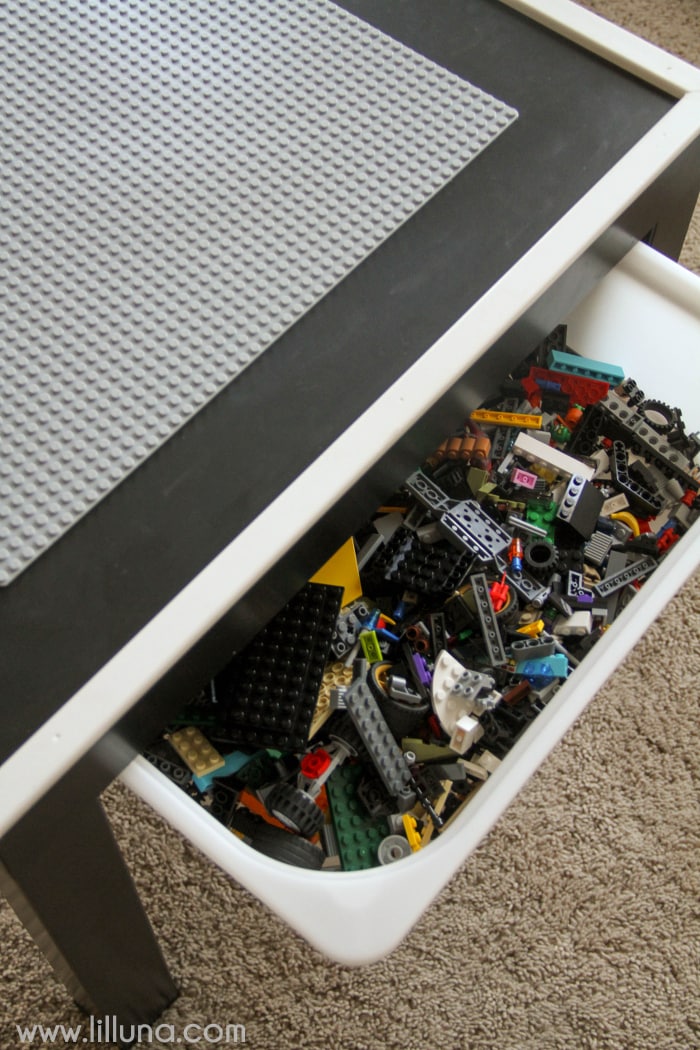
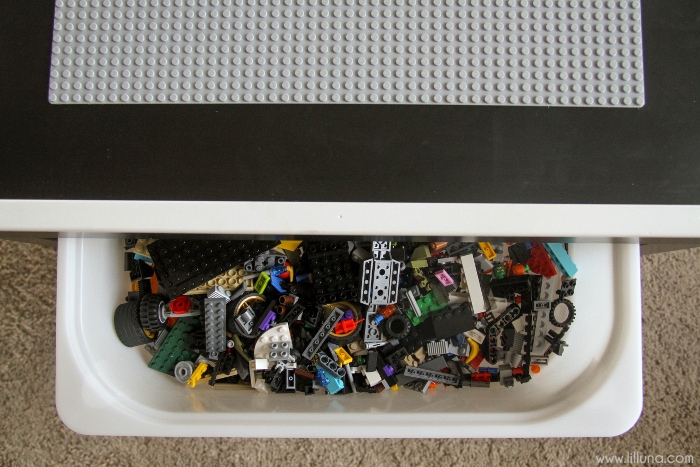
IKEA has shallow and deep bins so you can change it up depending on how many Legos you have. 😉
Like I said, your kids will LOVE this DIY Lego Table!
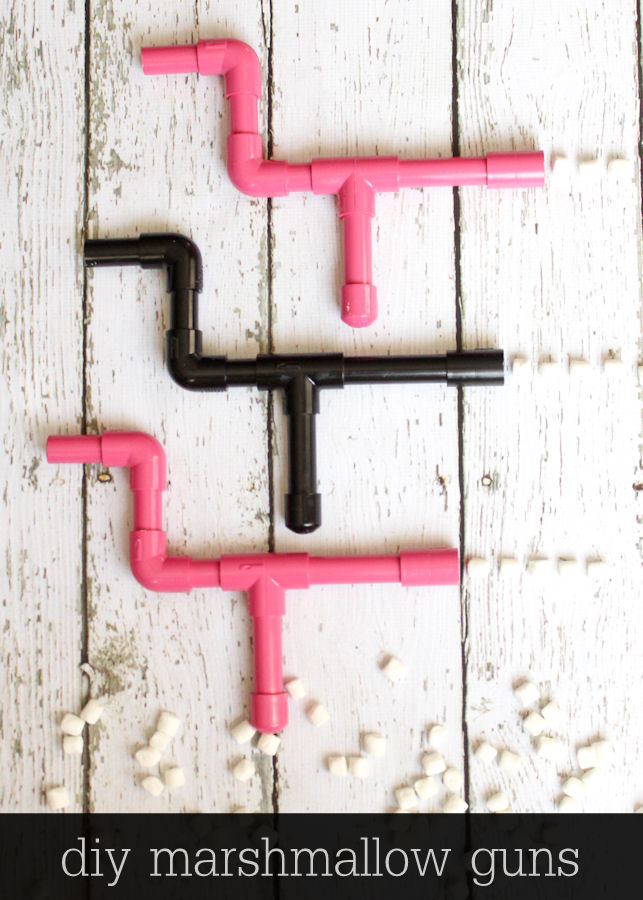
For more great projects to make for the kids, check out:

For all gift ideas go HERE.
For all Lil’ Luna tutorials go HERE.
And get weekly emails with monthly freebies by signing up for the Lil’ Luna newsletter. 🙂
For even more great ideas follow me on Facebook – Pinterest – Instagram – Twitter – Periscope – Snapchat.
Don’t miss a thing – Sign up for the Lil’ Luna Newsletter today!
ENJOY!


I love this project! I get to comment first!! Does this help contain the legos so you don’t step on them as much?
You definitely should not use pressure treated lumber for indoor furniture, especially for kids, as the materials it’s treated with can be toxic. You should also not cut or sand it indoors or without breathing masks because the dust is also toxic. Regular yellow pine should be fine for this, just avoid the pressure treated kind.