Hi Friends!
It’s Marie from Blooming Homestead here to share a fun and simple DIY project with you today.
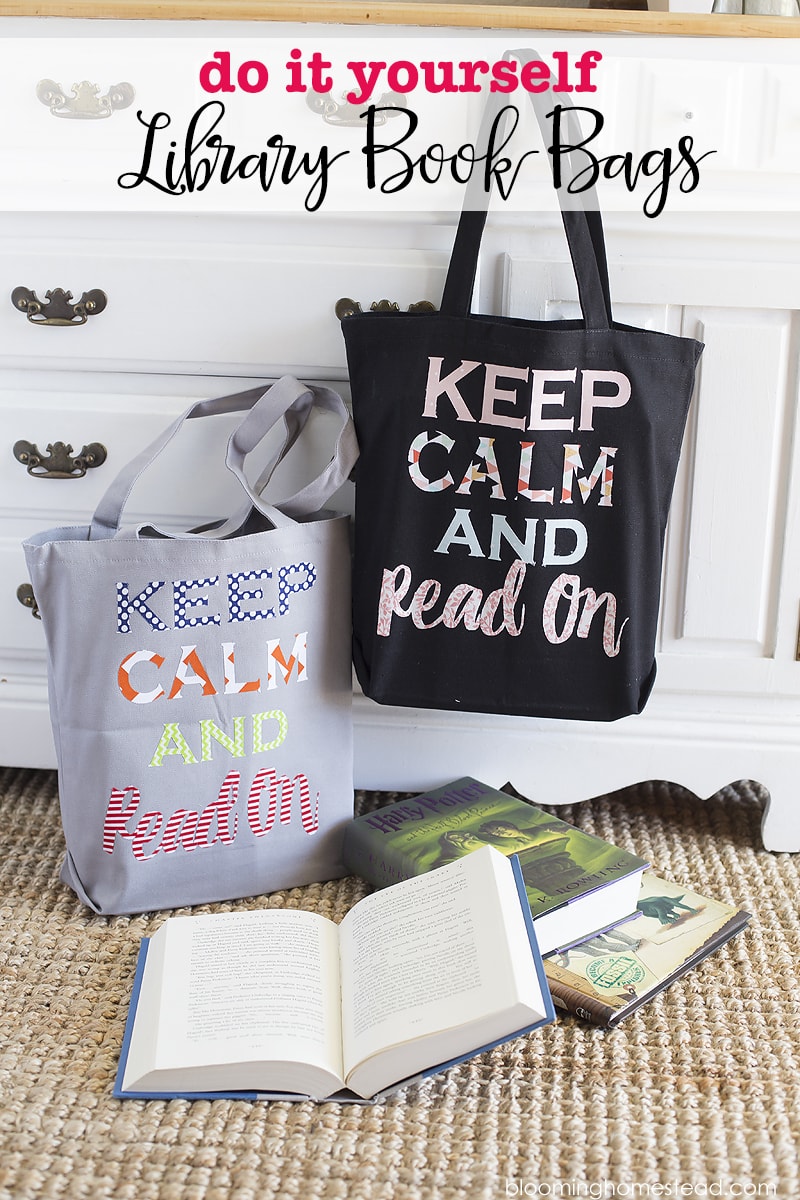
How are you enjoying Summer? We are having a blast and one of our favorite things to do is read. We love going to the public library and checking out fun new books (and some old favorites)! This year I decided to make the kids custom DIY Library Book Bags.
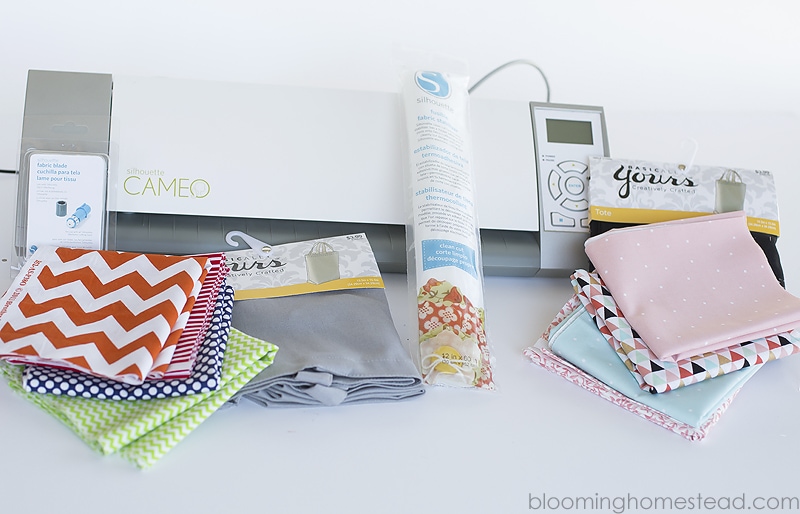
Here are the supplies you need to create your own Custom Library Book Bags:
- Canvas tote
- various fabrics
- craft cutting machine
- silhouette iron on interfacing
- measuring tape
- fabric cutting blade
- scissors
- iron & ironing board
Step 1: You’ll start by cutting out your piece of iron-on interfacing. You’ll gauge the size you need depending on the tote bag you are using. You’ll use the interfacing as a “canvas”. Next up you’ll cut out coordinating strips of fabric to fill the interfacing. Place the fabric wrong side down on the adhesive side of the interfacing.
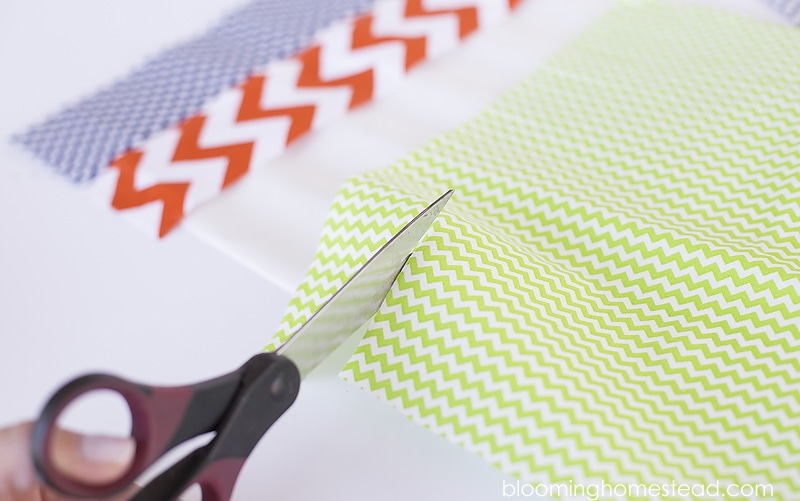
I knew I would be creating 4 lines so I chose 4 fun fabrics. (You’ll try and measure each section so you know the approximate size to cut your lettering in the software.)
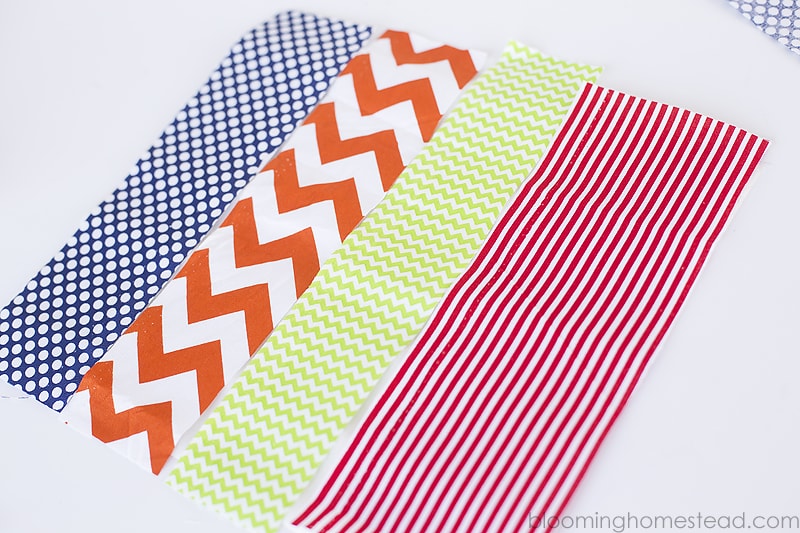
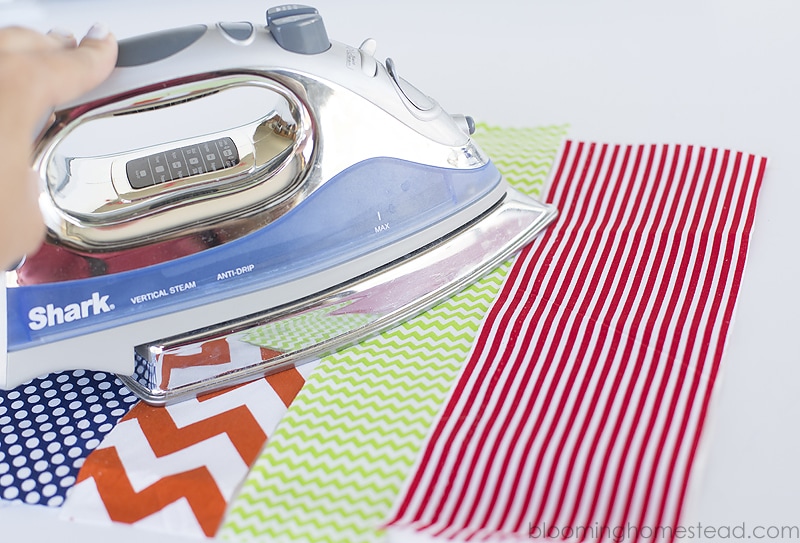
Step 2: When you have all your strips cut and placed on the interfacing, you’ll use a hot iron to join the fabric to the interfacing. After fabric has cooled, trim off excess fabric.
Step 3: Place your fabric, interfacing side down, on the adhesive cutting mat.
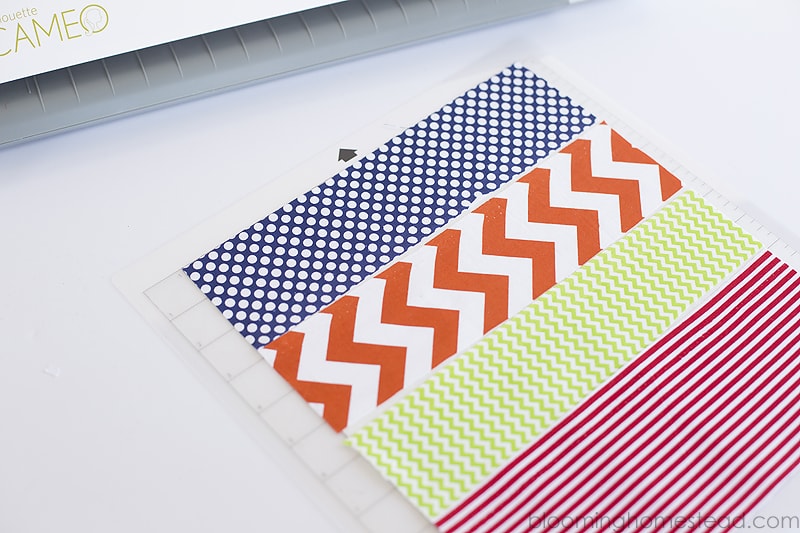
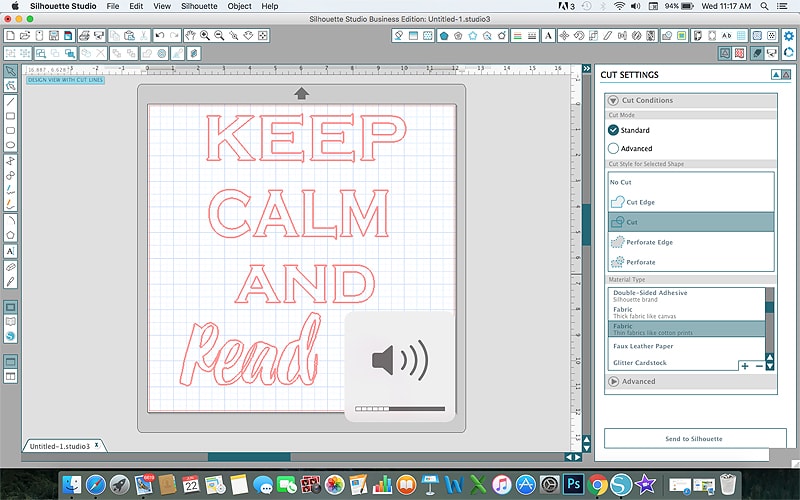
Step 4: In the software, you’ll type in your text. Using the guides, you’ll size the text according to your fabric strips. (Ex: first line is READ in 2″ high font to fit 2 ½″ top fabric strip.) You’ll place each line of text in the coordinating area where the fabric is so your letters will be cut intact. When you’ve got the text lined up, you’ll cut out your fabric using a fabric blade. (If this seems too tricky, just cut each line of fabric separately.)
Step 5: Remove excess fabric from design.
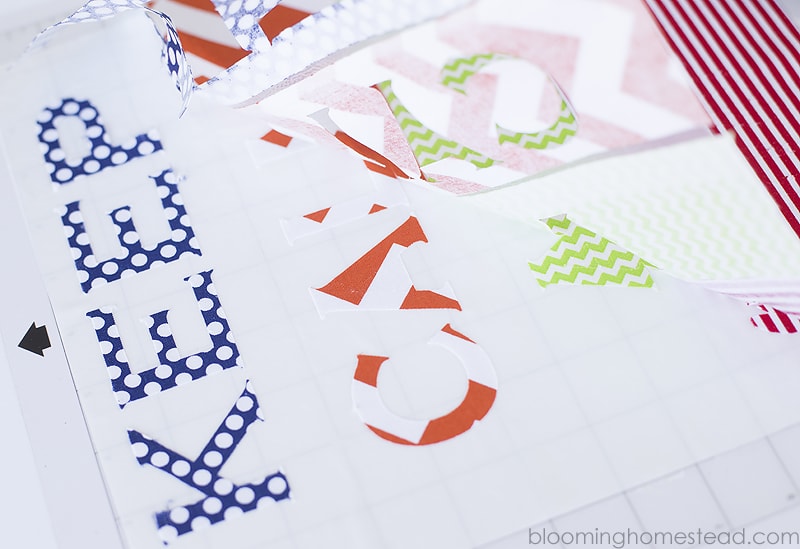
Step 6: Carefully move each letter to designated area on canvas tote. When you pick up the letters off the cutting mat, you’ll want to make sure and remove the back side of the interfacing so the adhesive side is exposed on the back of the fabric.
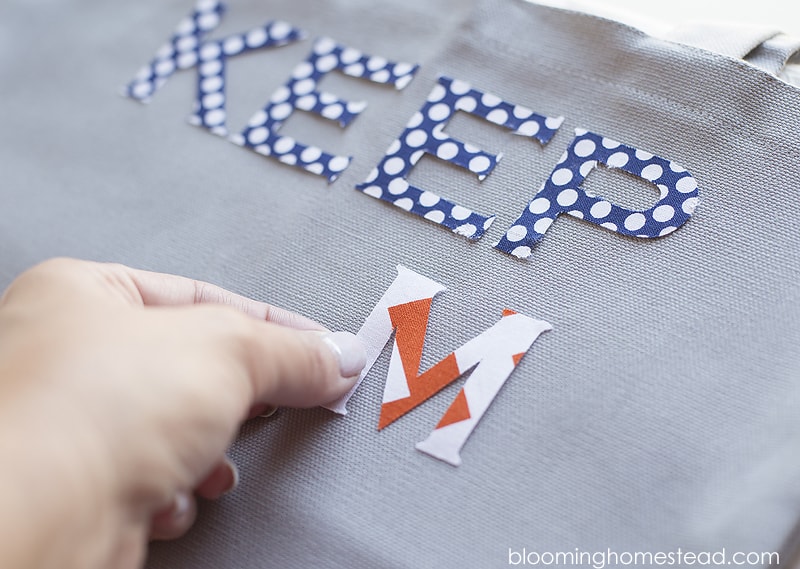
Step 7: Carefully iron down the place letters to the canvas tote and you are all done!
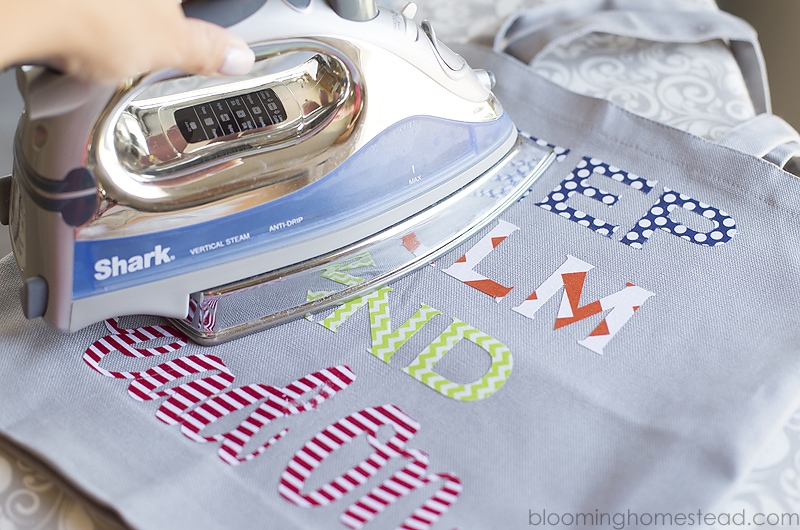
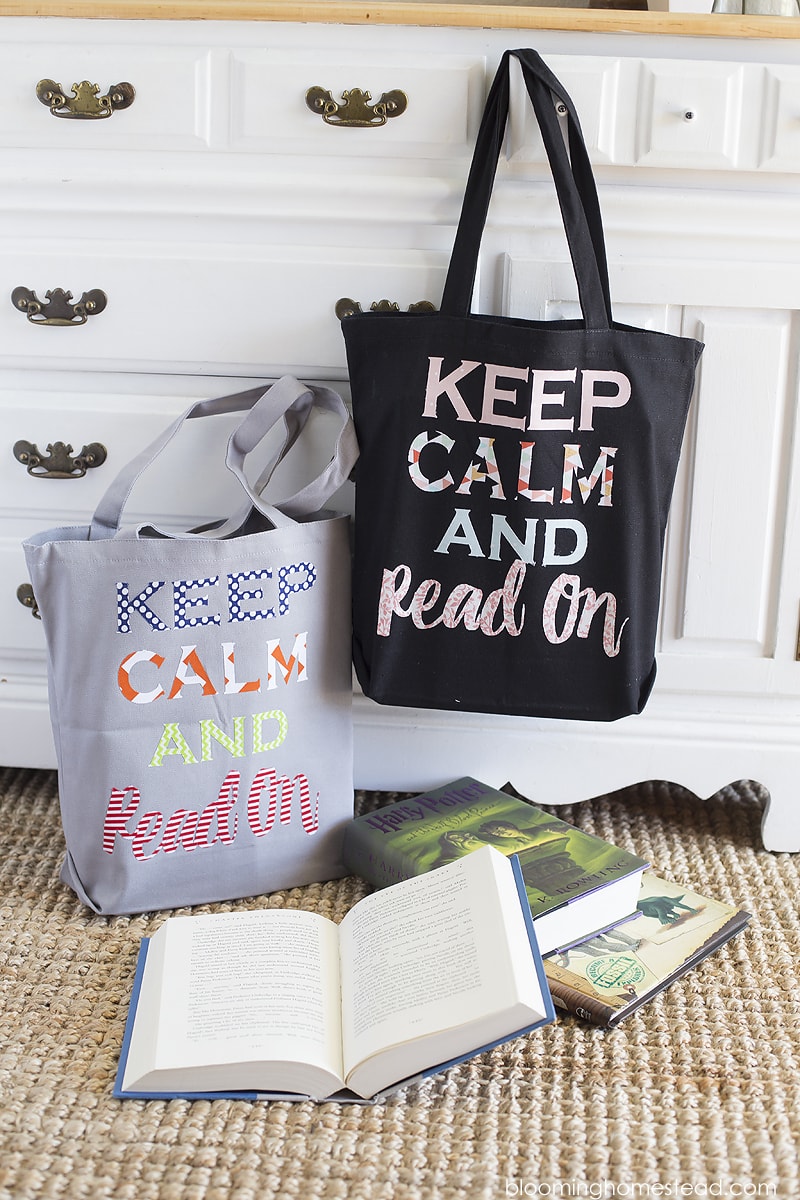
Now you have awesome custom book totes!
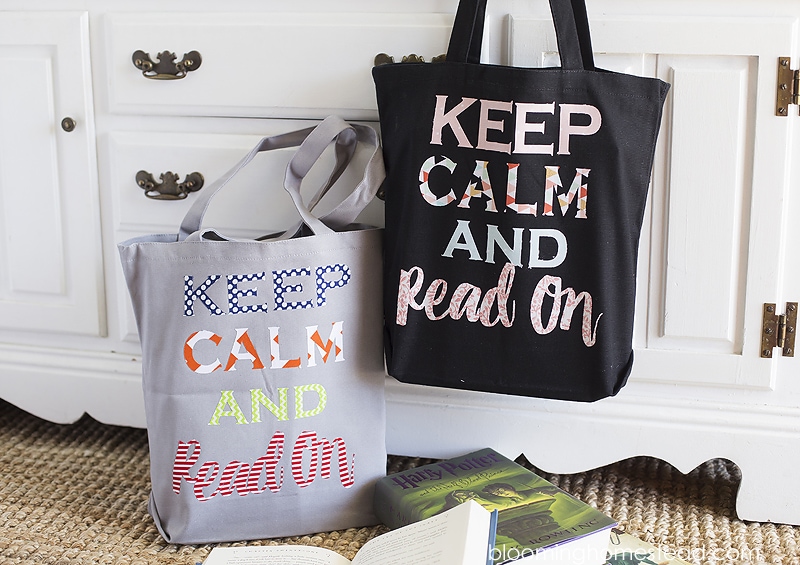
Not only are they great for toting books to and from the library, but are a great way to keep track of those books once we get home. Each child keeps their bag with books in their rooms and we are seeing a big decline in lost books!
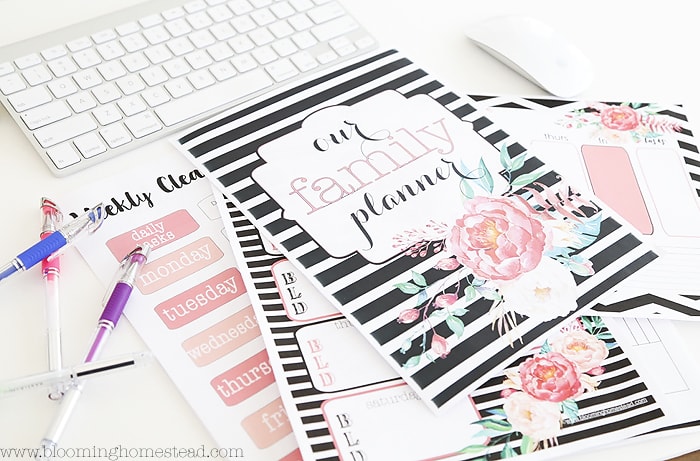
I’d love for you to stop by Blooming Homestead and check out some of our favorite projects like these free Home Organizational Printables.

_________________________
This is such a great idea!!
I feel like having their own customized book bag would get my kids excited about reading books during the summer!
Thanks for sharing with us Marie!! For more awesome creations by her, head on over to Blooming Homestead.
And for more great DIY projects to do this summer, check out these posts:
For all DIY projects, go HERE.
And get weekly emails with monthly freebies by signing up for the Lil’ Luna newsletter. 🙂
For even more great ideas follow me on Facebook – Pinterest – Instagram – Twitter –Periscope–Snapchat.
ENJOY!


