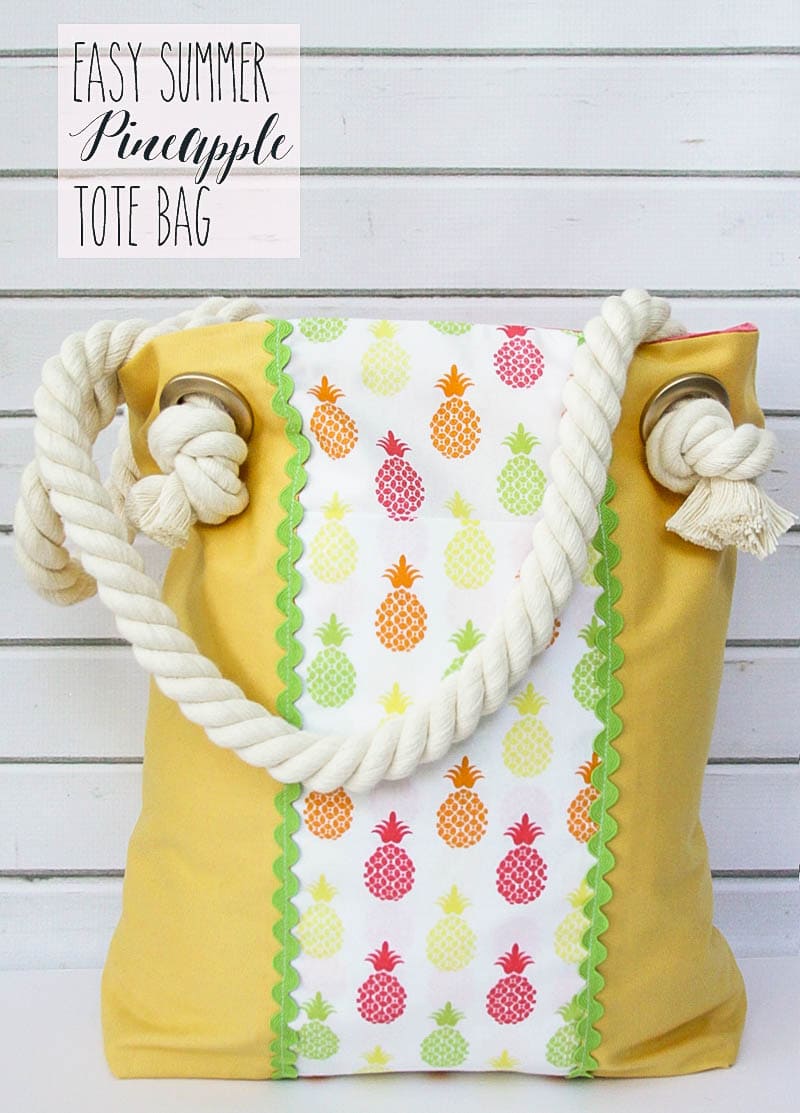
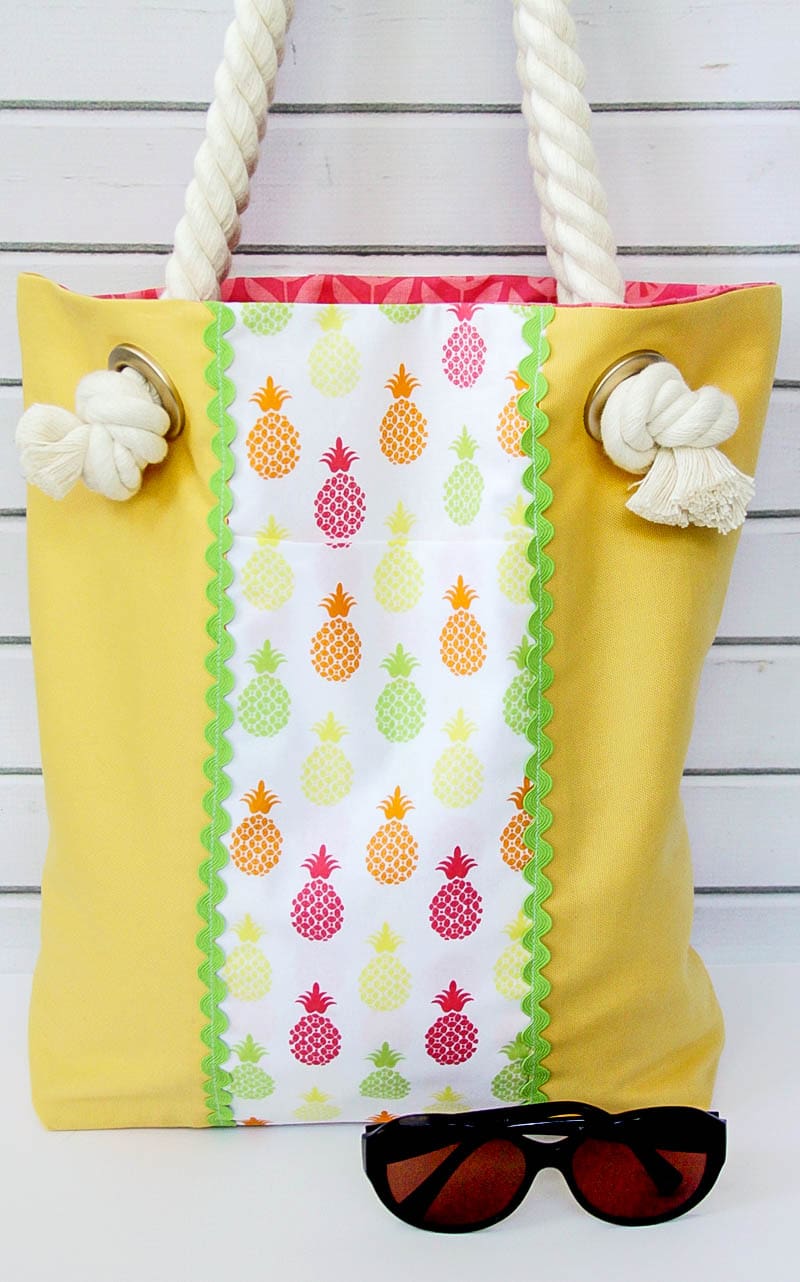
Summer is the perfect time for a new tote bag! You have all those trips to the pool, vacations and ice cream runs – so a new bag is just what you need to hold all your summer essentials.
This cute bag is so easy to sew up and has all kinds of pockets for holding your keys and phone. You can really dress it up with different fabrics too, but I just love these pineapples – they are so fun and summery!
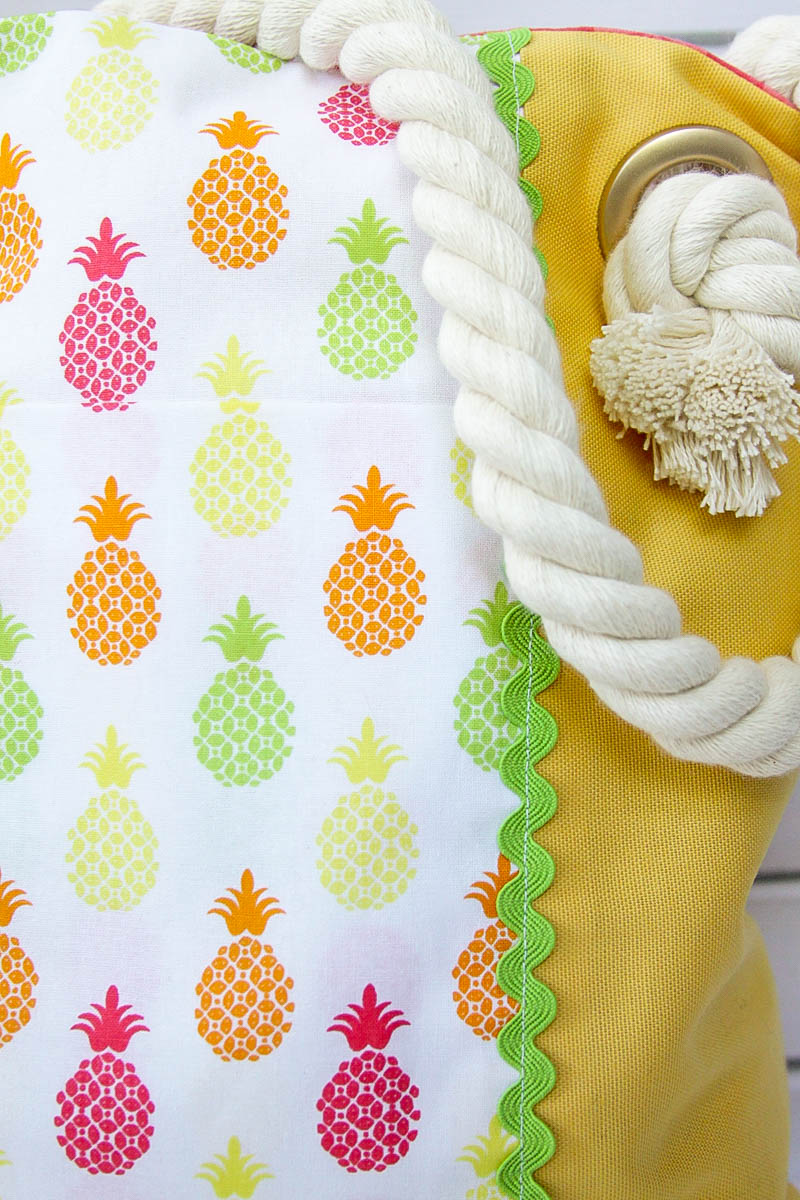
The bag is super easy to finish off with these big cotton rope handles – they give the bag such a nautical look I think!
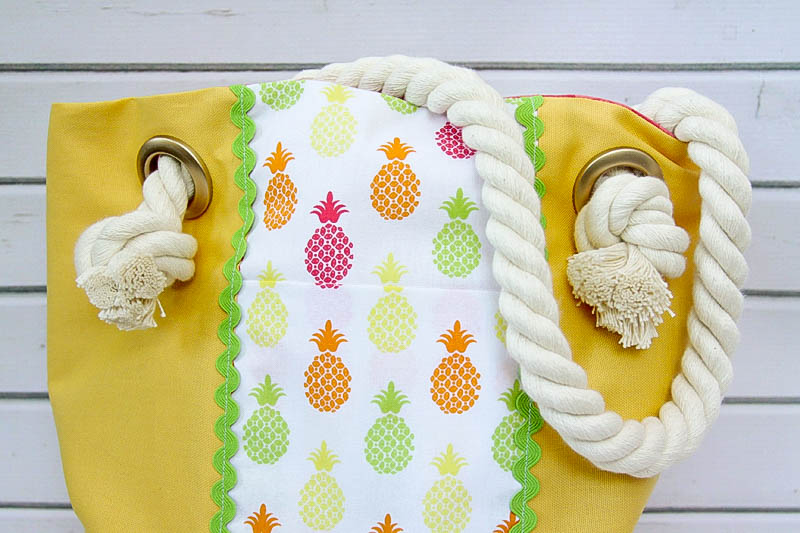
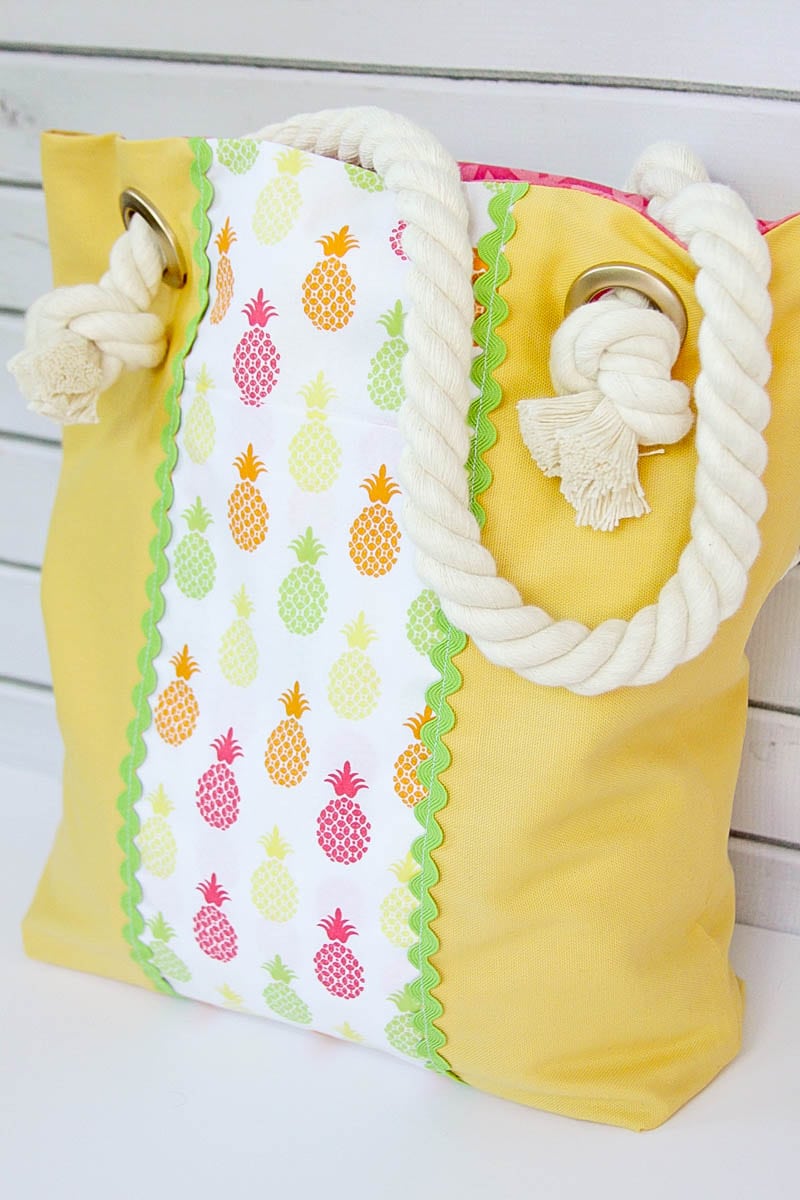
Here’s what you need to make this Easy Summer Pineapple Tote Bag!
Materials:
- Outer Heavyweight Fabric: ½ yard
- Light Heavyweight Fabric: ¼ yard
- Decorative Fabric: ½ yard
- Lining Fabric: ¾ yard
- Heavyweight Interfacing: 4 ½″ x 9″
- Rick Rack – 2 yards
- Cotton Rope – 2 yards
- 1″ Plastic Curtain Grommets – 4
Begin by cutting your fabric out. You’ll need to cut from your outer fabric: 4 pieces 17″ x 6″ and 1 piece 10″ x 4 ½″. Cut from the light outer fabric 2 pieces 17″ x 6″. Cut from the decorative fabric 2 pieces 17″ x 6″ and 2 pieces 24″ x 6″. Cut from the lining fabric 2 pieces 17″ x 16 ½″ and 2 pieces 9″ x 10″. Cut from the heavyweight interfacing 1 piece, 9″ x 3 ½″.
Place the 17″ x 6″ piece of decorative fabric over the 17″ x 6″ heavyweight fabric pieces. Fold the 24″ x 6″ piece of decorative fabric in half. Line up the bottom raw edges and the sides of the rectangles. Baste all the edges down with a ¼″ seam allowance. Repeat for the other decorative front panel.
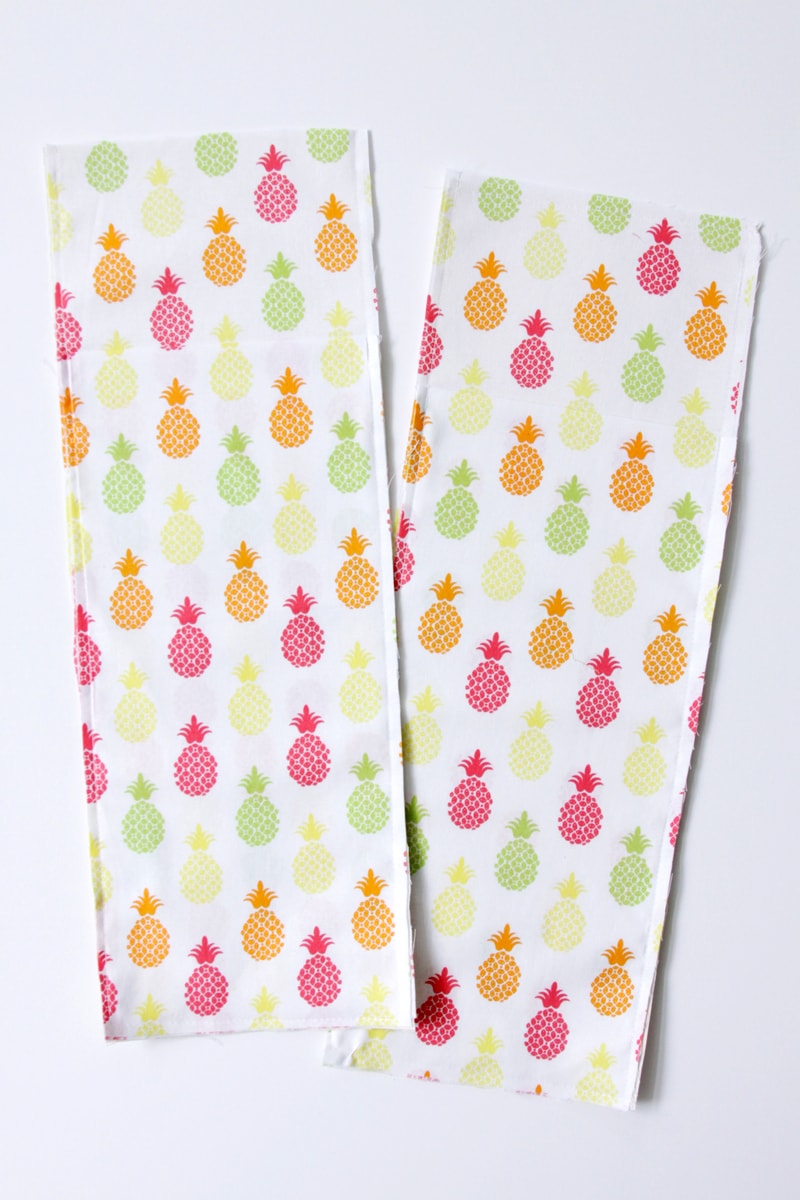
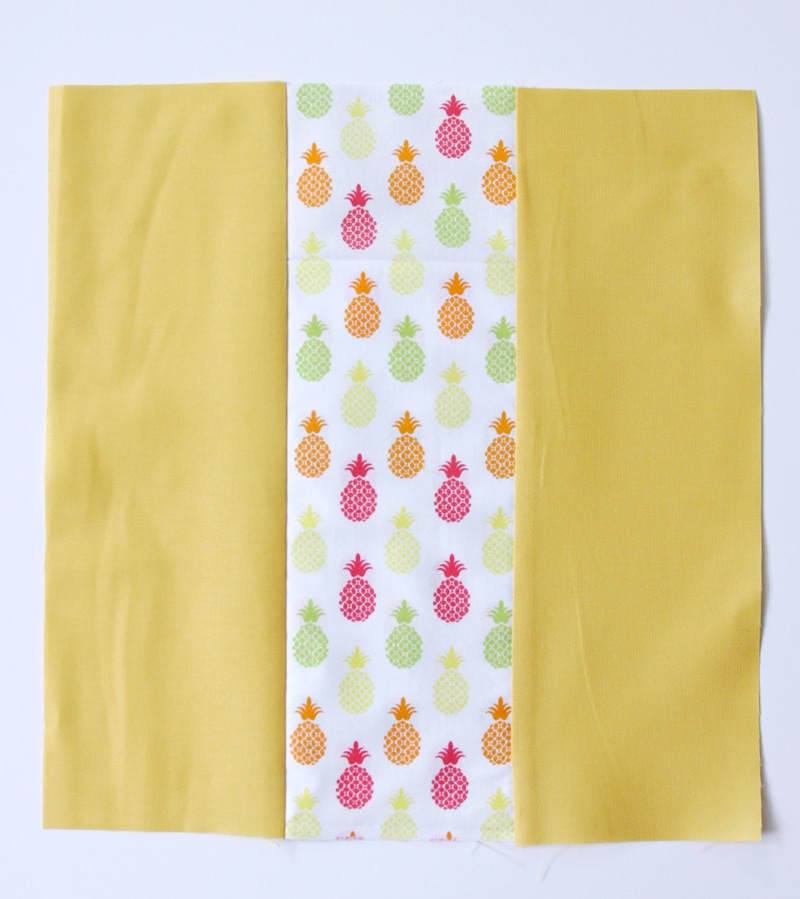
Sew a side panel piece on each side of the center panels with a ½″ seam allowance.
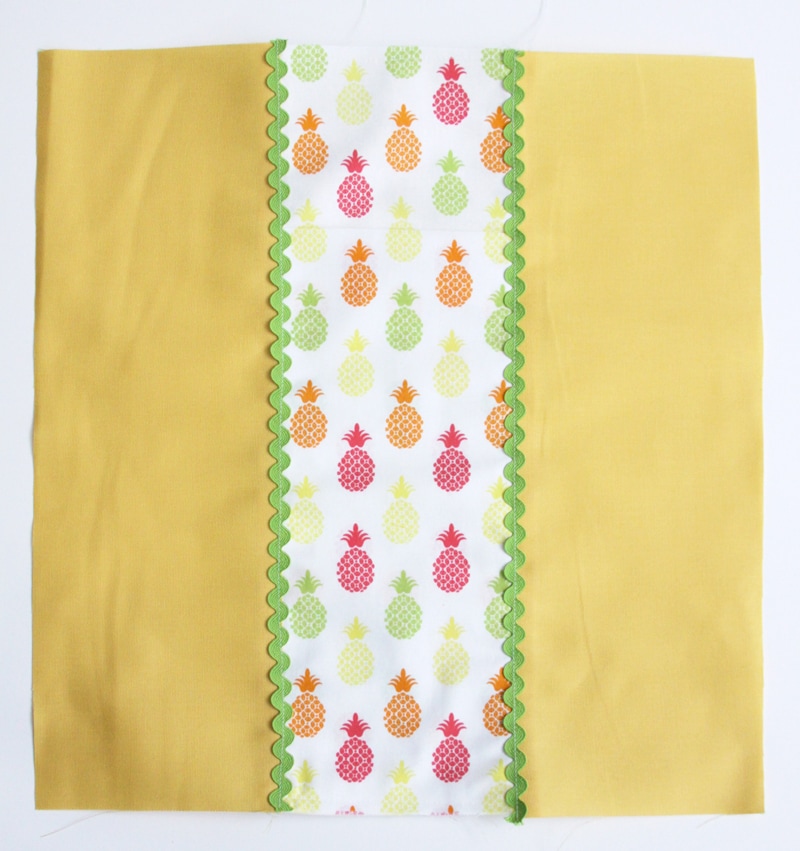
Lay rick rack over the seam and sew in place down the center of the rick rack.
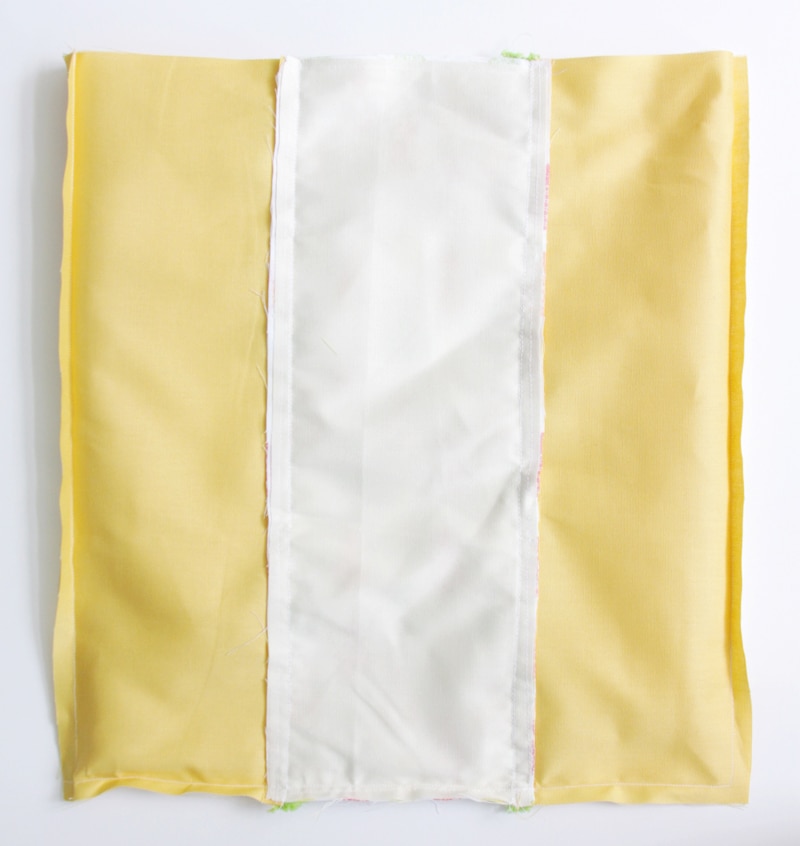
Place the two outside panels with the right sides together. Sew the sides and bottom seams with a ½″ seam allowance.
To make the corners, bring the side seam of one side down to meet the bottom seam, forming a triangle with the corner of the bag as the point. Measure down from the point and mark a line across the corner 3 ½″ long. Sew across the corner on the marked line.
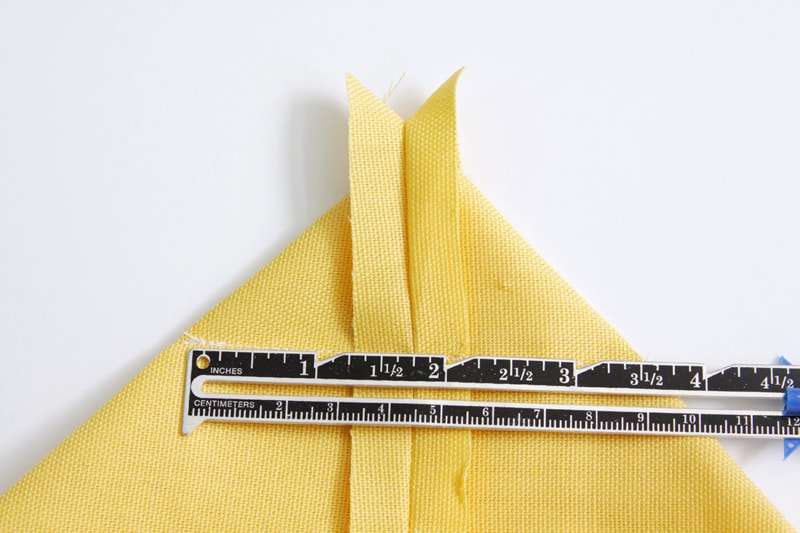
Trim off the corner of the bag. Repeat for the other corner.
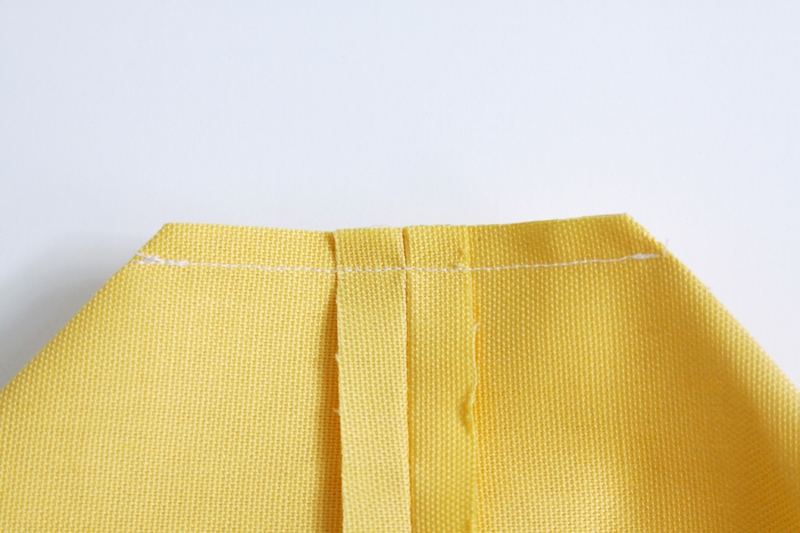
Create an insert for the bottom of the bag by stitching the two 4 ½″ x 10″ pieces right sides together on the two short sides and one long side. Turn right side out. Tuck the heavyweight interfacing inside.
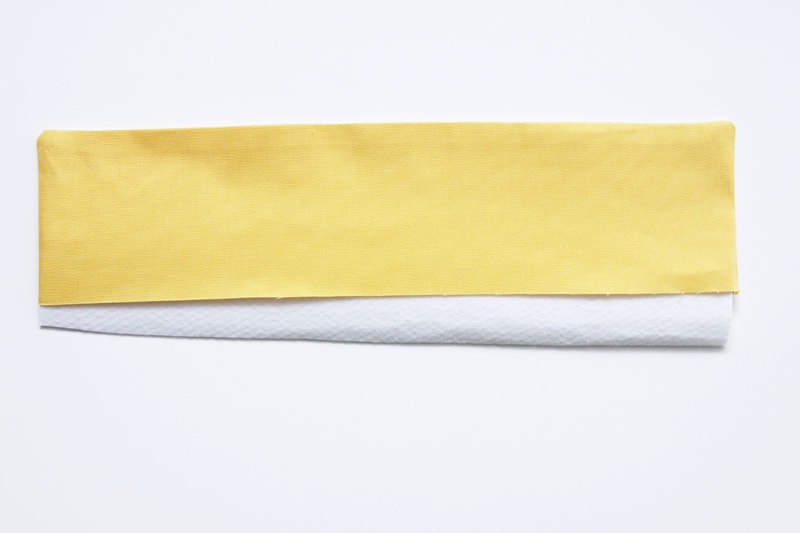
Fold the open edges in and sew along the opening to close the seam. Place the insert into the bottom of the bag.
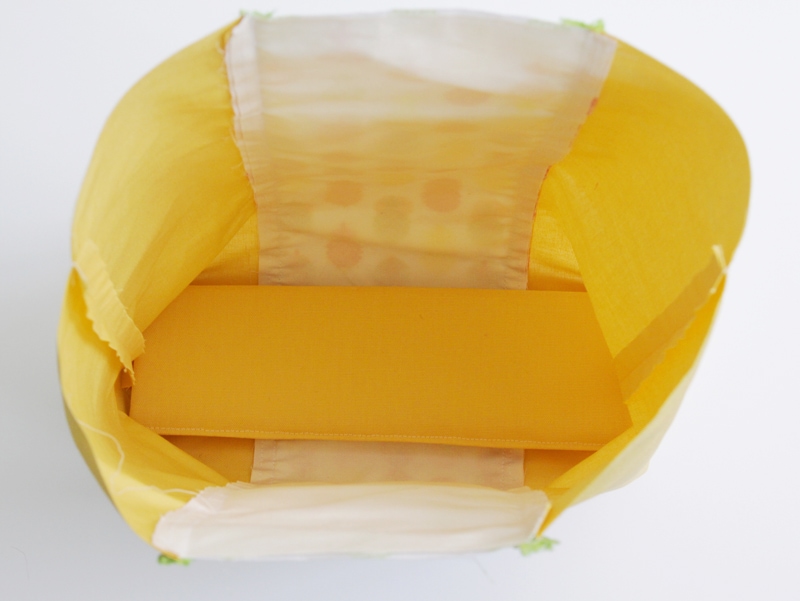
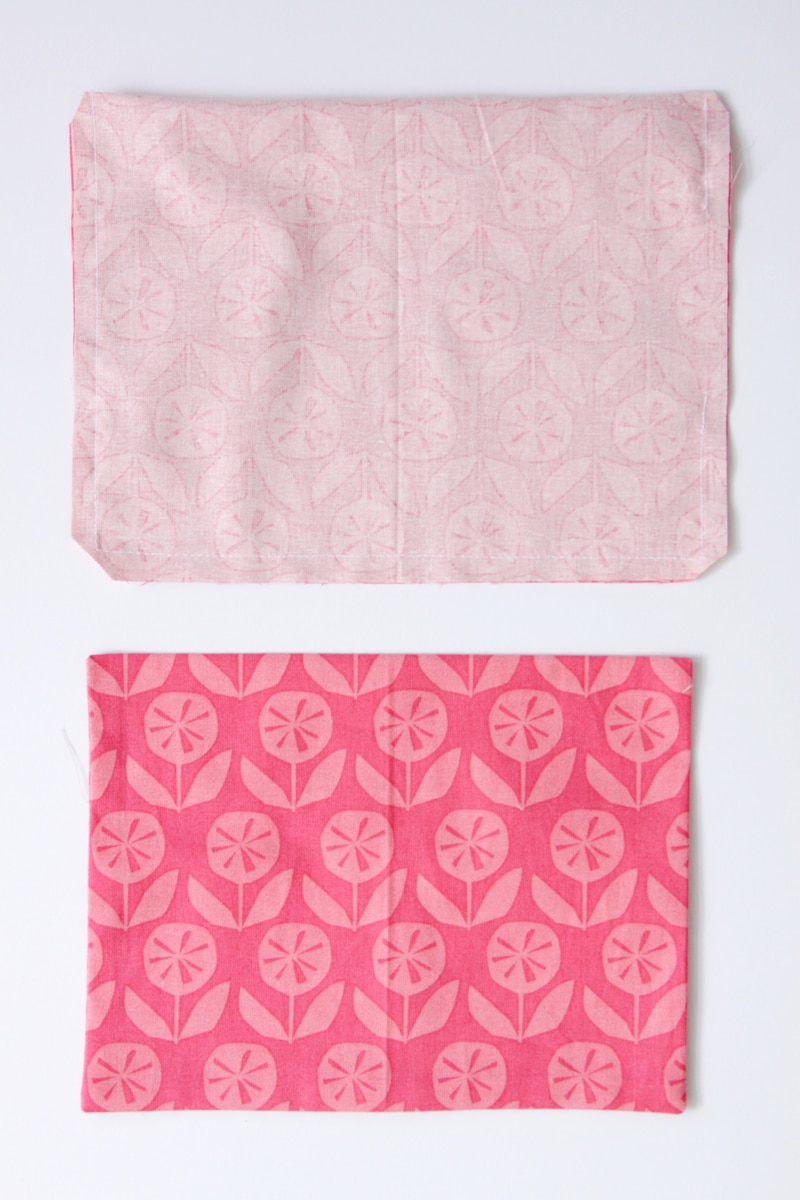
For the pockets, fold each of the 9″ x 10″ pieces in half and sew around the three sides. Leave an opening on one side for turning. Clip the corners, then turn right side out and press.
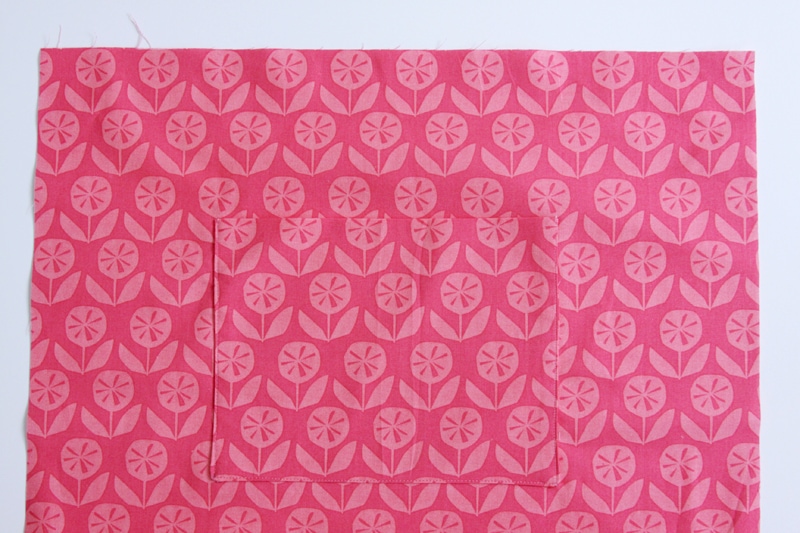
Measure 4″ down from the top of your lining piece and center the pocket. Sew around the sides and bottom of the pockets, one on each lining piece.
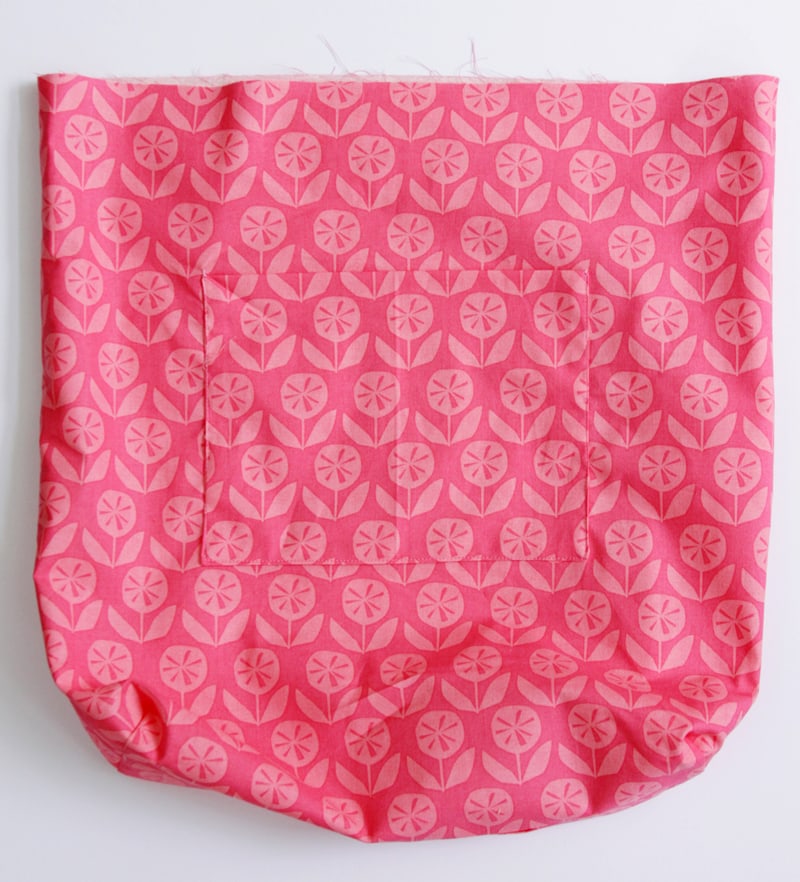
Sew the lining together the way you did the outer fabric, but leave an opening for turning in the bottom of the lining 4″ long.
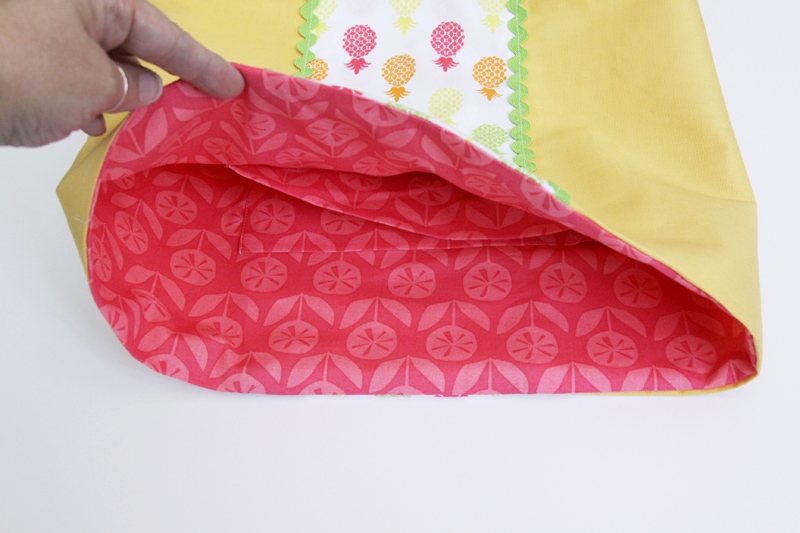
Turn the lining right side in, then tuck the outer section of the bag inside the lining. The right sides should be facing each other. Line up the seams and sew around the top edge of the bag. Turn the bag right side out through the opening in the lining, then hand sew that opening closed. Tuck the lining into the bag and press the edges.
Add your grommets to the bag, 3 ¼″ from each side seam. Head over to my blog, Flamingo Toes, for detailed instructions on How to Add Grommets to a Tote Bag!
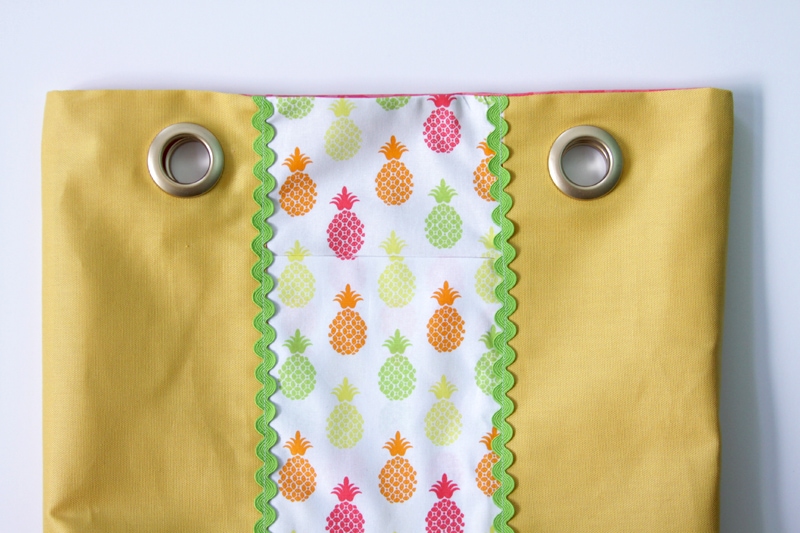
Cut two lengths of rope, each 1 yard long. Before cutting the rope, wrap it with a strip of clear tape. This will keep your rope from fraying.
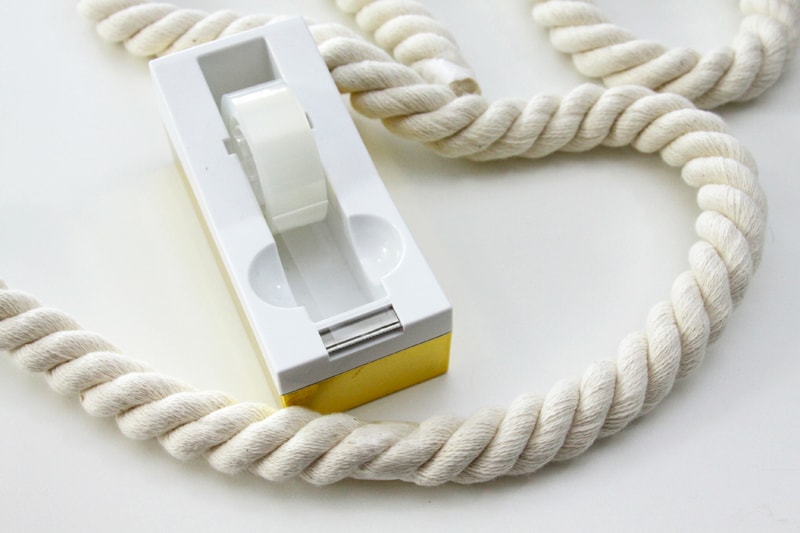
Thread the rope through the grommets and tie a knot on each end, pulling the knot as tight as you can.
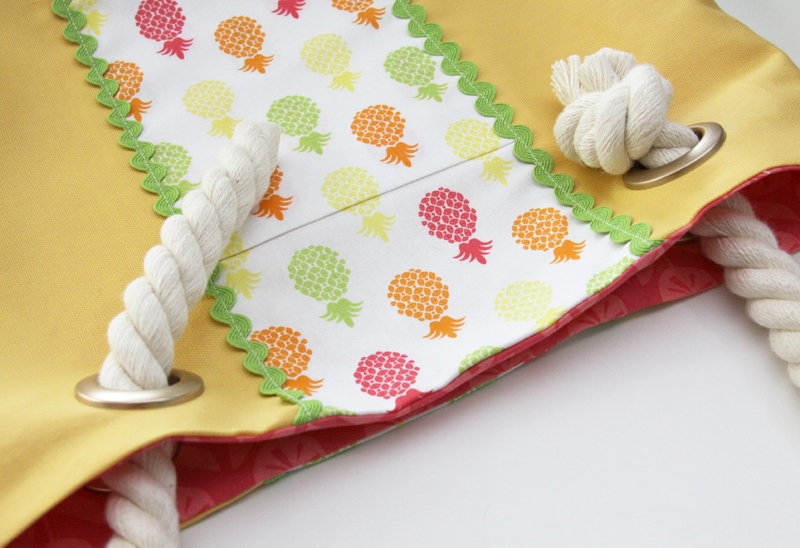
Remove the tape and repeat for the other side of the bag.
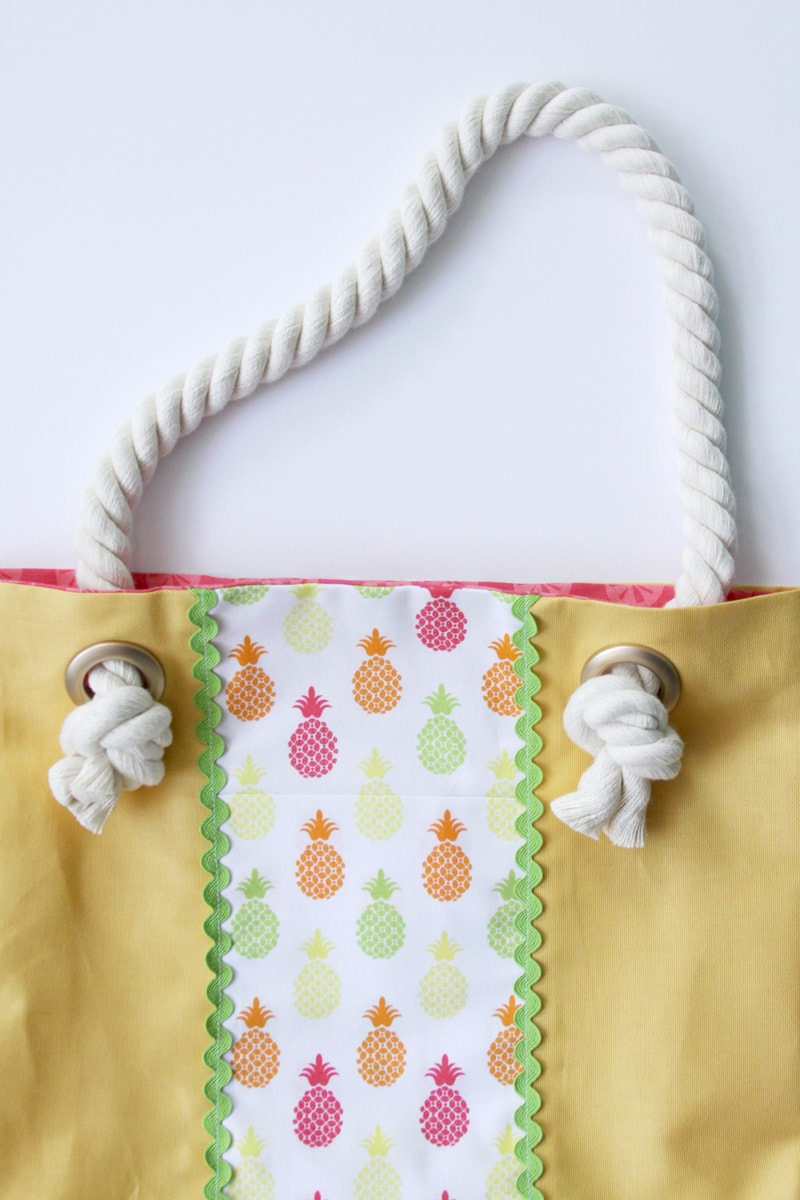
That’s it! You have a cute new bag, all set for summer adventures!

_____________________
This is such a cute tote bag!! It would definitely be perfect for trips to the pool or beach.
Thanks for sharing with us Bev! Go visit her over at Flamingo Toes for more awesome tutorials.
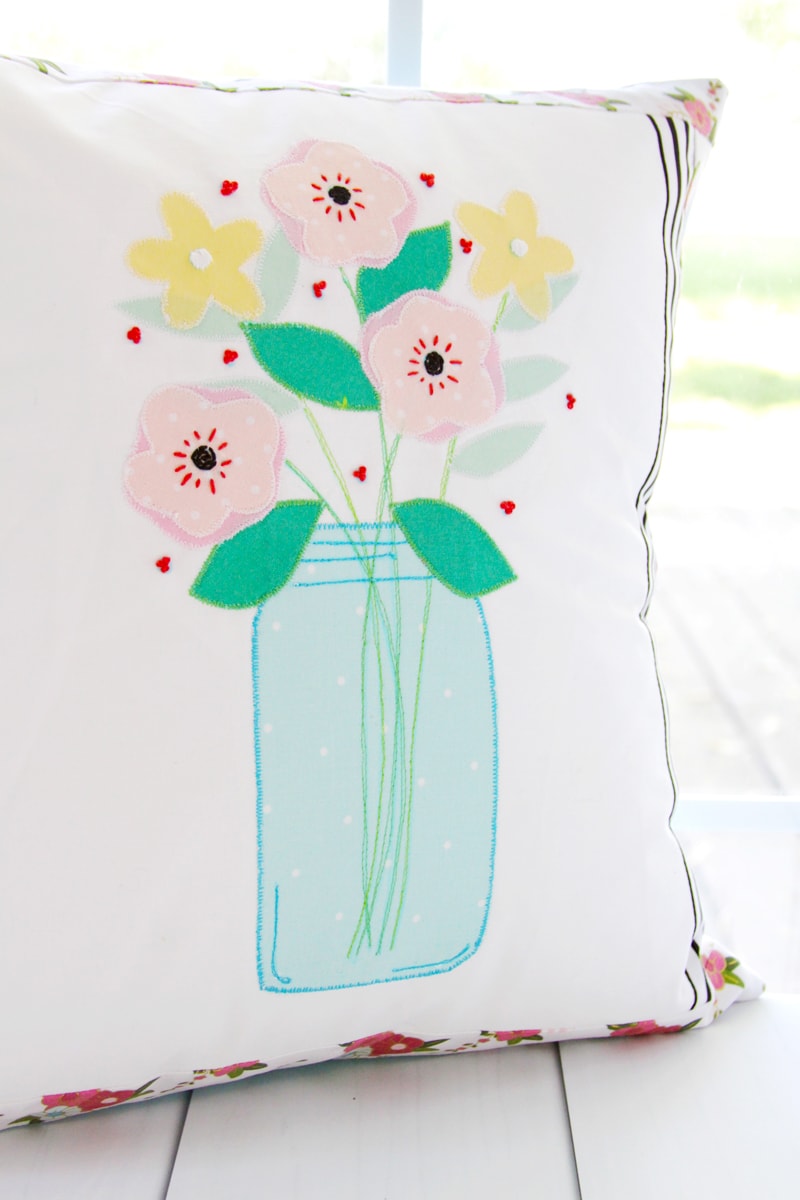
And for more sewing projects, you can check these out:
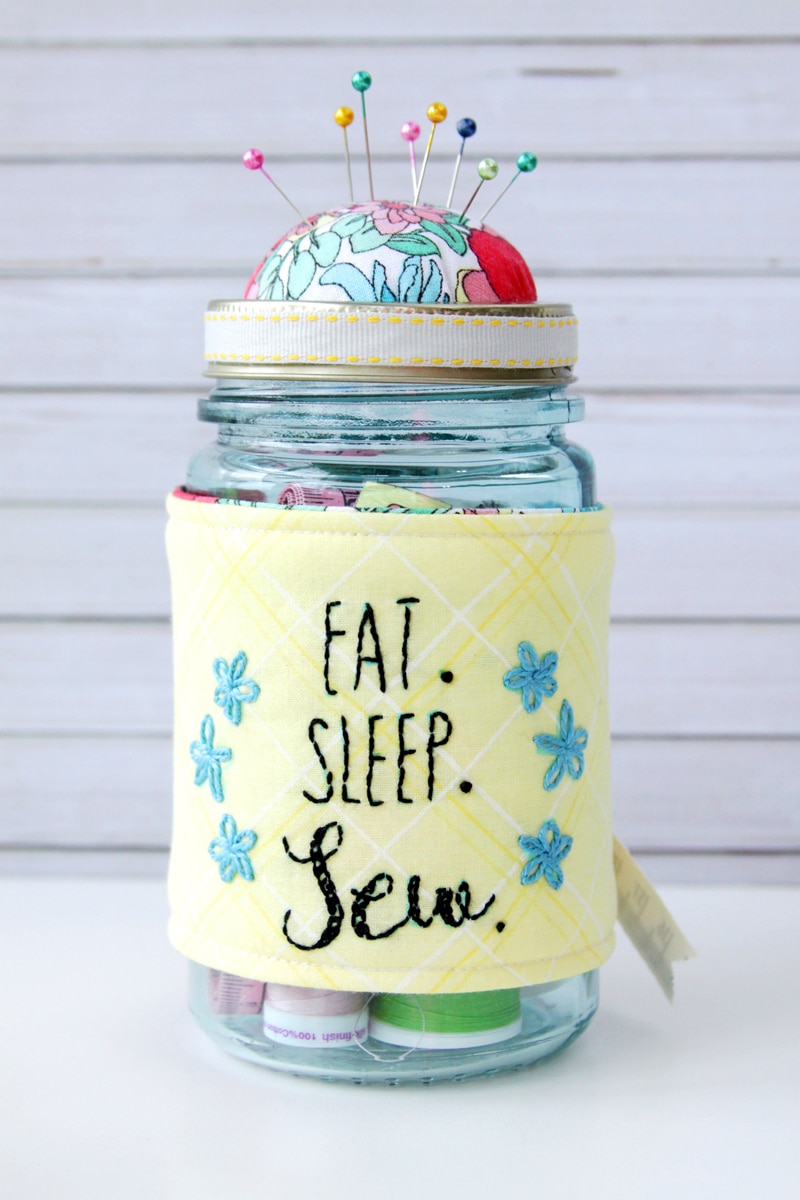
Embroidered Mason Jar Pin Cushion
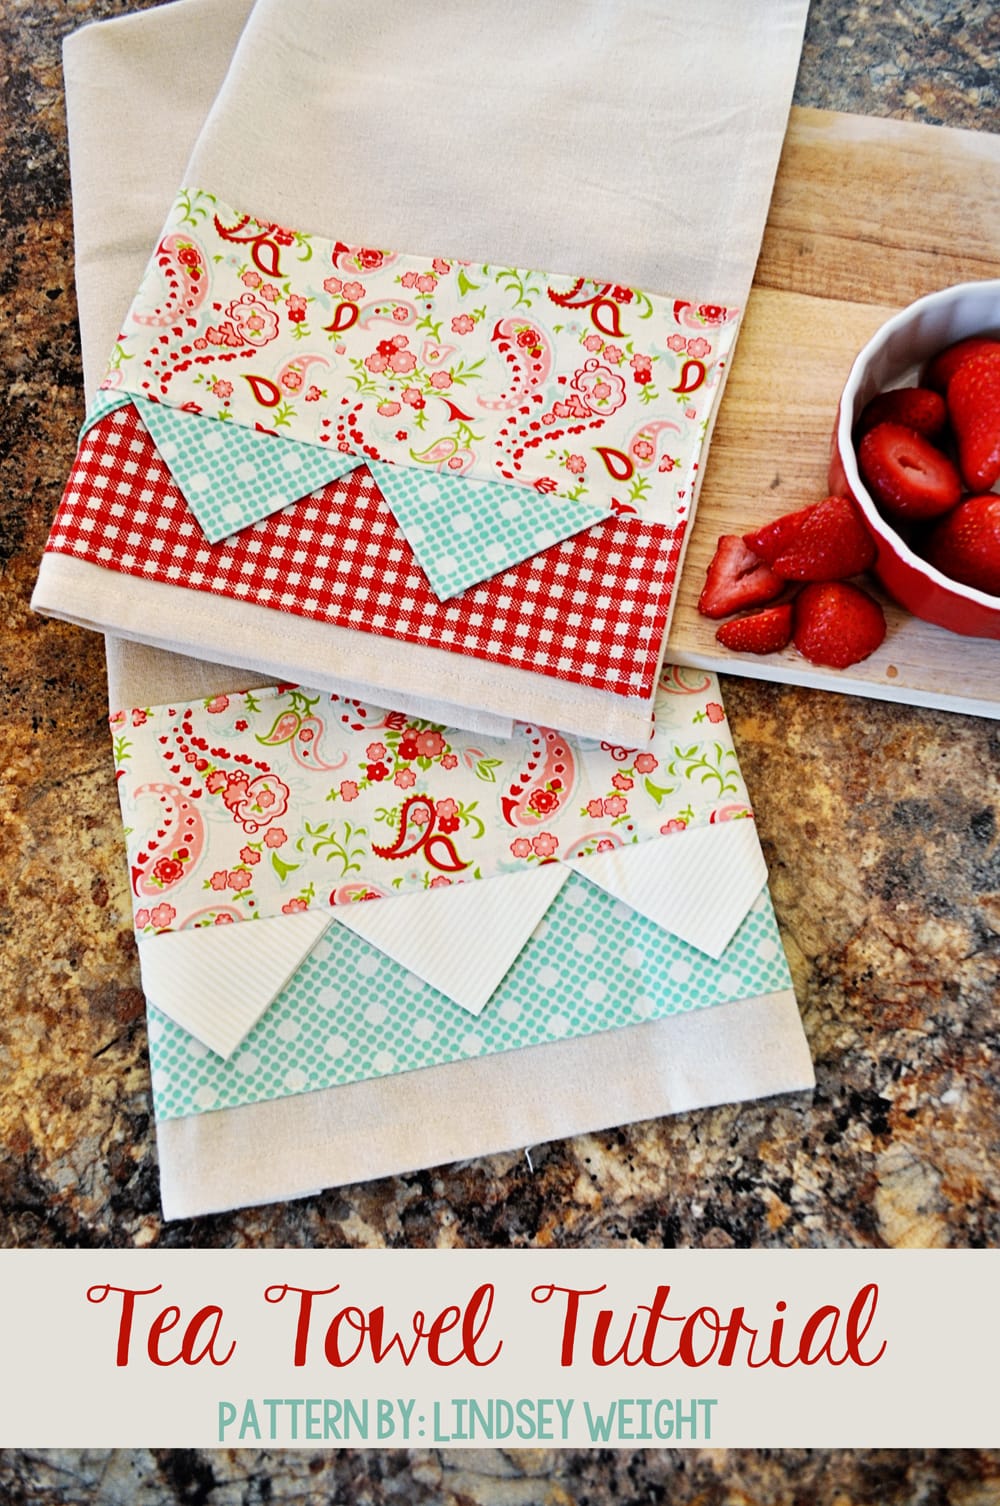
For all sewing stuff, go HERE.
And for all DIY projects and tutorials, go HERE.
And get weekly emails with monthly freebies by signing up for the Lil’ Luna newsletter. 🙂
For even more great ideas follow me on Facebook – Pinterest – Instagram – Twitter – Periscope–Snapchat.
ENJOY!



First off I would like to say excellent blog! I had a quick question that I’d
like to ask if you do not mind. I was curious to know how you center yourself and clear your
mind before writing. I’ve had difficulty
clearing my mind in getting my ideas out. I do enjoy writing but it just seems like
the first 10 to 15 minutes are lost simply just trying to figure out how to begin. Any ideas
or tips? Kudos!
Yay google is my world beater assisted me to find this great internet site!
Thank you!