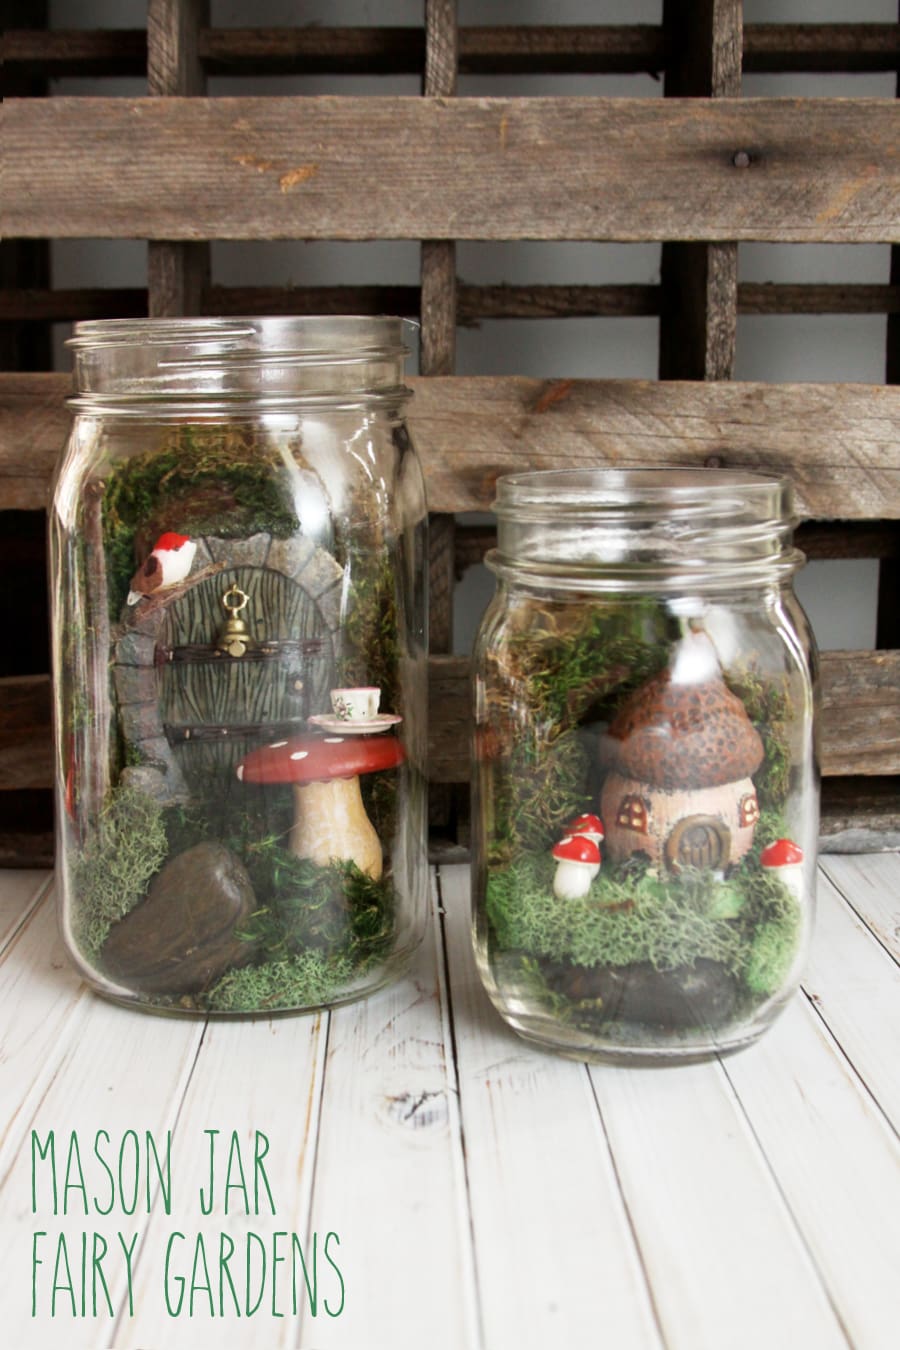
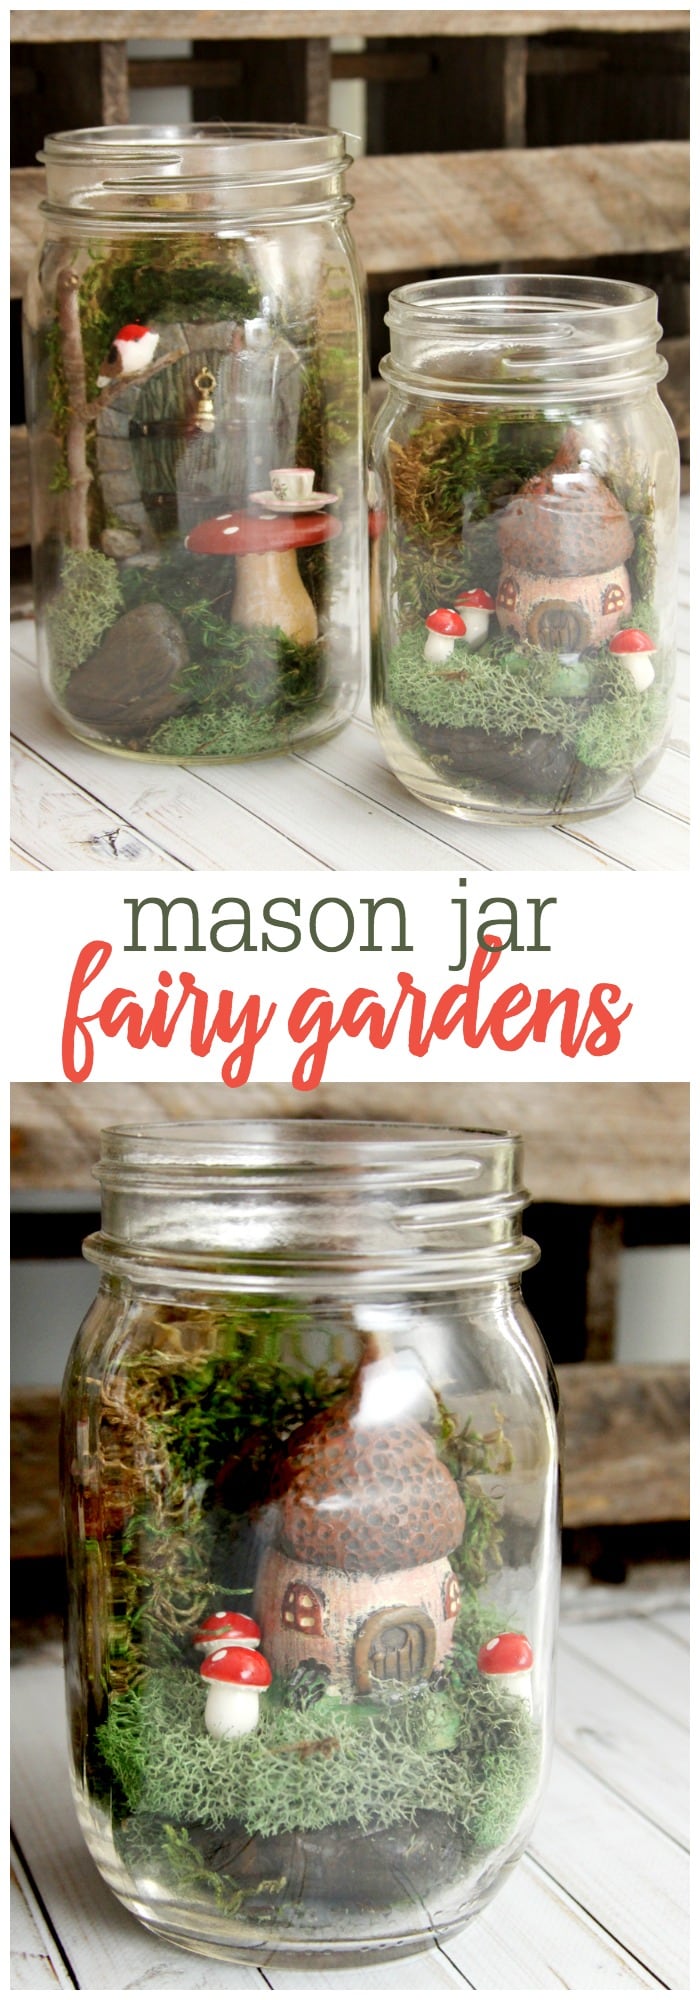
Hi all! It’s Bev from Flamingo Toes here today with these fun Mason Jar Fairy Gardens! Have you jumped on the fairy garden trend? I’ll warn you, they are addicting! These little mason jar versions are a great way to get started. They only take about 15 minutes to put together and you can have so much fun with different little houses, doors and accessories. They make really fabulous gifts too!
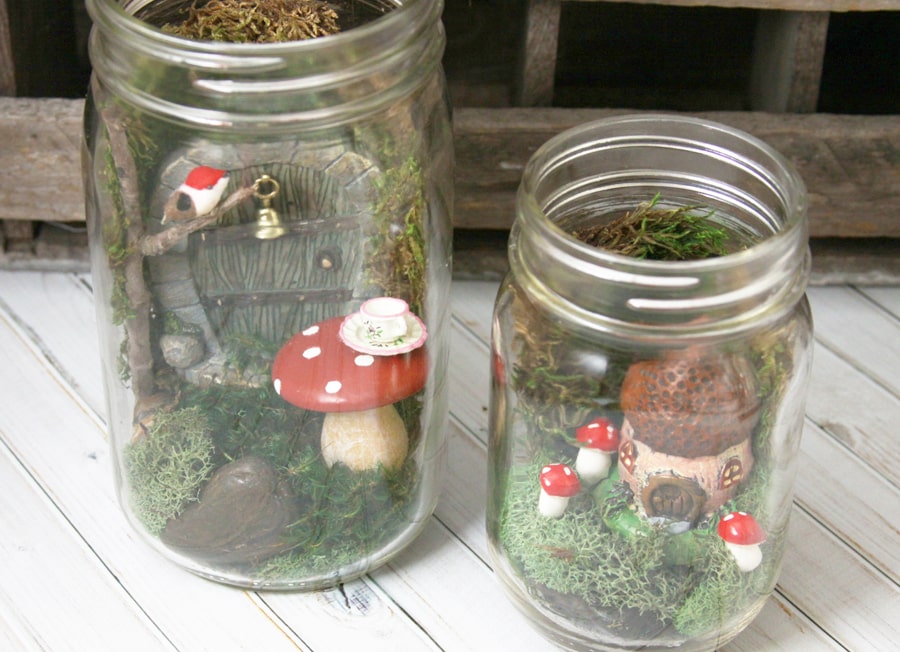
You can find the supplies for these at most craft stores and you can use upcycled jars too, so they’re pretty inexpensive to make!
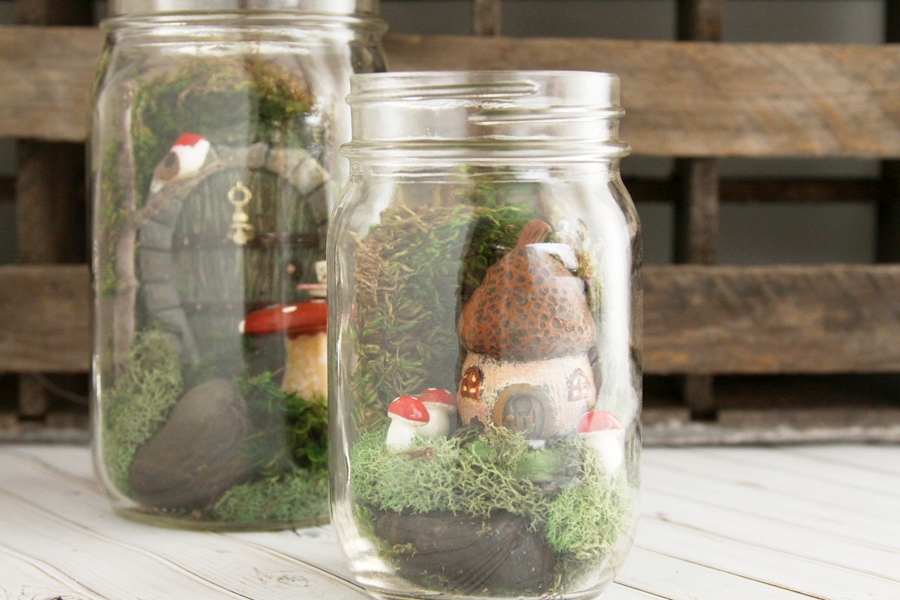
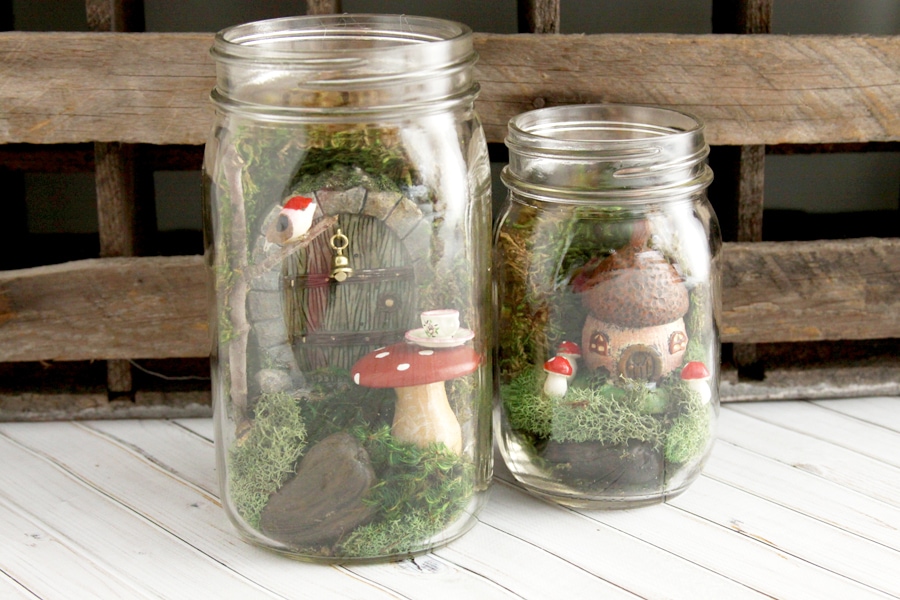
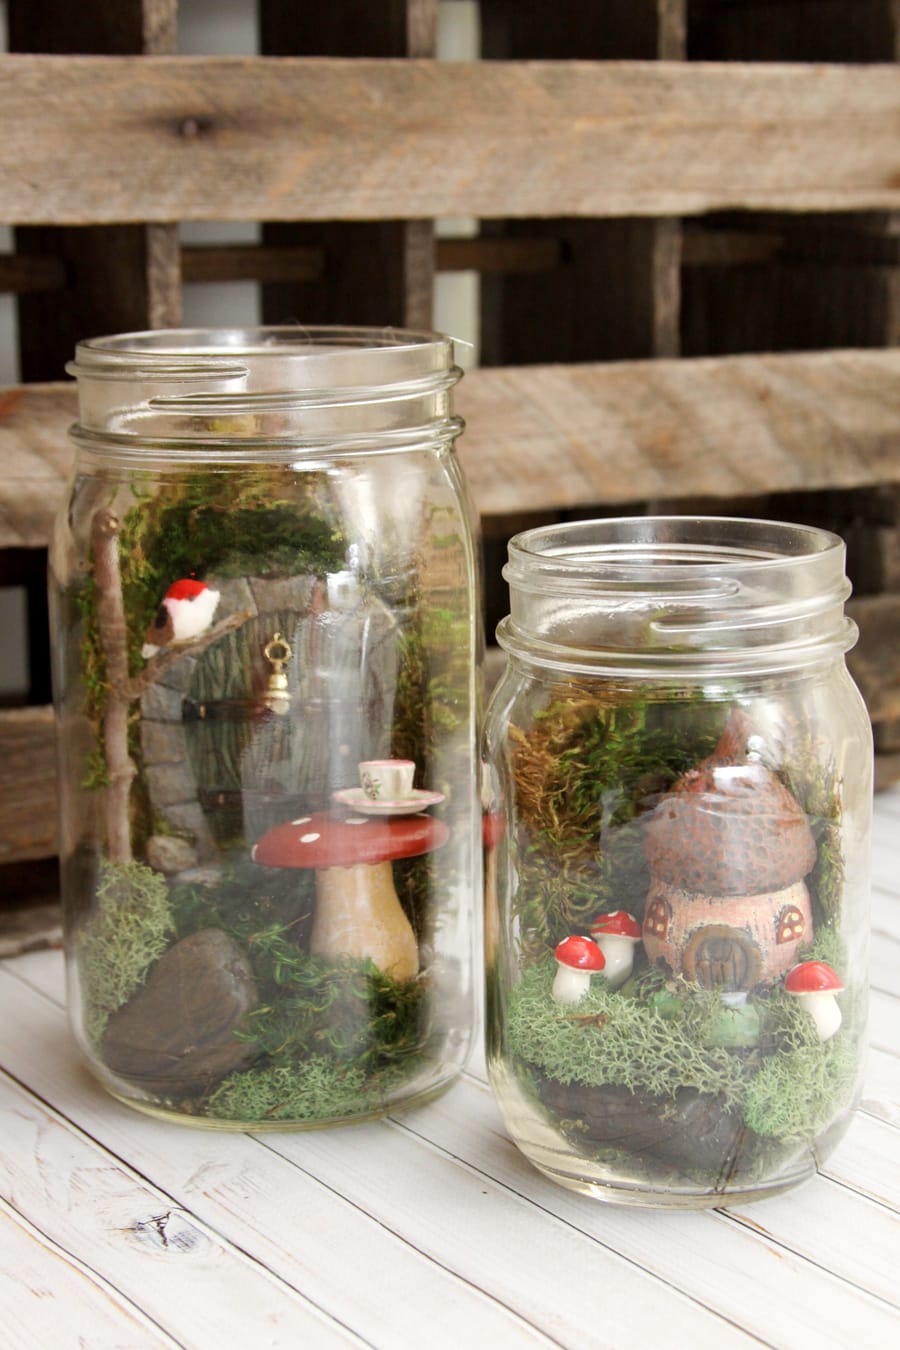
I think they make a cute set like this, but even just one would be a great gift for a friend. They’d be perfect to do for a girls craft night or ladies church event too!
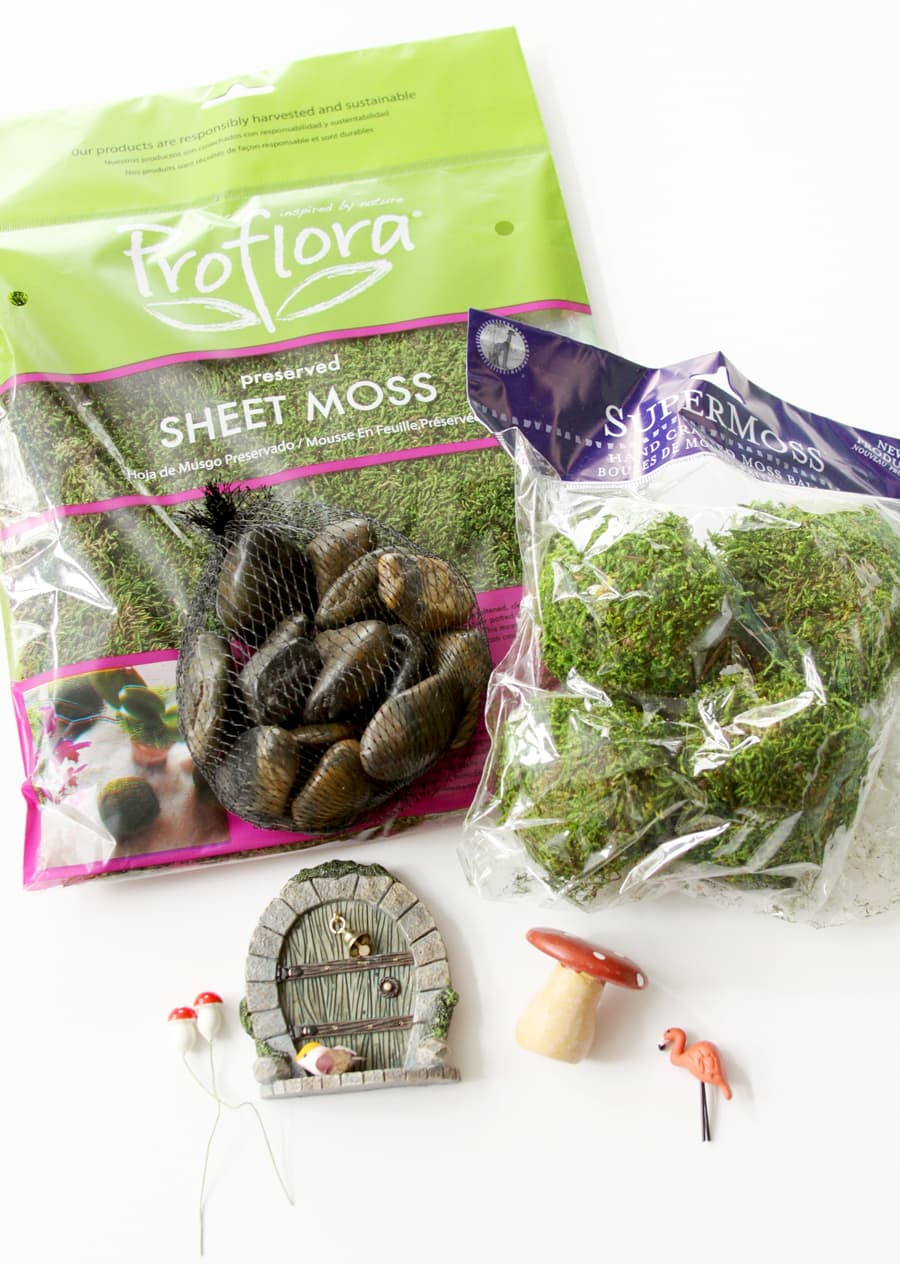
Here’s what you’ll need:
- Mason Jars – make sure to check the size of your items to see how they’ll look in your jar
- Assorted Fairy Garden Supplies – doors, tables, little houses, and more
- Rocks
- Moss – loose and moss balls
- Sheet Moss
- Hot Glue
Get creative with where you look for supplies! Most craft stores have good fairy garden sections now, but you can also find really fun things in the floral and miniature departments too.
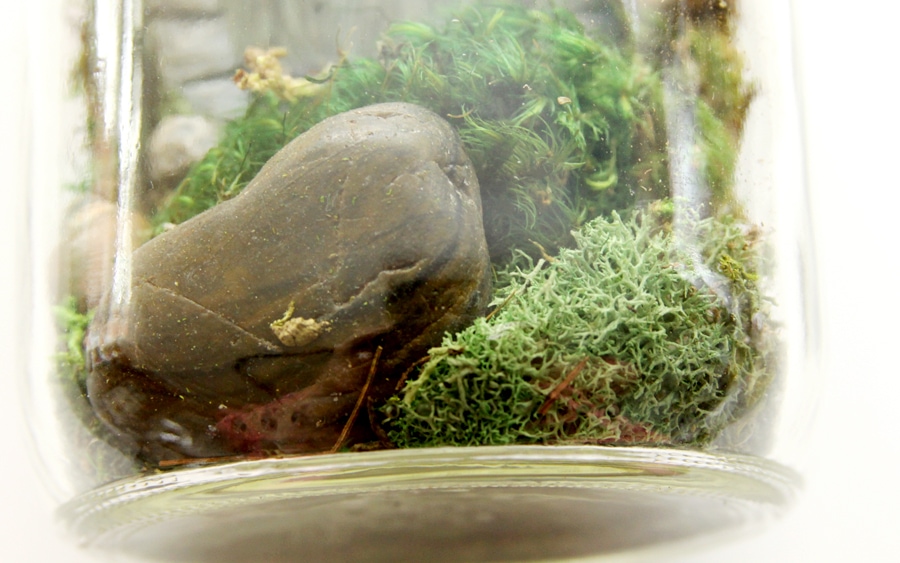
Start by building a small layer of moss and rocks in the bottom of the jar. Make sure you leave enough room for the items you want to add in.
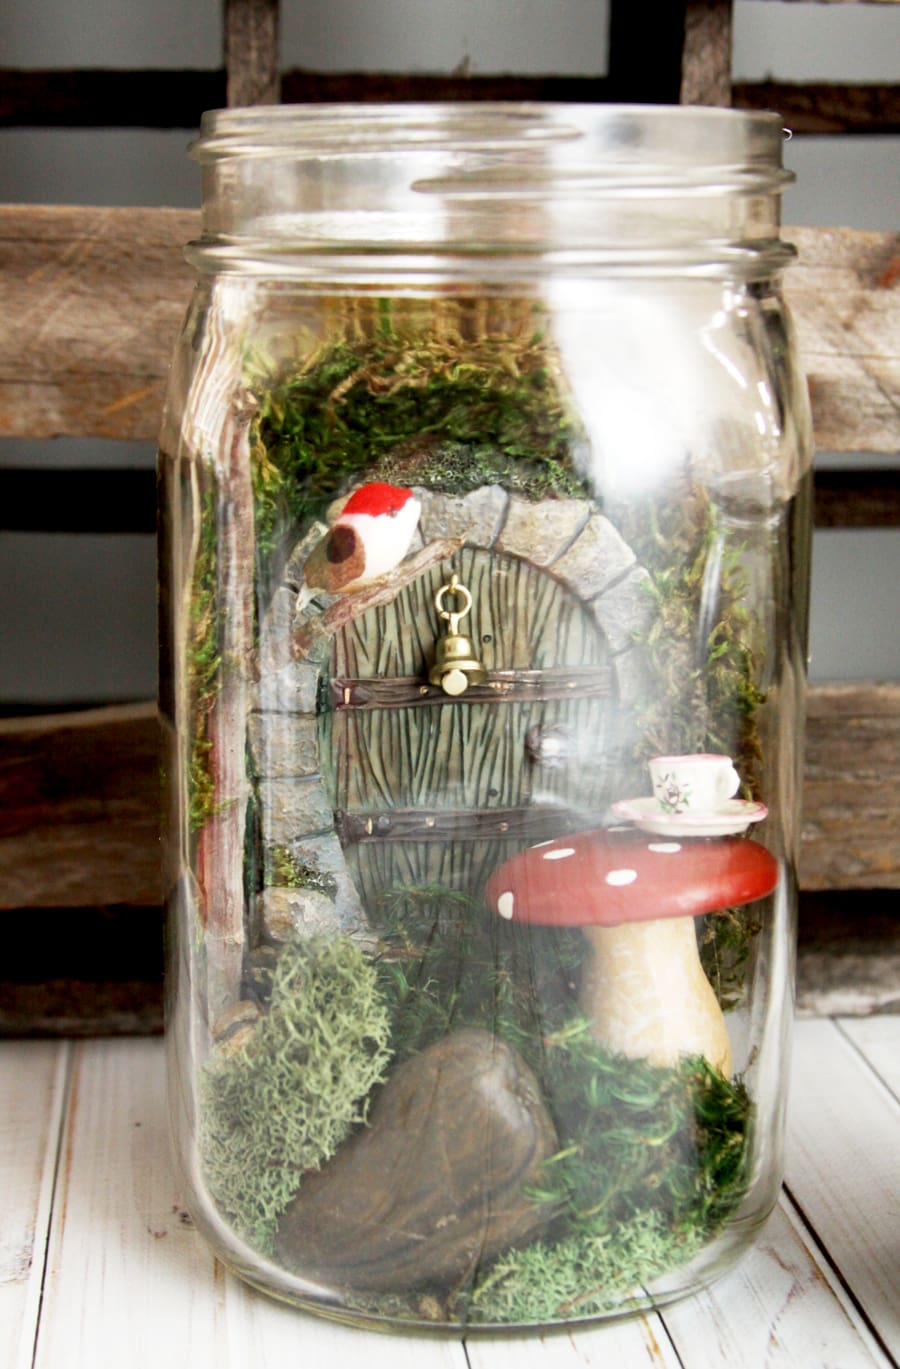
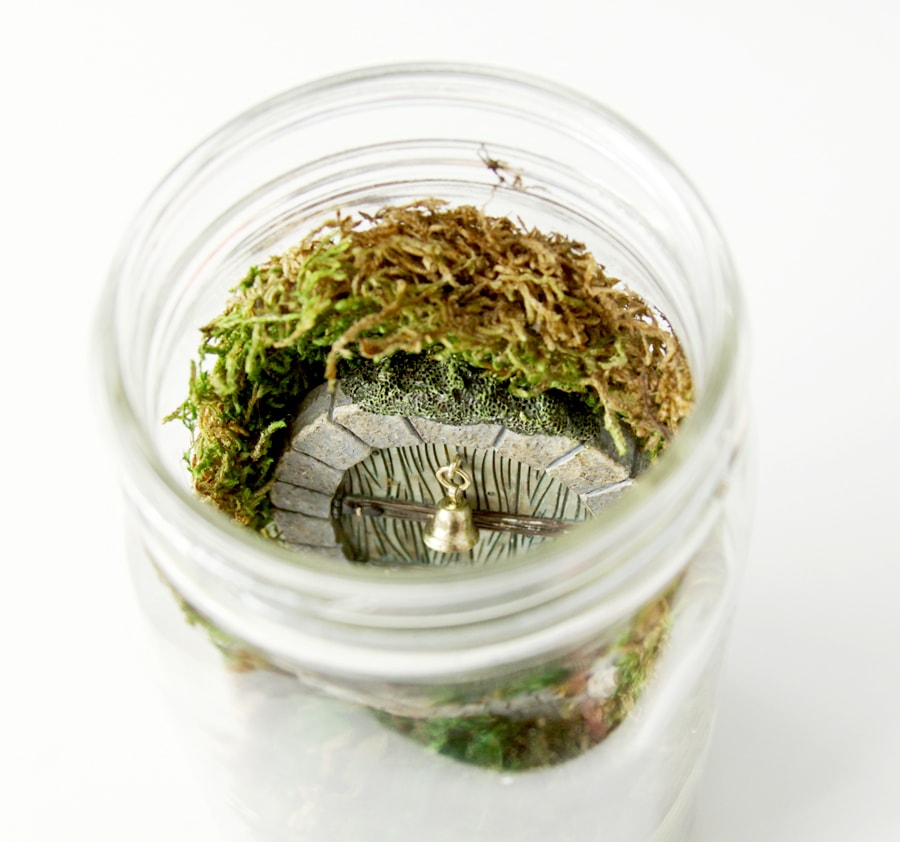
Cut an oval of sheet moss that is about the size of one side of the jar. Try to leave the edges rough so you don’t have a straight line of moss. Glue this to the back of the mason jar, then glue your door in place on that. Keep it as flat as you can on the back of the jar so you have room to add in a couple more fairy garden items.
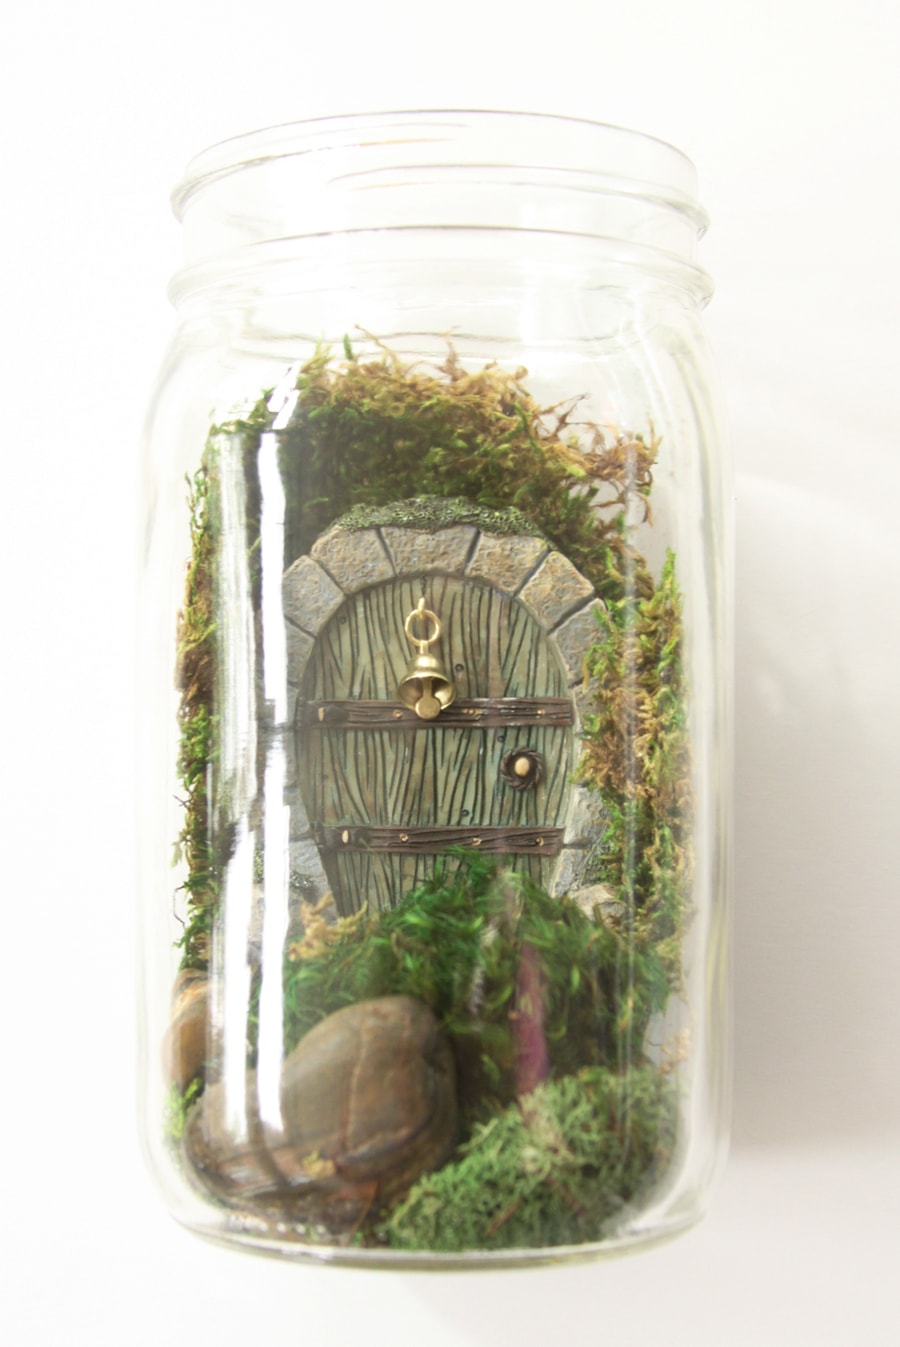
Now you can get creative! I added a small toadstool table with a little teacup and saucer. It helps to have a small pair of tongs to add things in place. I also added a twig to the left side and glued a small bird to the branch of the twig.

For the smaller mason jar, repeat the steps but use less materials. For this one I added the moss sheet to the back, then glued a tiny fairy house to the rock at the bottom. I added small mushrooms around in the moss. These were tricky to get in and standing upright!
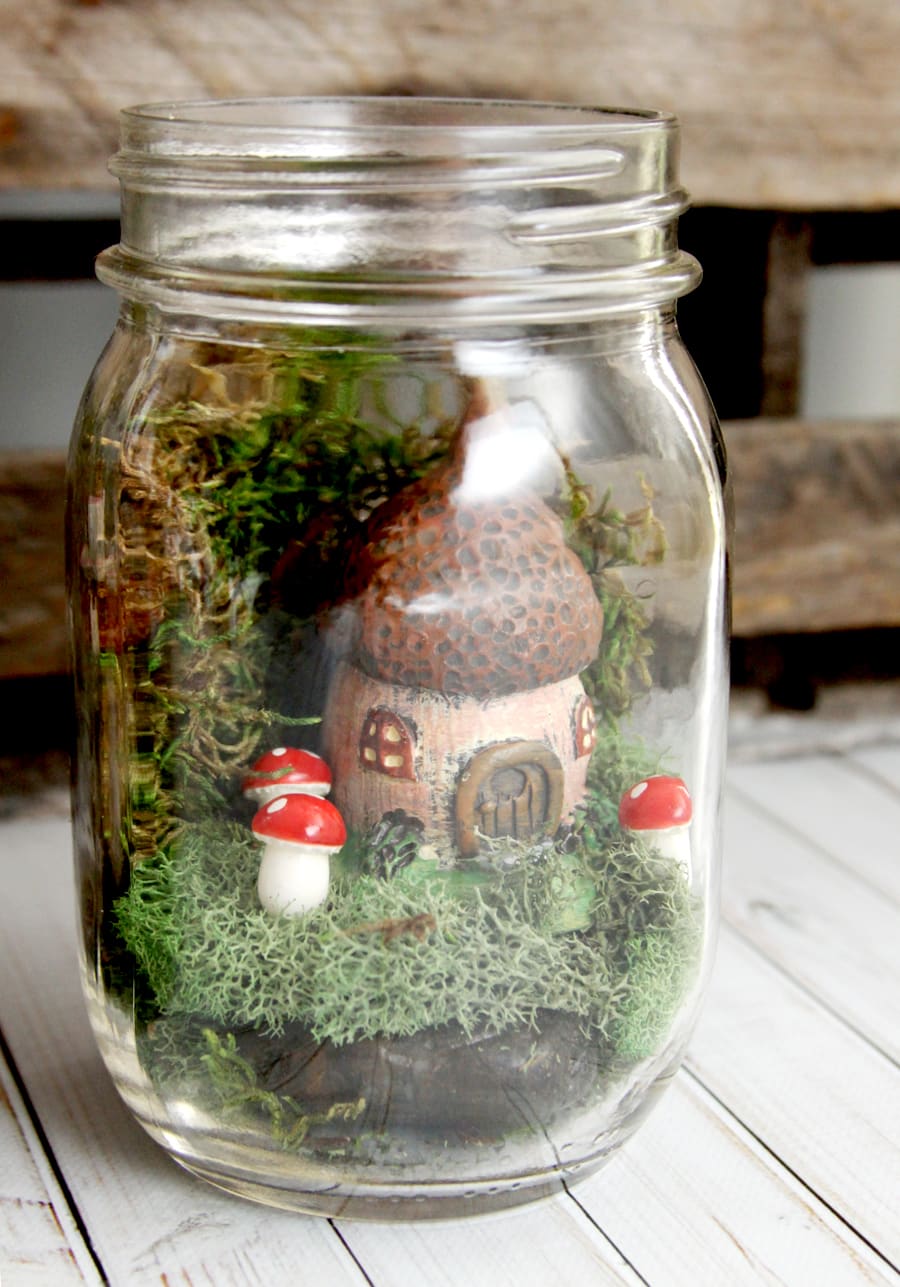
I really love how they turned out – I’m sure I’ll be making up more of these!

________________
These are absolutely darling, Bev! I’ve been seeing fairy gardens a ton lately and I just think they’re so cute! Thank you for sharing this tutorial with us! For more cute tutorials, visit Bev over at Flamingo Toes!
For more fun tutorials from here on the site, check out these posts:
ENJOY!!


Cute Idea I love it still I am wondering when Lily will post her sweet treats
She will be posting soon 🙂 Keep checking back! Thanks for asking!
These Mason Jar Fairy Gardens, are simply ADORABLE!!! SO creative.. I LOVE fairy and gnome gardens, and will be sure to make up a few of these and sell them at a Christmas Craft fair later this year…. 🙂
Right, they are cute & fun! Thank you so much for stopping by!
These are very cute and in going to try making some with my daughter. But, I’m wondering if the moss would start to dry out over time. Do you have any tips to prevent that from happening?
She’d love them! I personally haven’t done this, but I think it would stay how it already is. I don’t think it’d get any dryer than it is. This post is from Bev at http://www.flamingotoes.com/. You may want to see if she has done anything to prevent that. Hope you have fun with your daughter!
I’ve been thinking about making these for a while, but I can’t seem to find any moss. I’m also worried about how much maintenance it would need, would the moss need to be sprayed with water or not, because I want to give one to my niece for her birthday, but she would’t be able to look after it is that’s the case.
I am not sure. This post was from a contributor. She doesn’t mention spraying it, so I don’t think you need to. You should be able to find moss at any craft store. Hope you find some. Have fun!