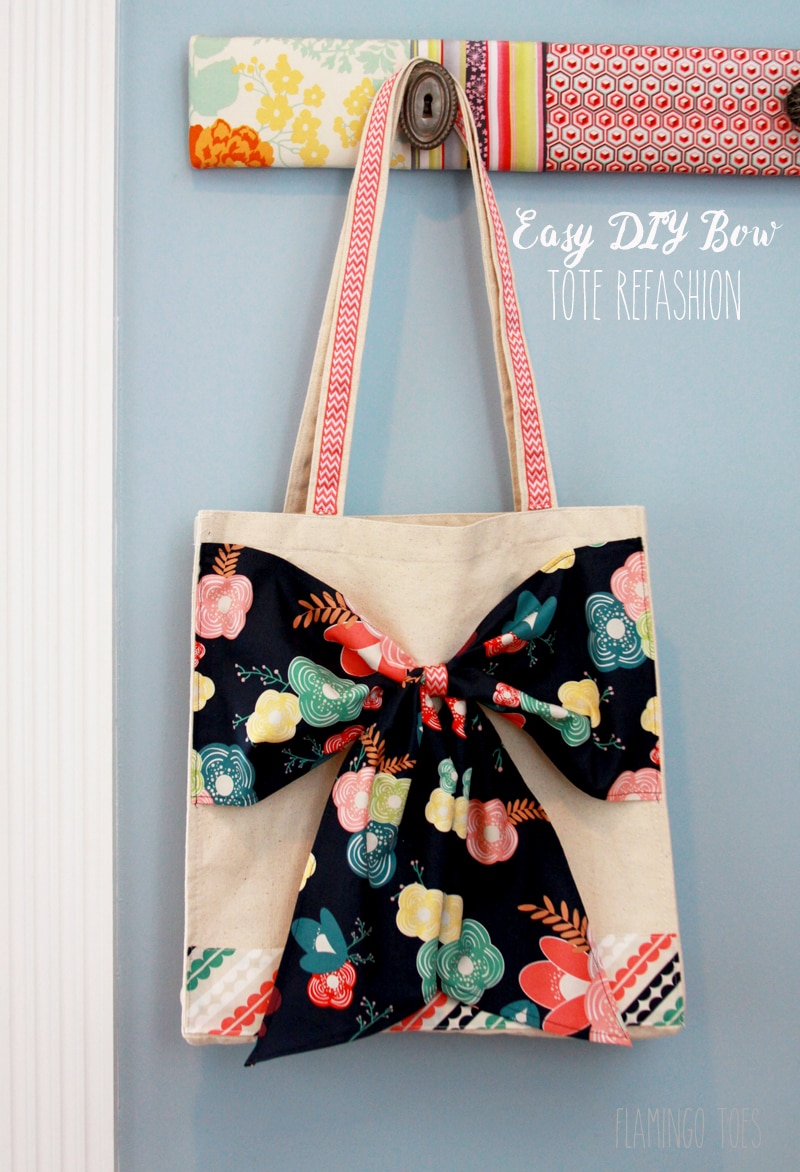
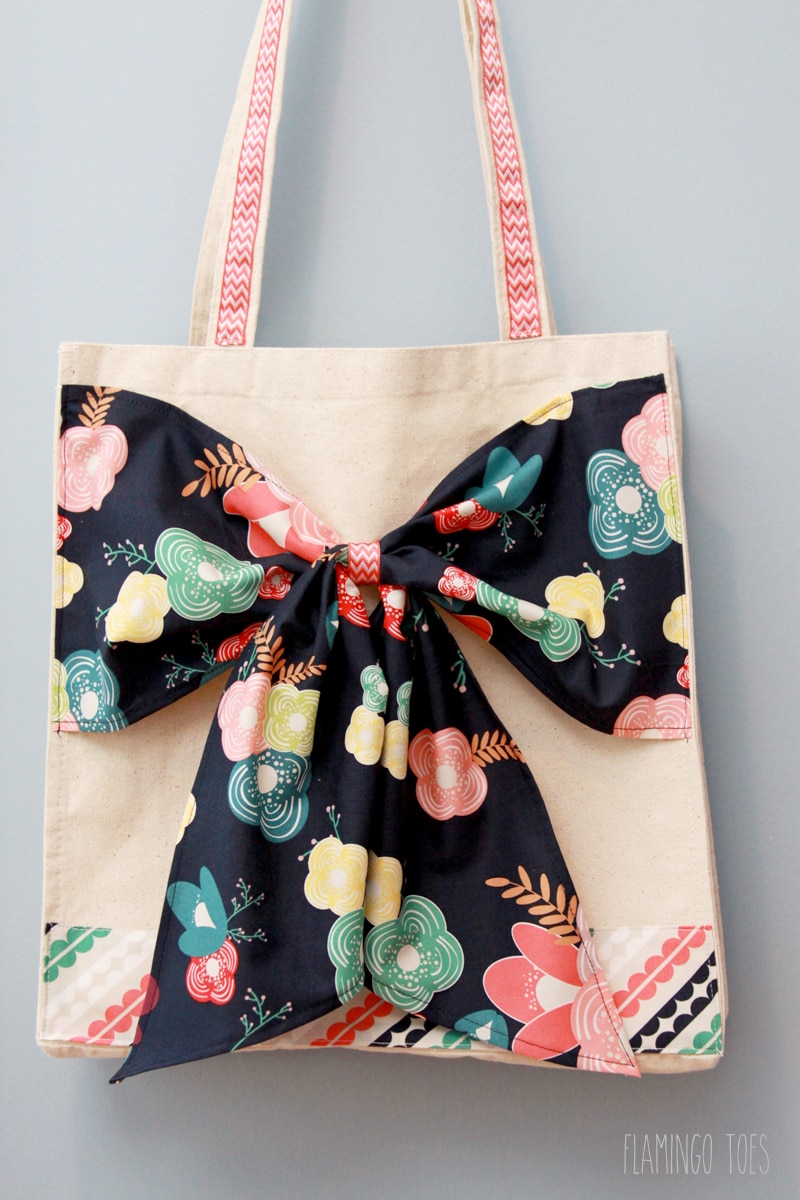
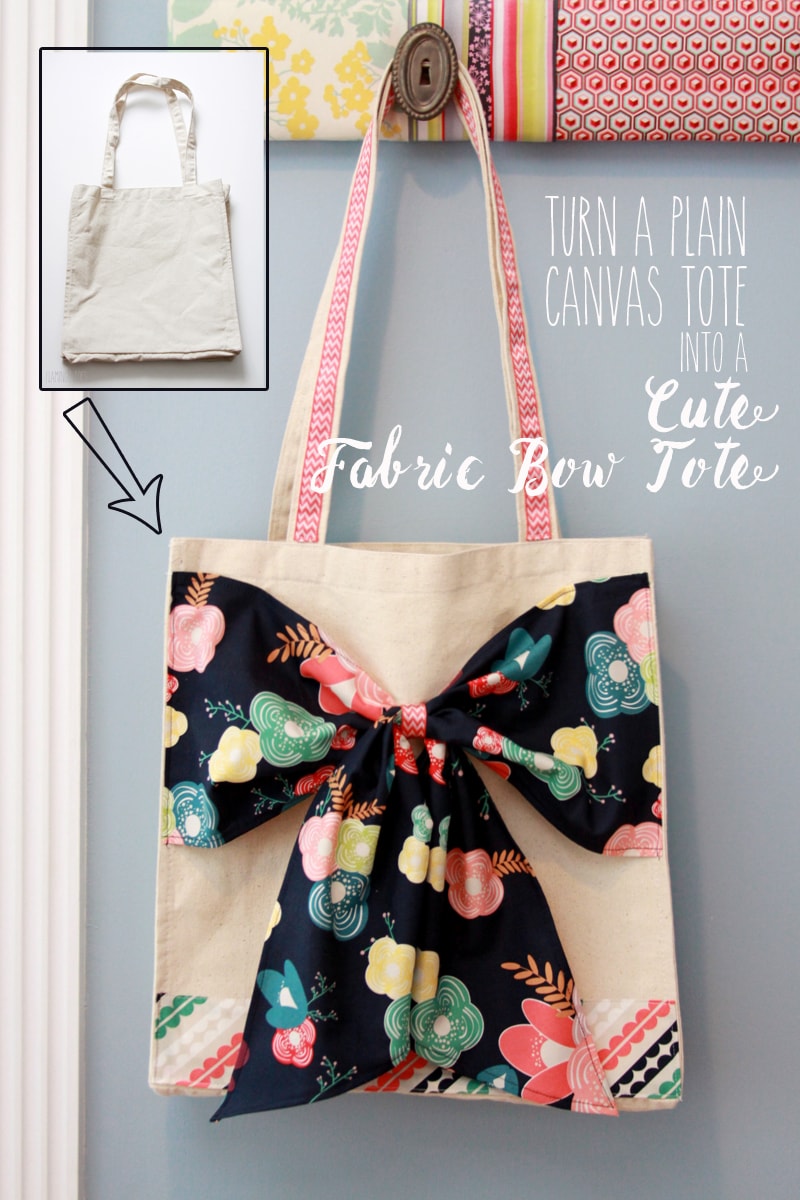
I have a little confession – I’m addicted to making bags and totes! They are so fun to do and it’s so great having accessories that you can coordinate with any outfit. Sometimes I like a quick and easy project though where I don’t have to make the whole bag from scratch. You can easily dress up a plain canvas tote with just a little fabric and ribbon – like this Easy DIY Bow Tote Refashion!
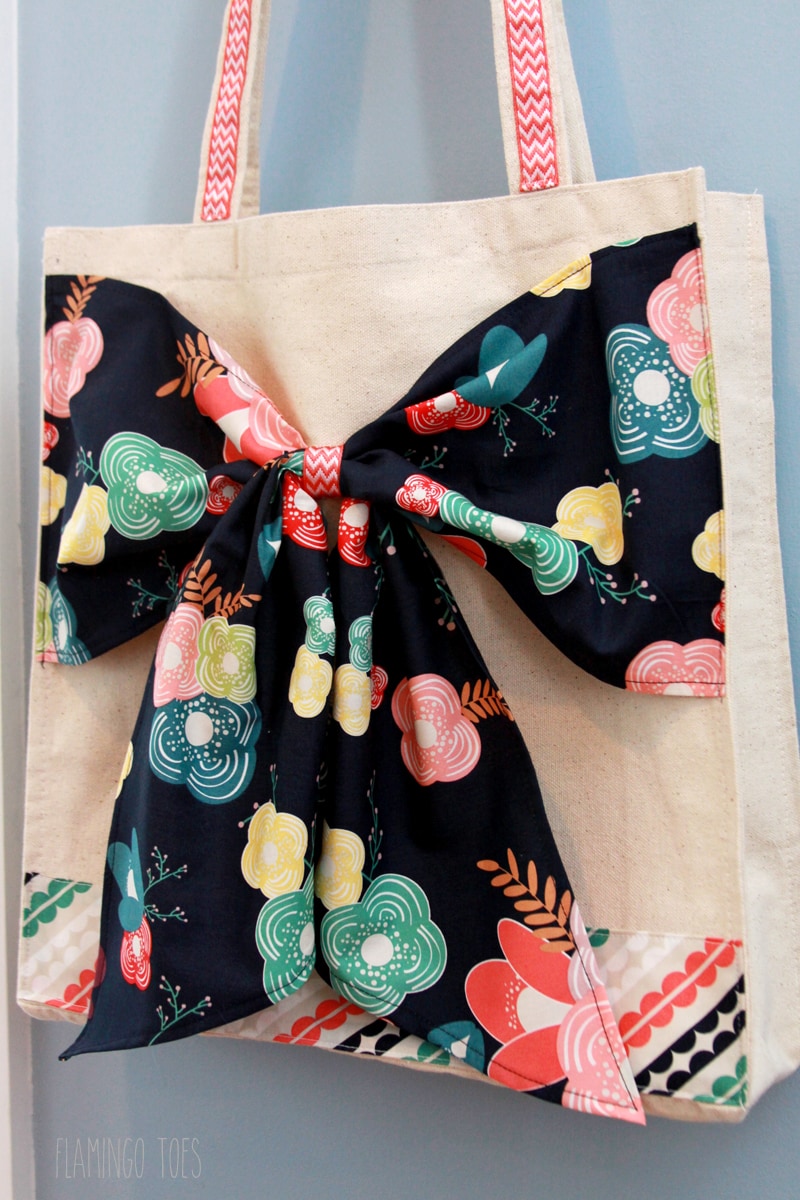
It’s a plain canvas tote that’s dressed up with colorful fabrics and it only takes about 30 minutes to put together!
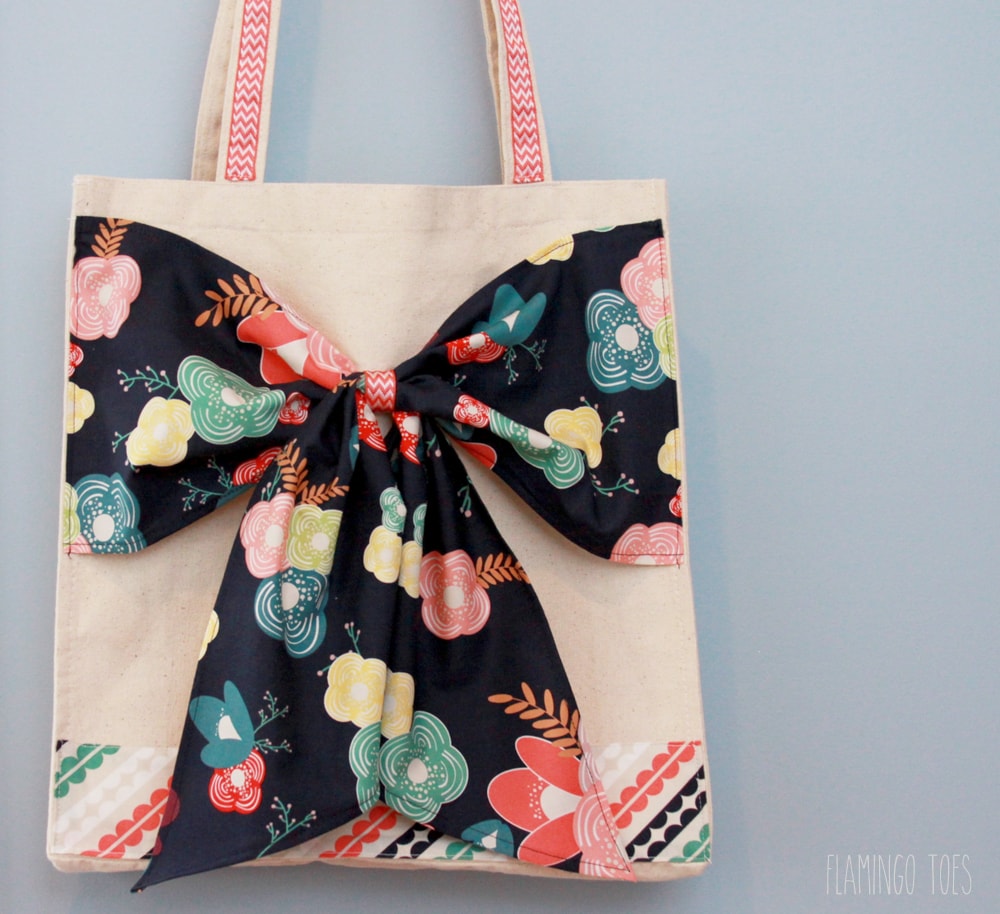
This tote would be such a great gift too! Back to School is just around the corner and this would be such a sweet gift for your new teachers.
Here’s what you’ll need to make your own:
- Plain Canvas Tote
- 2 Coordinating fabrics for bow and border
- Matching ribbon
Canvas totes are all different sizes so you’ll want to take into consideration how big your tote is when you’re cutting out your fabrics.
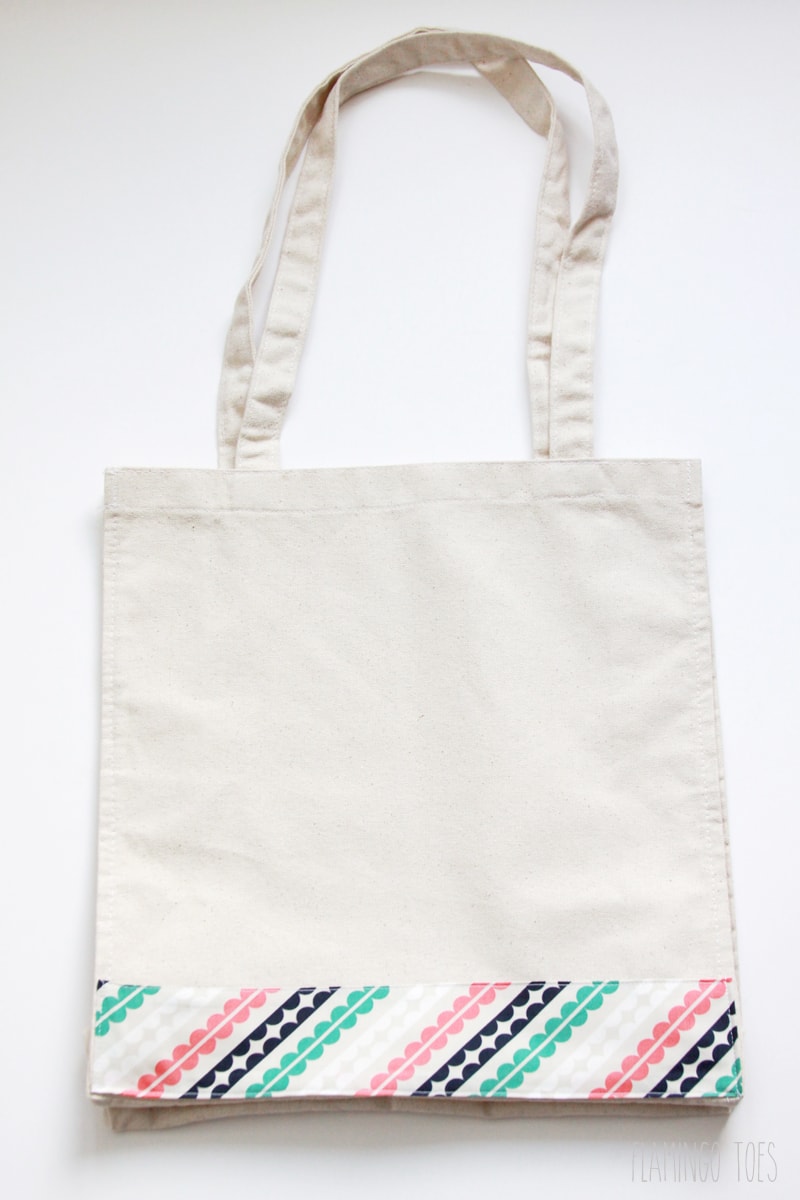
Measure out a fabric panel for the bottom of the tote – 4″ tall and 1″ wider than your tote. Press the top and bottom of your fabric under ½″.
Fold the two short sides in ½″ as well. Sew in place at the bottom of the tote, making sure you don’t catch any of the tote or handles while you sew.
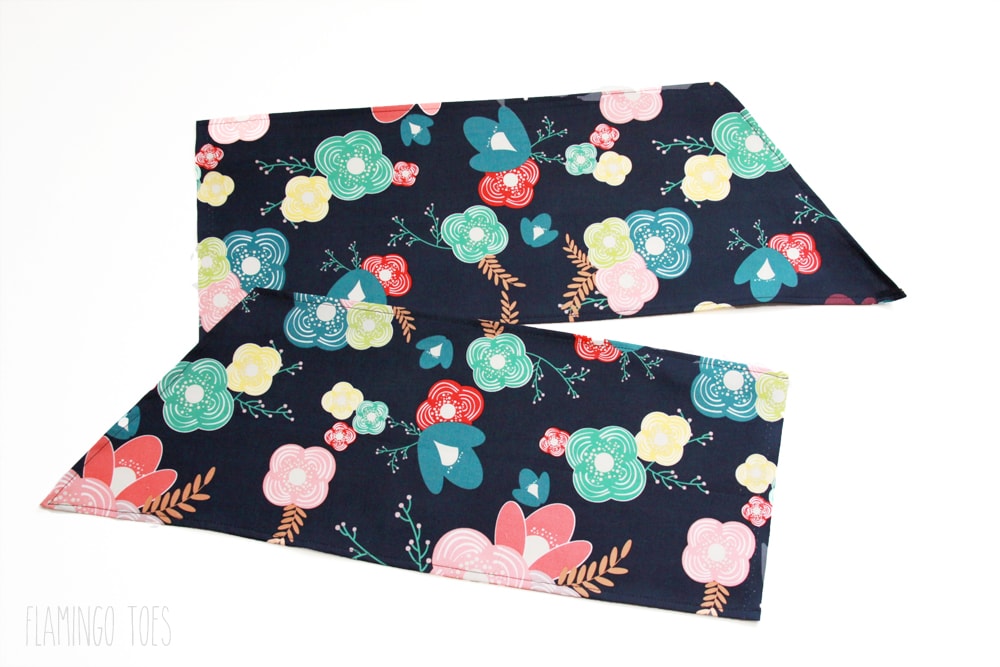
Cut out two pieces of coordinating fabric that are 7″ x 22″. Cut two ends of the fabric at a diagonal, opposite of each other. Hem the top and bottom and the diagonal edge of the pieces.
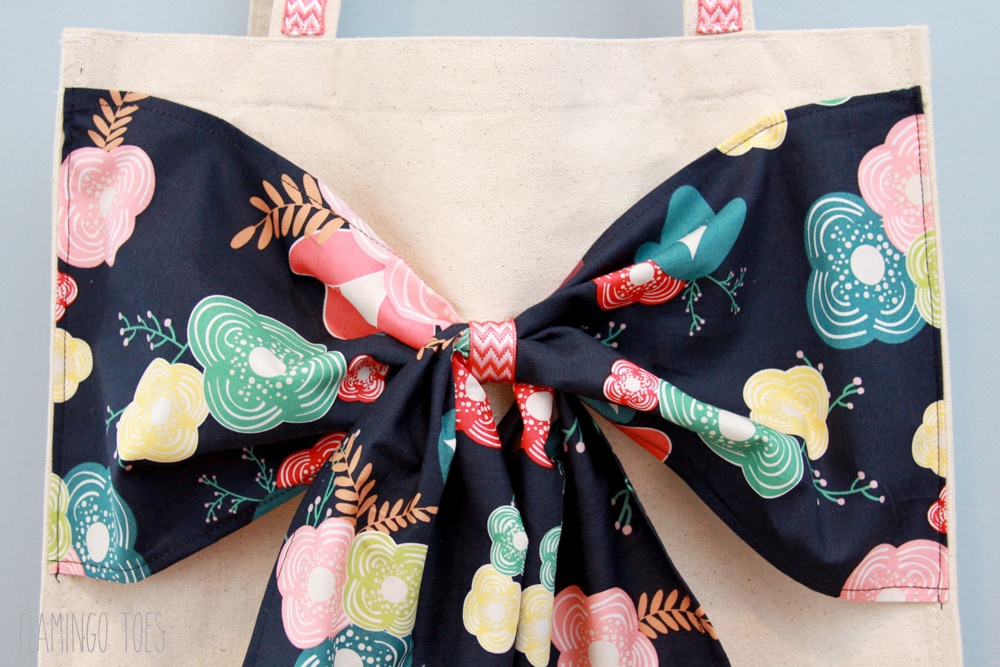
Place the fabric pieces at each side of the tote. The diagonal edges should angle down for each piece. Turn the raw edges under along the left and right sides of the tote and sew the pieces down along each side. Gather the fabrics in the center and wrap a piece of ribbon around them to form the bow. Sew the ribbon in place.
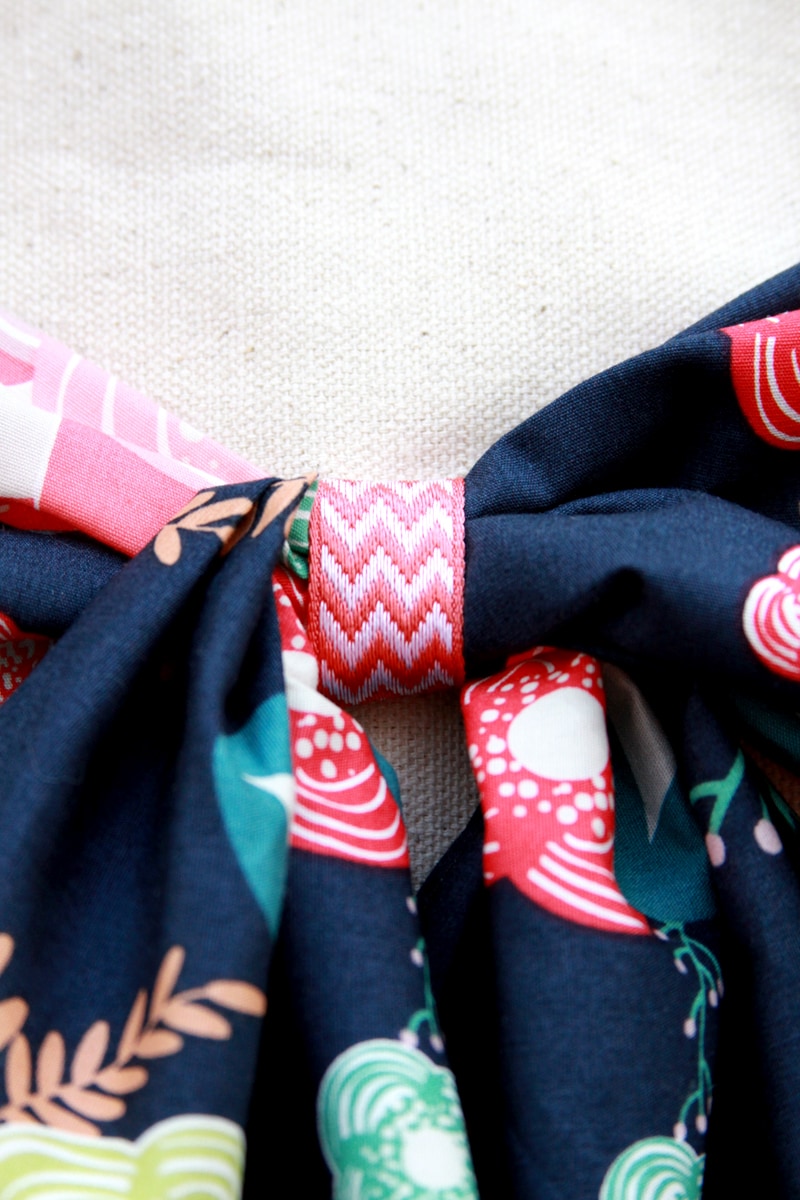
Sew the ribbon down to the inside of the tote to hold it in place. Tack the tops of the bow pieces about 2″ in from each side to keep the bow straight.
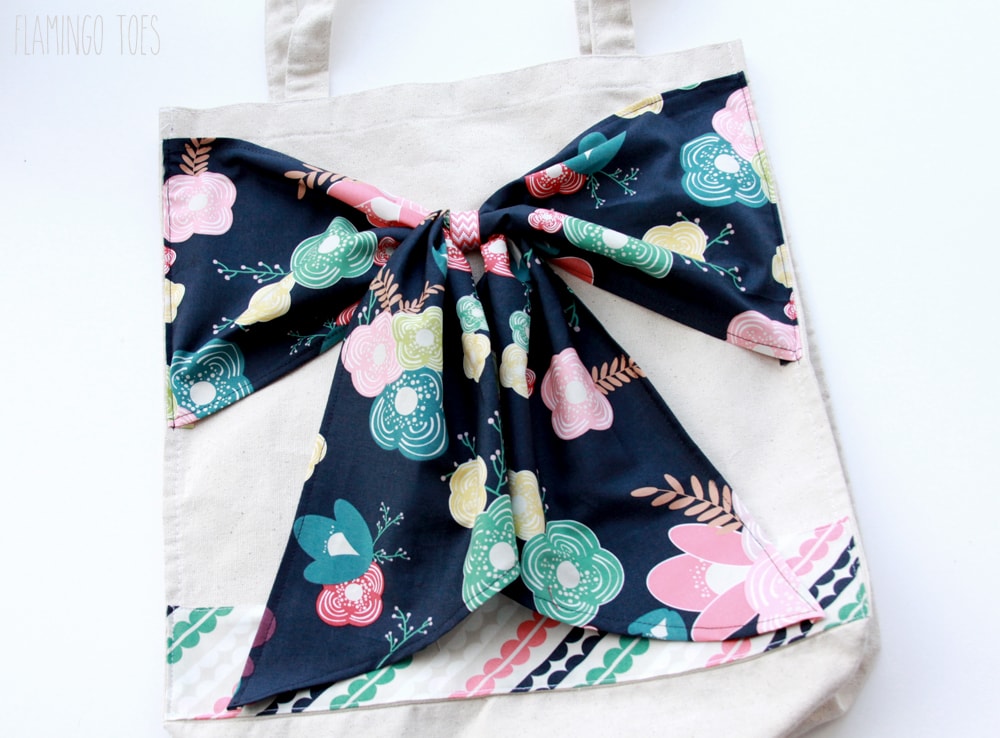
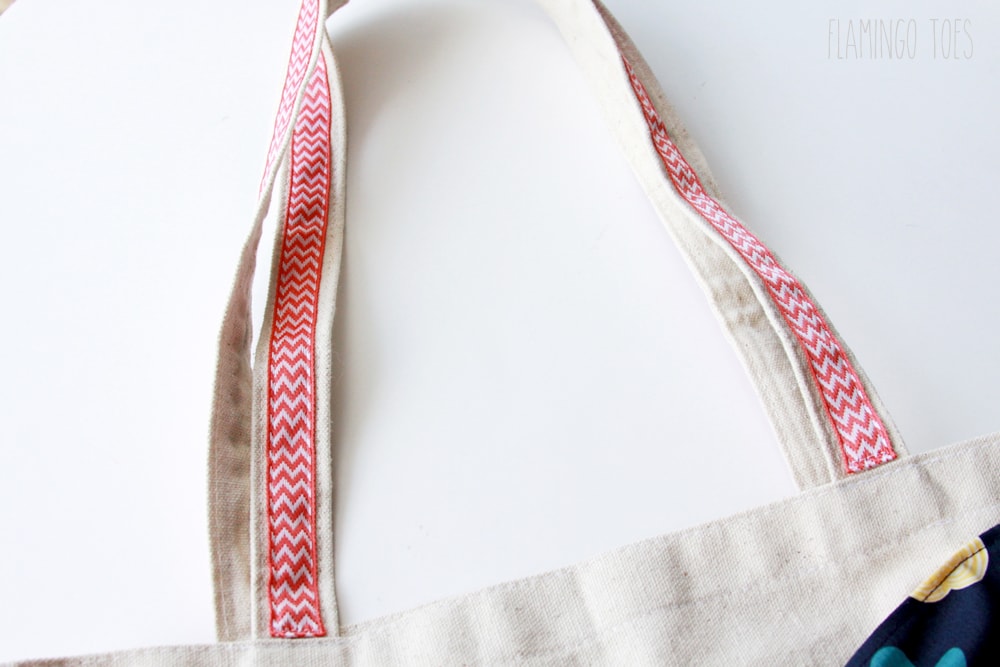
Cut two lengths of ribbon 1″ longer than each strap. Fold the ends under and sew in place on the front of each strap.
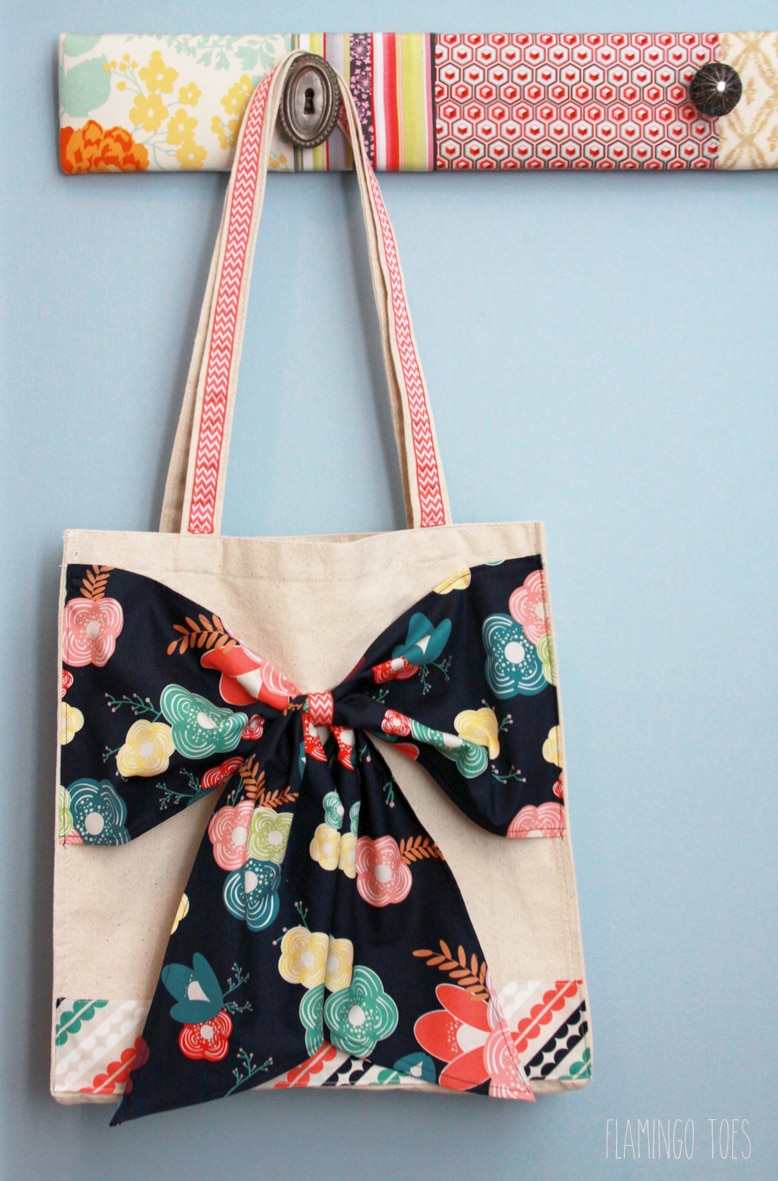
That’s it! You have a cute new tote refashion!
You can really change up the style by just changing the fabrics and adding in some lace!
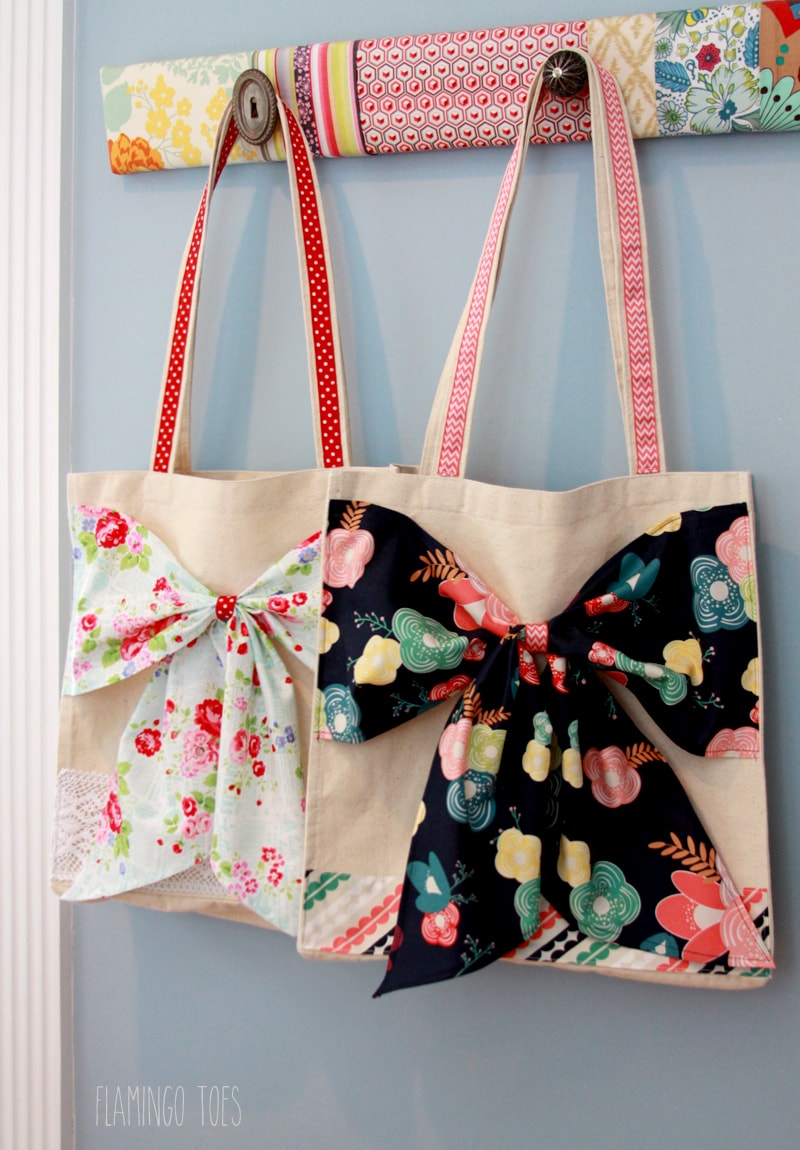
You can check our my lighter fabric and lace version on my blog today.
I hope you give this easy Tote Refashion a try!
_______________________
Wow I LOVE this! I feel like this is something I’d definitely be capable of making. 😉
Thanks for sharing Bev!!
For more great creations by her, head over to Flamingo Toes.
For more sewing projects, check out these posts:
For all sewing projects, go HERE.
For all DIY and crafts, go HERE.
And get weekly emails with monthly freebies by signing up for the Lil’ Luna newsletter. 🙂
For even more great ideas follow me on Facebook – Pinterest – Instagram – Twitter – Periscope – Snapchat.
Don’t miss a thing – Sign up for the Lil’ Luna Newsletter today!
ENJOY!!



how cute is that tote!!! I’ve got a post scheduled for later this morning that links to your tutorial:
http://sewing.craftgossip.com/?p=83576
–Anne
Thanks so much Anne!
This is so cute!! It adds such a pretty touch to the tote. Thanks for the inspiration 🙂
I totally agree, Georgia! I’m slightly obsessed with BOWS so I’m in love with these totes. 😉
so cute! love the bow and the colorful touches of ribbon and lace. so easy to make and customize for every occasion, day, color, outfit! These will make awesome gifts too or make them mini and stuff them with gifts 🙂 thanks for the tute and pattern!
Lower price Produced Grosgrain Bow for all instances. Imprinted frills for hair ribbon bows and more!
This might be a silly question, but how on earth did you sew this with a machine? Or is it hand sewn? I’d love to make one (or a dozen. lol) of these. They’re absolutely adorable!
Not silly! This tutorial is from Bev at Flamingo Toes. I’m sure she could answer any questions you have about this 🙂