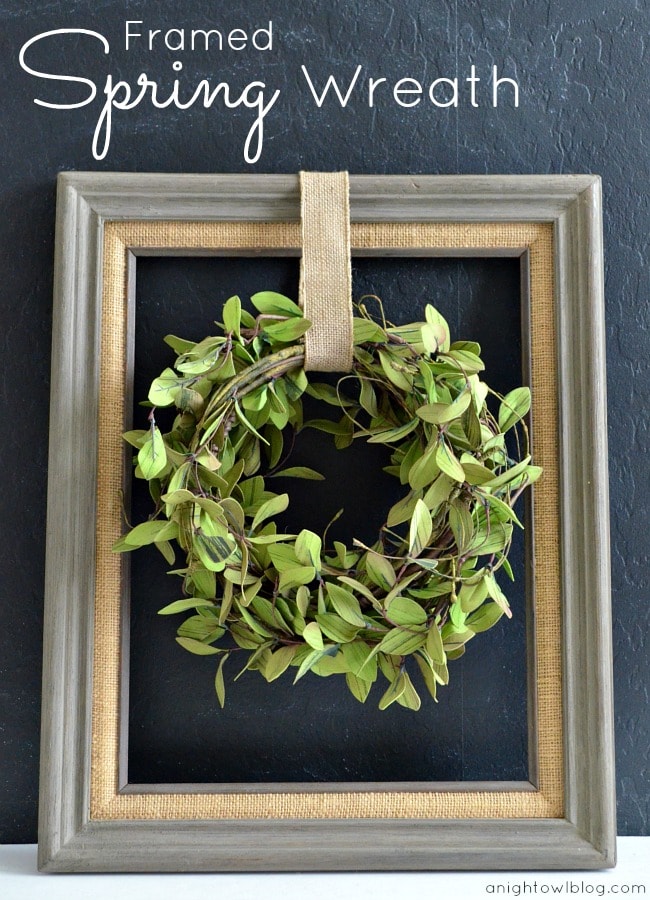
Hi there! It’s Kimberly from A Night Owl and I’m here to share another craft with you! Last time I shared a quick and easy tutorial on how to make a Royal Tee T-Shirt Stamp for the kiddos, but today I’m sharing a craft for us – a Framed Spring Wreath! I simply adore wreaths and making them. They’re such an easy way to change up and liven your home decor.
And this simple Spring wreath is so easy to put together. I came upon this lovely green garland at one of my {many} Hobby Lobby trips lately and I adored the color and knew I had to find a way to incorporate it in our home! Plus it was 50% off that day, so I HAD to buy it, right? It sat there for a few weeks before I realized what I wanted to do with it. And after spending weeks trying to come up with an idea for a new Spring wreath it hit me: this garland would make a lovely wreath! So I got to work – here’s how I made it.
SUPPLIES:
- Open frame
- Greenery garland
- Floral wire
- Burlap
- Scissors
- Hot glue
- Thumbtacks
DIRECTIONS:
I started out by forming the long green garland into a circular wreath shape.
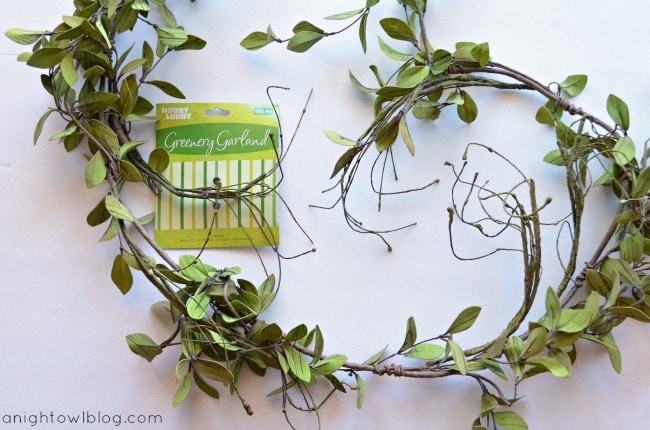
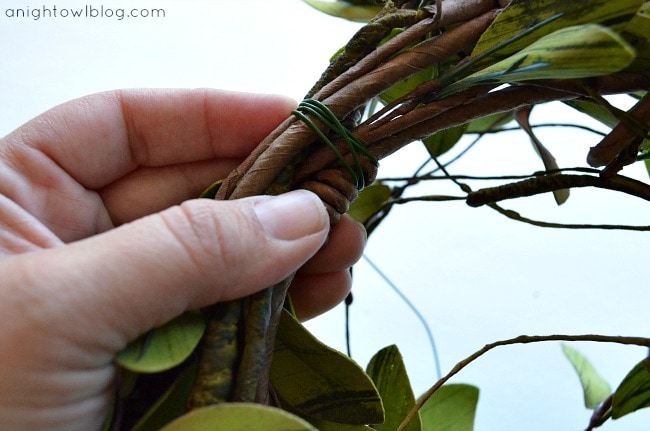
Once it was the size I wanted and I felt like the leaves were in a good place, I used simple green floral wire to secure it in three different places.
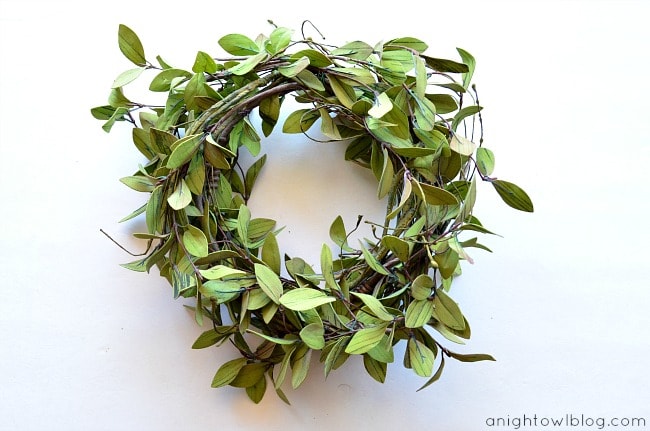
And voila! A lovely Springy wreath – in it’s own right. But I also wanted to add a few more elements not directly to the wreath, so I thought it would look great hung from an open frame.
I grabbed a lovely open frame I had recently picked up from Goodwill (I knew it would be put to good use), some burlap ribbon, my hot glue gun and a couple of thumbtacks.
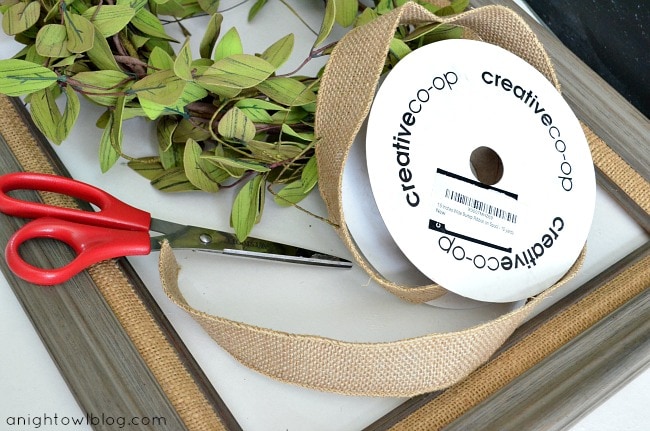
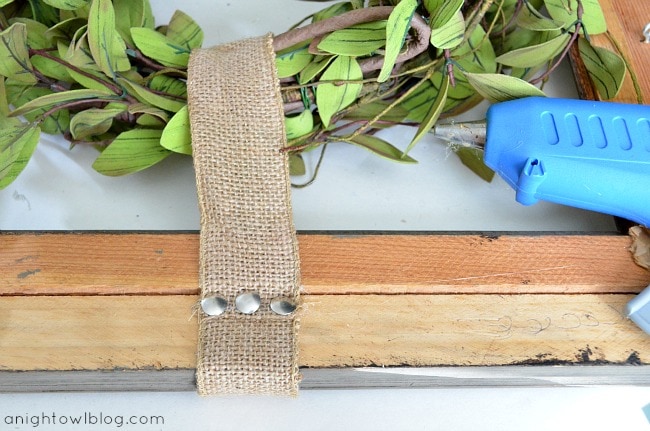
Then I cut the burlap ribbon to a length that would hang the wreath from the top of the frame just where I wanted. I looped the ribbon through the wreath and secured it to the top center back of the frame with hot glue first, then added a few thumbtacks for added stability.
And here is the finished product!
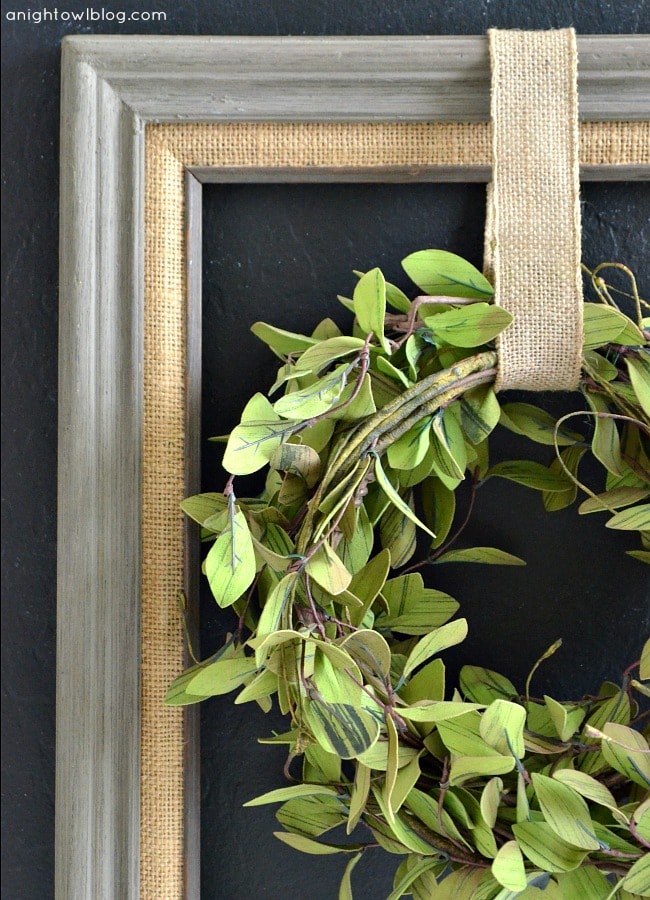
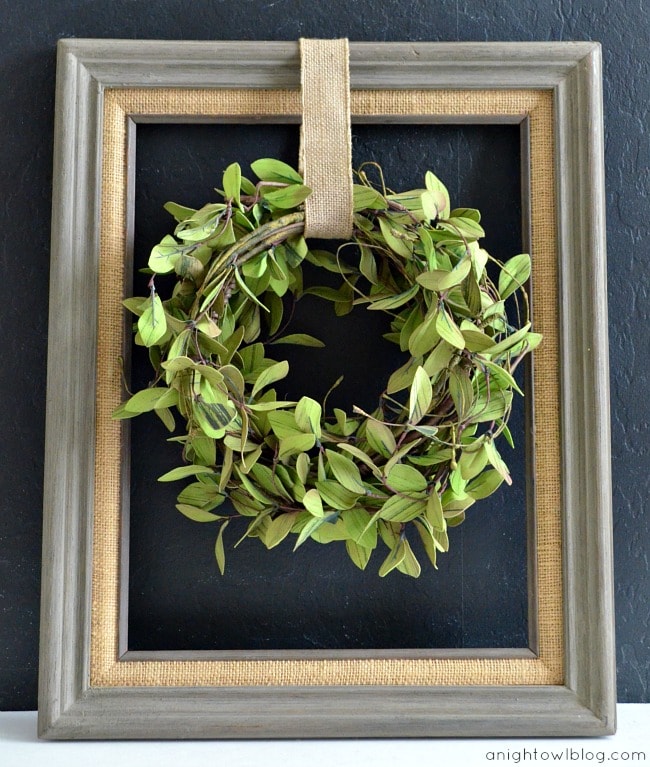
I love how it turned out and am happy to finally be bringing some Spring into our home! What Spring projects have you been tackling lately?
———————————————
Thank you Kimberly! I love how you can use this year round!
Be sure to go to A Night Owl for more fun projects from Kimberly.
For more cute wreath ideas be sure to check out:
For all Crafts & Tutorials go HERE.
ENJOY!



Love the framed wreath!!
Oh this is adorable Kimberly! What a great idea! 🙂
Oh I just love that!! And it could totally be adapted to any season. So darling! 🙂
Vanessa
That garland is SO beautiful!! The wreath looks gorgeous, understated, and classy. I am normally not a wreath person and I seriously love it!!
Love this! The wreath is the perfect color and what a score on the frame! Fabulolus project!
Love it! So many things for spring look cheesy or pastel. I love that this is classy. Great job!
This is so adorable! And that color!! {happy sigh!} the PERFECT shade of “spring green”!! I SO wish we had a Hobby Lobby near me! My aunt and I were just lamenting that this afternoon!! Great project Kimberly! Thank you so much for inspiring me today!!
This is so pretty! I love it!
oh love it! I want one 🙂 time to hit up hobby lobby!
Beautiful Kimberly!! So easy and yet elegant.
Heather
I love this! I love the greenery you used, the frame, and the burlap. It’s so pretty and natural. Thanks so much for sharing. Enjoy your day!
This wreath is really cute! I have been wanting to make a wreath inside of a frame a lot like this one. Thanks for sharing. You have inspired me to make one. 🙂 http://gloriouslymade.blogspot.com/2013/04/charming-spring-wreath.html Here is the link of the spring wreath that I put together. Have a blessed day.:)
Oh my gosh, I so love this project!!!!! Too cute!
That looks so pretty! I love how simple it is but it’s such a great spring accent!
Where did you buy the garland?