DIY Pantry Shelving
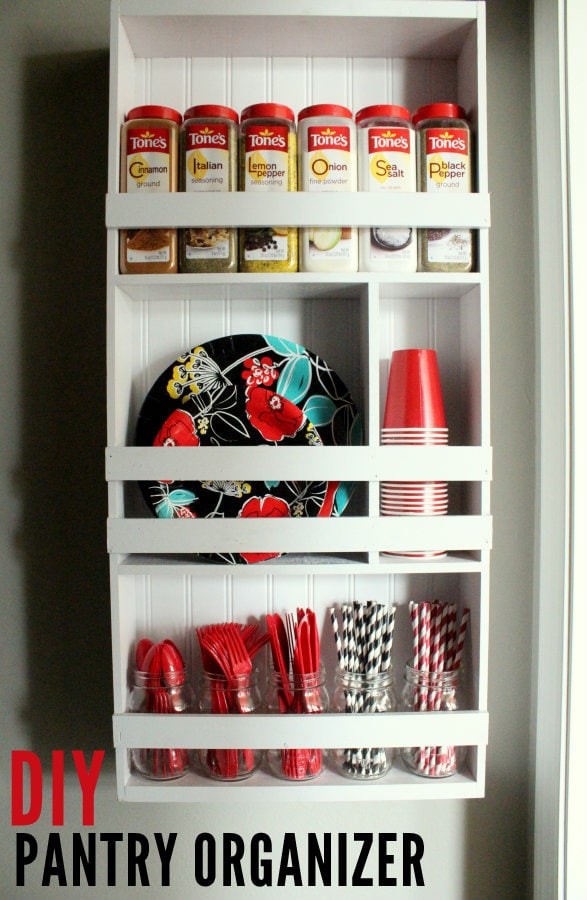
I was spoiled back in Arizona. I had a HUGE pantry, and I LOVED it! When we were looking at houses here in Texas, the first thing we noticed was how small the pantries were (boo!) One of the most attractive things about the house we picked was that it was a decent-size pantry. Fast forward a few months after moving in, and our pantry is FULL!! I thought it would be good to make a little Pantry Organizer Shelving unit to help with a few odds and ends I was having a hard time fitting into the pantry. 🙂
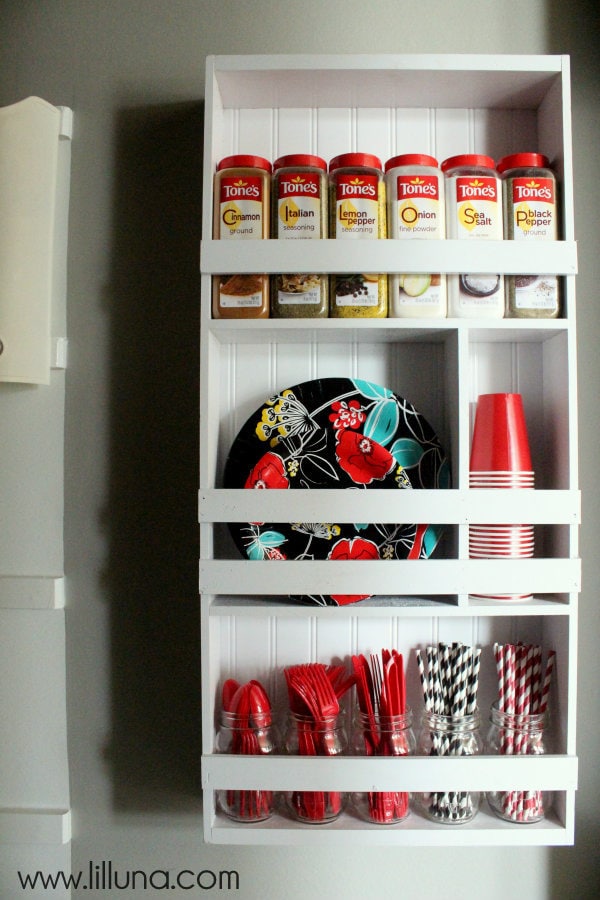
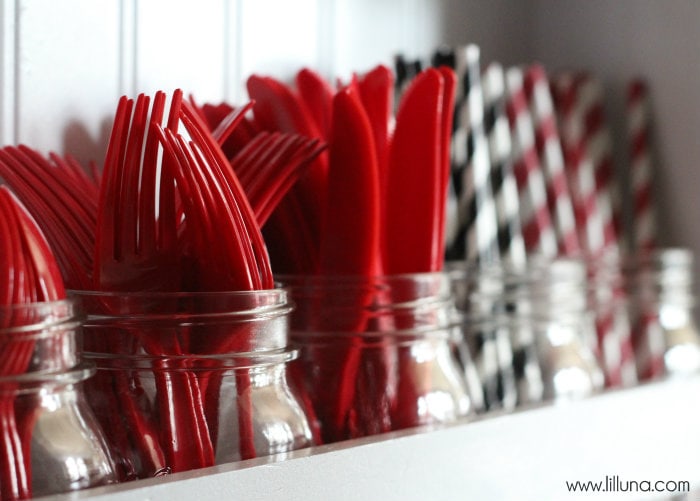
I LOVE how it turned out!! The best part about it is the kiddos can reach it which means they can get a cup or a spoon without asking me. Sure, I’m happy to help them, but they almost always ask for these things when I have just sat down to nurse the baby. Not cool. The Pantry Organizer has helped so much with that!! There were certain things we wanted this Pantry Organizer to hold, so we made this to fit those things, which include Spices, Plates, Cups, and Jars (which can be filled with practically anything). The measurements below will ft the standard sizes of these items, but you can always change it up to be able to hold the things you want it to hold. 🙂
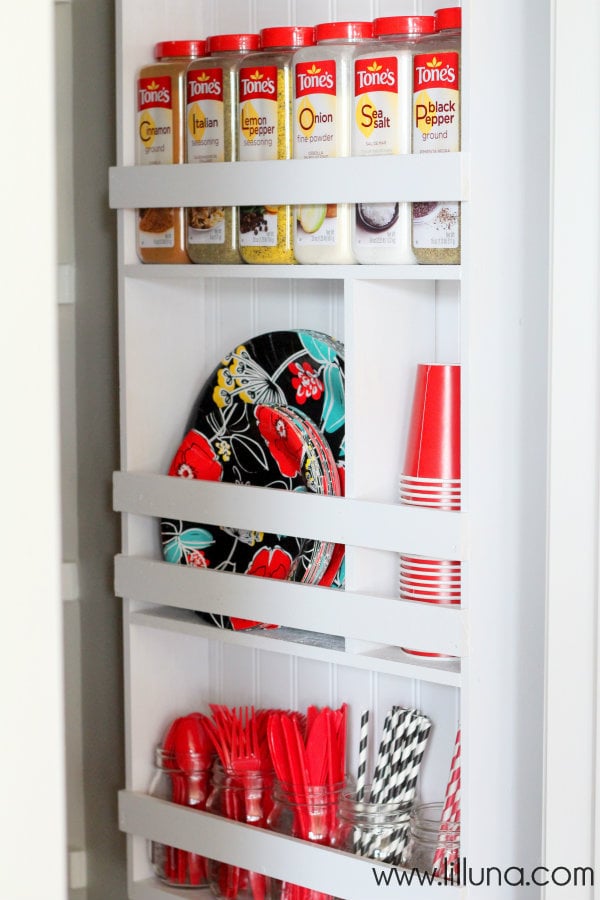
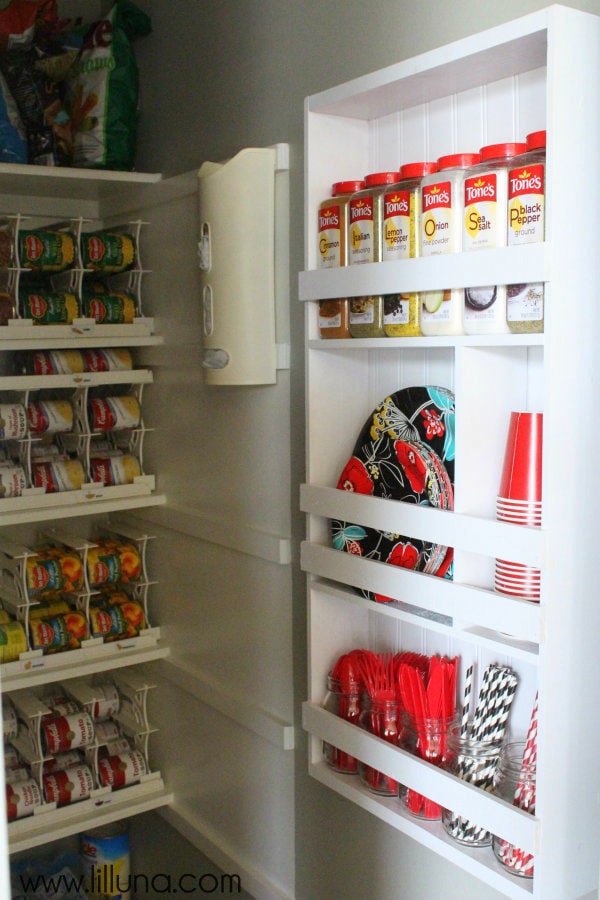
Here is what you’ll need to make it…
SUPPLIES:
- WOOD (in the sheet)
- Miter Saw (hand or electric, we used hand)
- Nails
- Hammer
- Wood Glue
- Beadboard
- Carpenter’s Square
- Spray Paint (we used Rustoleum High Performance Enamel – White)
- Polyurethane Spray (we used Clear Satin finish)
*All supplies found at Lowe’s
DIRECTIONS:
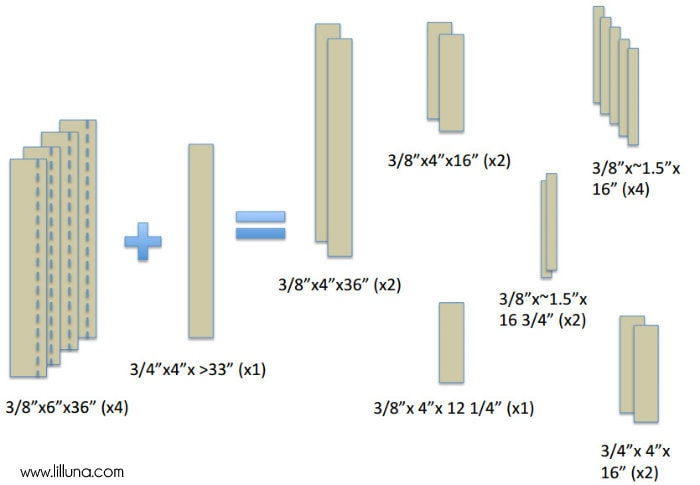
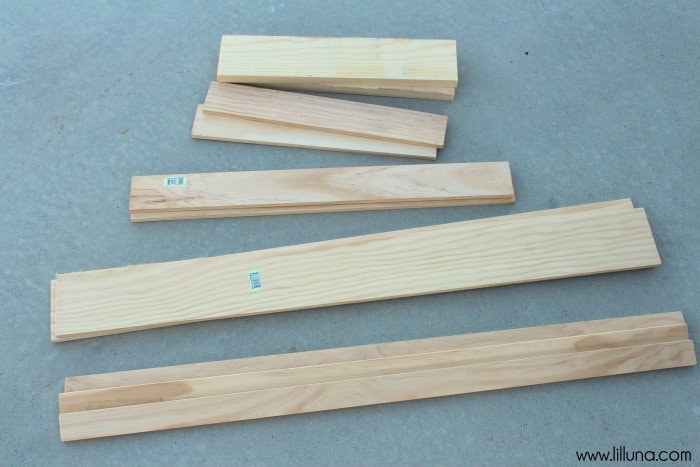
1. Cut your boards to the lengths and widths as described in the image.
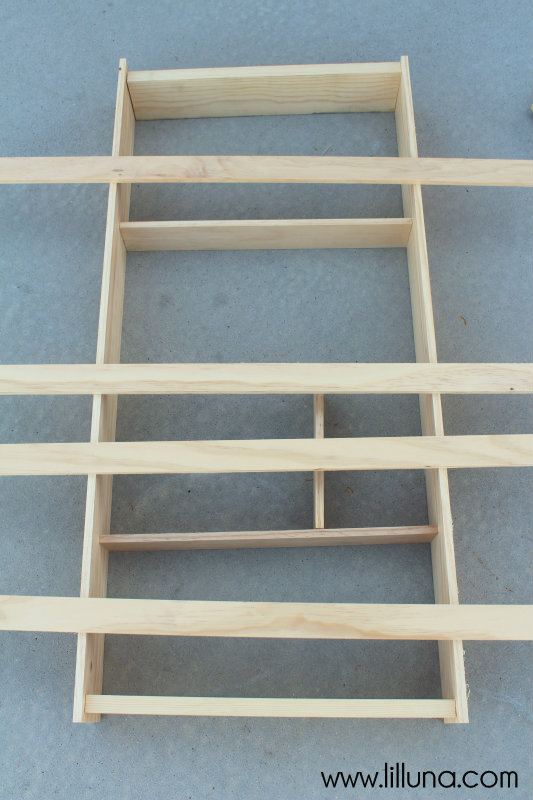
{We laid out the boards just to get a general idea of what we wanted}
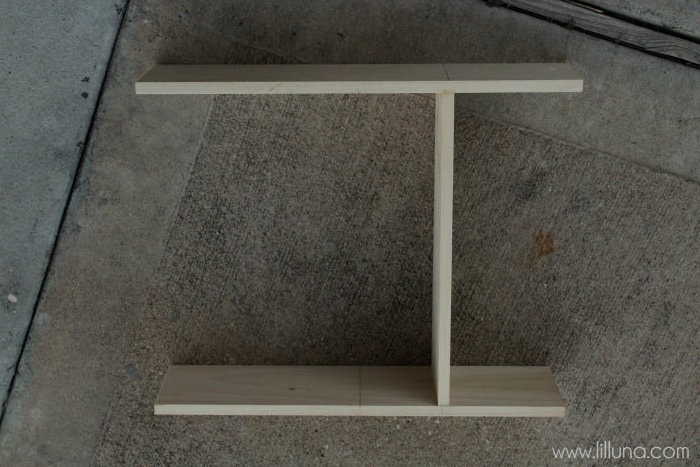
2. Build the outside frame by nailing and gluing the ⅜″ thick – 36″ x 4″ boards (for the sides) and the ¾″ thick – 16″ x 4″ boards (for the top and bottom). Sandwich the ¾″ thick board between the two 36″ boards at the top and bottom and attach *SEE NOTE BELOW* (we used the thicker boards for the top and bottom to provide more stability at the corners).
*NOTE: All joints were glued first and then nailed and clamped in place using Ten Penny Nails.
We used a Carpenter’s Square when gluing and clamping at each corner to make sure they were at 90 degrees.
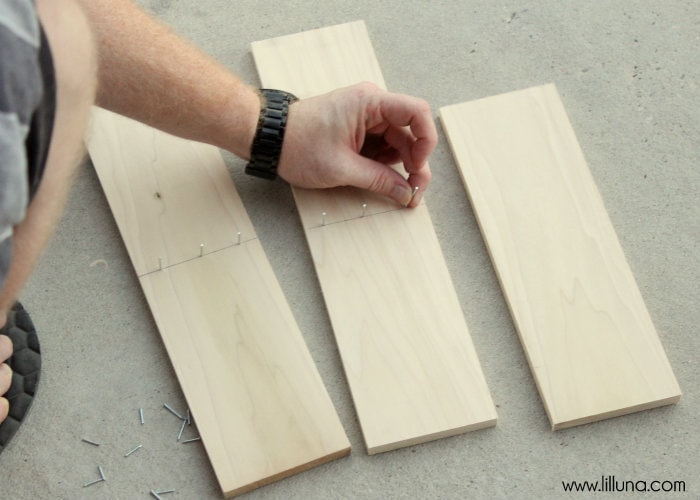
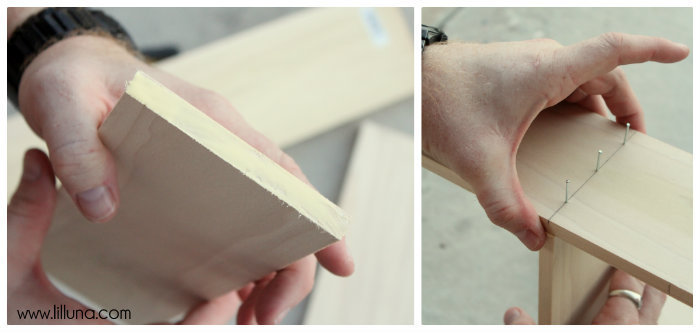
3. Create inner shelves and divider. This was done separately first and then inserted into the frame.
We used the TWO ⅜″ thick 4″ x 16″ pieces and attached the ⅜″ thick 4″ x 12 ¼″ piece to make this divider. We marked a spot on the 16″ pieces at 11 ¼″ spot and attached the 12 ¼″ piece there. This divider part holds the plates and cups.
We nailed the divider shelf vertically in between the two side pieces. The bottom part of this divider shelf was placed 25 ¼″ from the bottom of the whole unit.
Again, we attached by gluing, nailing and clamping in place, AND using a square to make sure it’s 90 degrees.
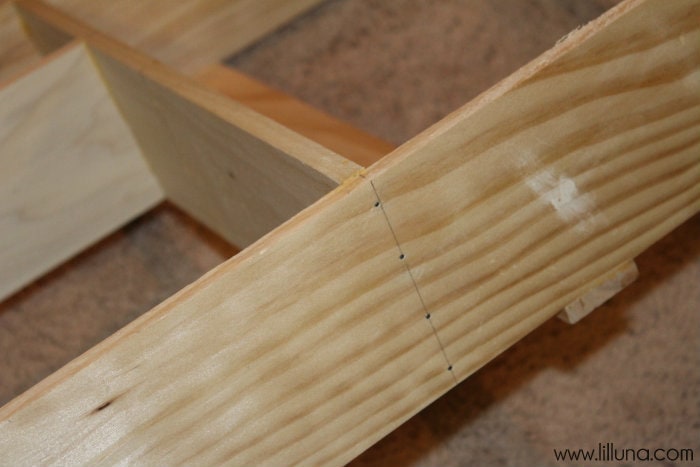
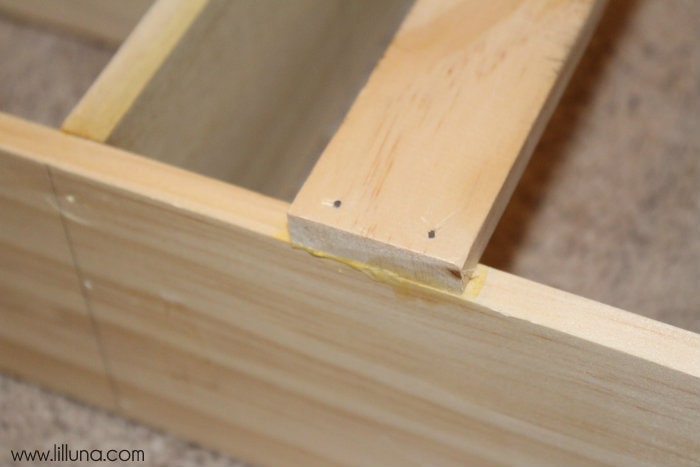
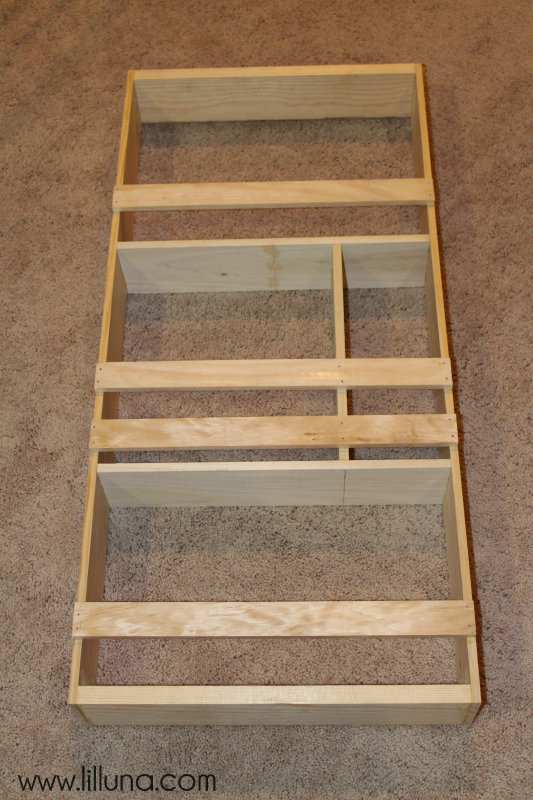
4. We then added retaining slats across the front of each section so the items on those shelves wouldn’t fall out. You can place these anywhere on the shelf. We added two slats on the shelf with the plates and cups to make sure those stayed in well.
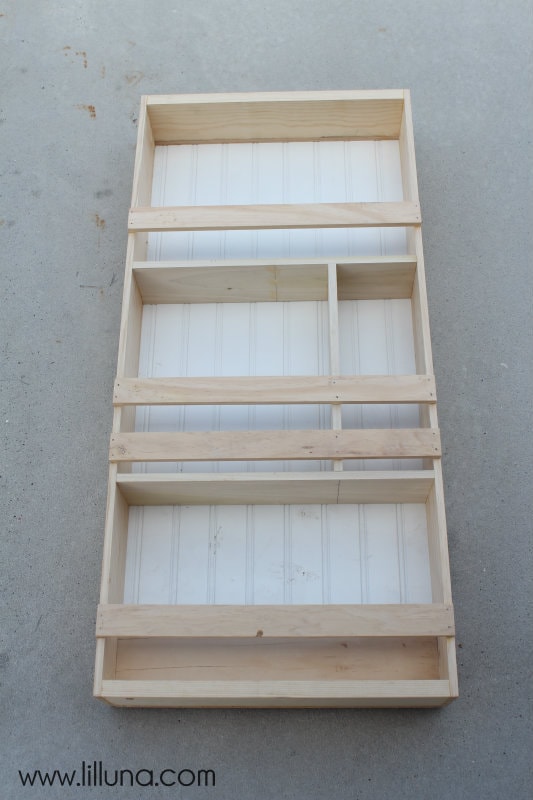
5. Then we cute a piece of beadboard that was 16 ¾″ x 36″ and nailed this to the back of the unit.
6. From there were spray painted it white and then added 2 layers of Spray Polyurethane and let it dry completely.
The Pantry Organizer was nailed in place in the pantry, and I couldn’t be more happy with it!!
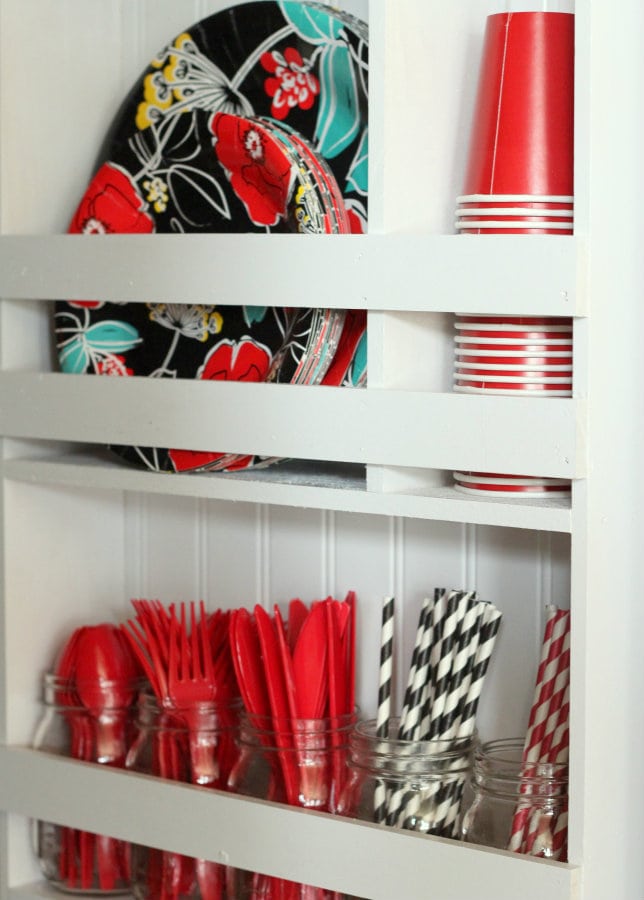
This was such a fun project to put together! The hard part was figuring out the measurements, but if you want the same thing, then we’ve done them all for you!
For more great DIY projects, be sure to check out:
For more creative inspiration, visit Lowes Creative Ideas and Lowes.com
ENJOY!
This is a sponsored post written by me on behalf of Lowes. All opinions are 100% mine.



What an awesome tutorial and fun project! Isn’t it always the case that older children wait until the exact second you’ve sat down (to nurse, or any other reason!) to ask you for something? Love it.
ALWAYS!!! It kinda drives me crazy so this little unit has helped so much with that. 🙂 Thanks for stopping by, girl! XO
I love it! It’s so purdy to look at!
Awww, thanks Kim!! I just like that it helps keeps things organized and is in a place where the kiddos can get things for themselves!! 😉
I’ve been looking for can organizers like you have in your pantry. What brand are those?
Please share where you got your can organizers. I love how organized that looks and they look to hold so much. Thx!
Shelfreliance.com – I love them – helps organize SO much!!
I’ve been looking for can organizers like that too for my TINY pantry here in CA. Please do tell where you found them! Thanks Kristyn!
I got them from shelfreliance.com – they are the best!!
I am planning to install some shelves in my kitchen pantry for increasing storage space. Your pantry turned out beautiful. I would love to incorporate your tricks for my kitchen makeover.
Thank you so much, Evelyn! In my mind, the more shelves the better – I wish I had even more. 🙂
Please could you tell me about the holders in your pantry that stored all your canned goods. Nothing like that in the United Kingdom. They would be so useful.
I’m not sure if the company ships world wide, but they are from: http://www.thrive.thrivelife.com/home Check ’em out!
Thankyou so much for replying, I will scour websites in UK and if I have no luck will ask if the will ship.
Hi! Love your spice/plate rack you built!
I’m curious where you got the can holders on the shelves in your pantry?
Would love to have some of these for my pantry!
Shelf Reliance – they are the best can holders and help keep the pantry organized. 🙂
Just found your site and I’m so tickled! What wonderful ideas you have.. this one included. I’ve posted it on reddit and all my other social networks as I see many others have. Ü
You have a beautiful site!
Nancy