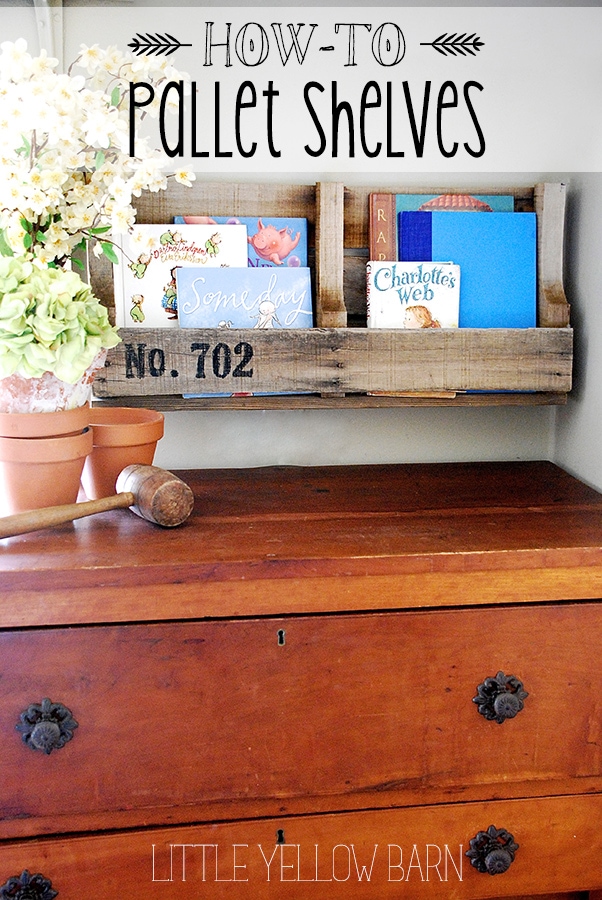
Hi there LUNA LOVERS! I’m Jourdan from Little Yellow Barn and I wanted to share some pallet love with you today! Pallets have become a huge fad, one which is easy to jump on board with. They are inexpensive, easy to come by and serve multiple purposes in the home decor / DIY department. Look for pallets on craigslist / KSL, local businesses or even on the side of the road on dumpster day. Trust me, you can always find an industrious way to use pallet wood. Especially pallets that are older and worn from sitting outside season after season. I always keep my eye out for wood boards or scraps with CHARACTER when I’m driving around town or going for a jog in older neighborhoods.
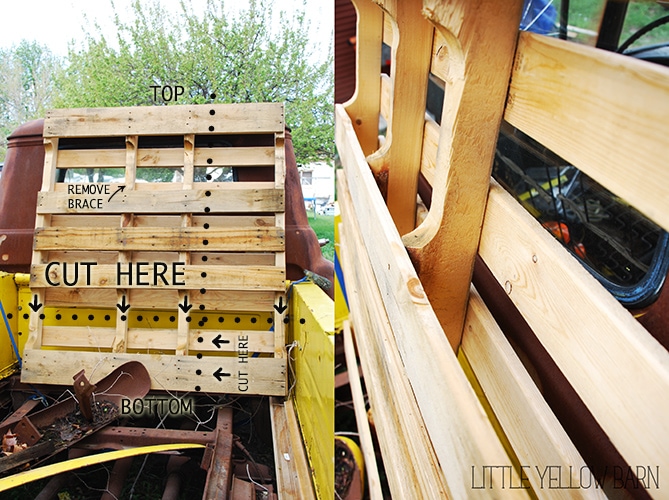
The hardest part of working with pallet wood is pulling the pieces apart, because pallets serve the purpose of transporting cargo from city to city, they are made really sturdy. Removing the nails without busting up the wood takes patience and muscle.
TO MAKE:
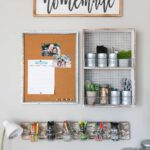
For the most part, the shelf is already assemble. Once the pallet is cut height-wise, a base can be added to the shelf and voila! I also cut my shelves width-wise to make them fit to my wall. To do this, remove one of the braces running from top to bottom.
* Tip: Paint every other letter/number. Then go back in between each digit, to do the rest. That way you don’t have to wait for each one to dry before painting another.
Rough up the letters a bit using sand paper if you want to create a more worn look.
Optional: spray the entire shelf with a clear coat, any generic brand will do.
What are your thought on pallet shelves… love them or hate them?
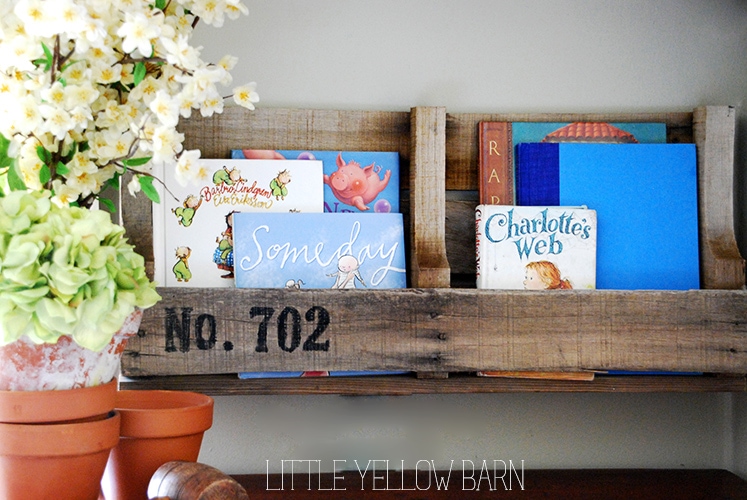
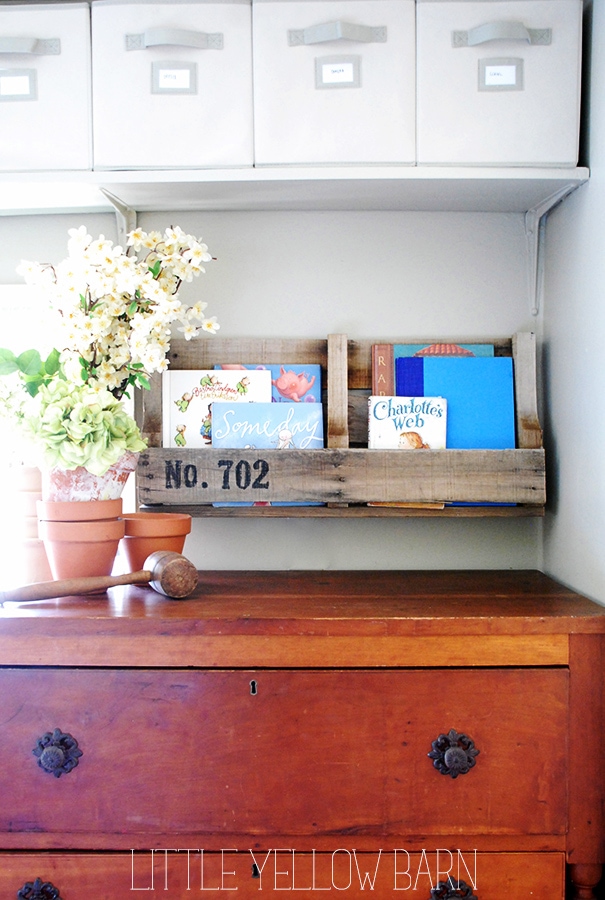
I LOVE these DIY Pallet Shelves, Jourdan & Ashley! I want to make them for all the rooms now. What a great idea!
For more awesome tutorials from Jourdan & Ashley head on over to Little Yellow Barn, and for more info about them go HERE.
For more great projects from these amazing girls on the site be sure to check out:
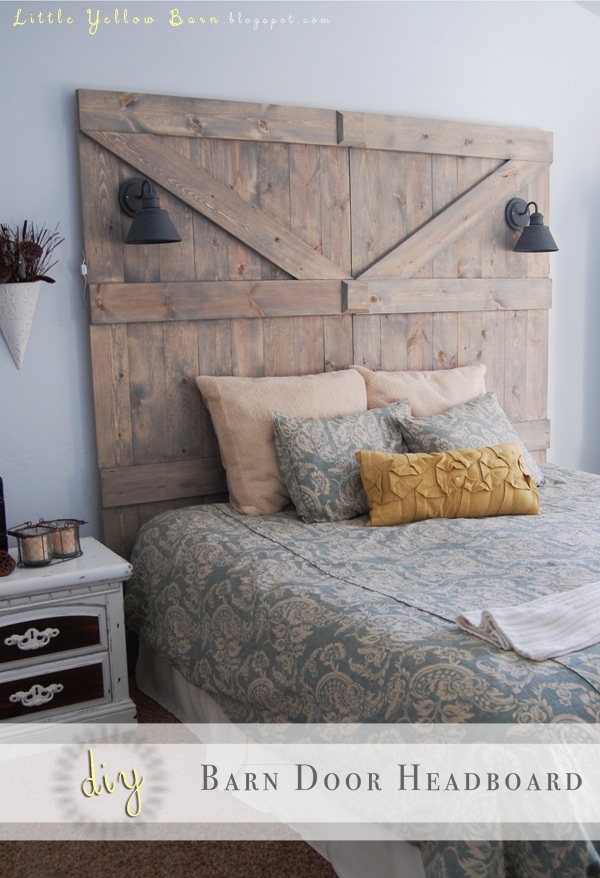
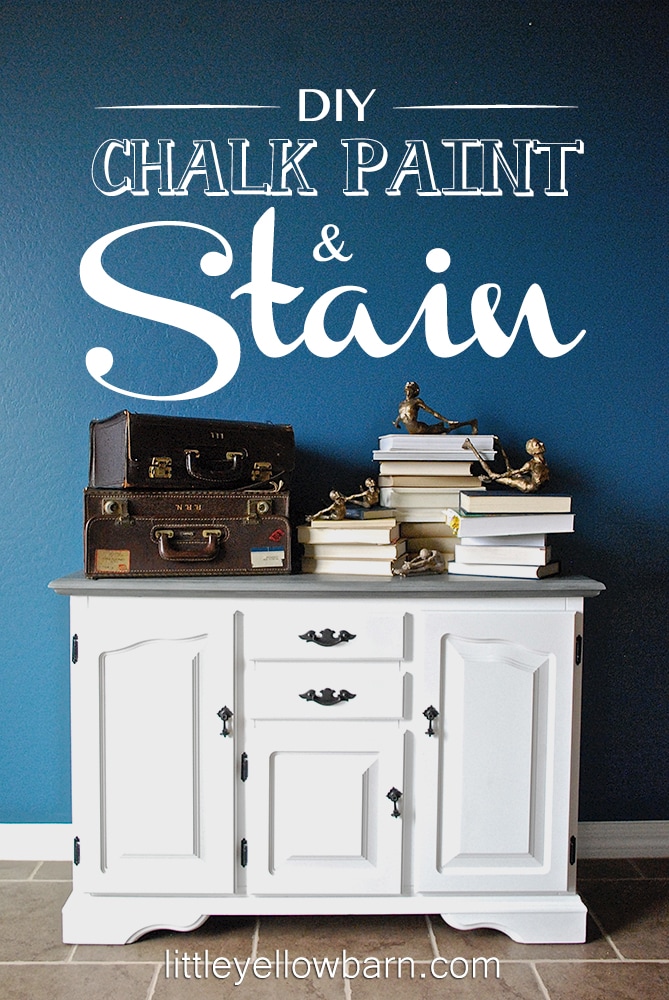
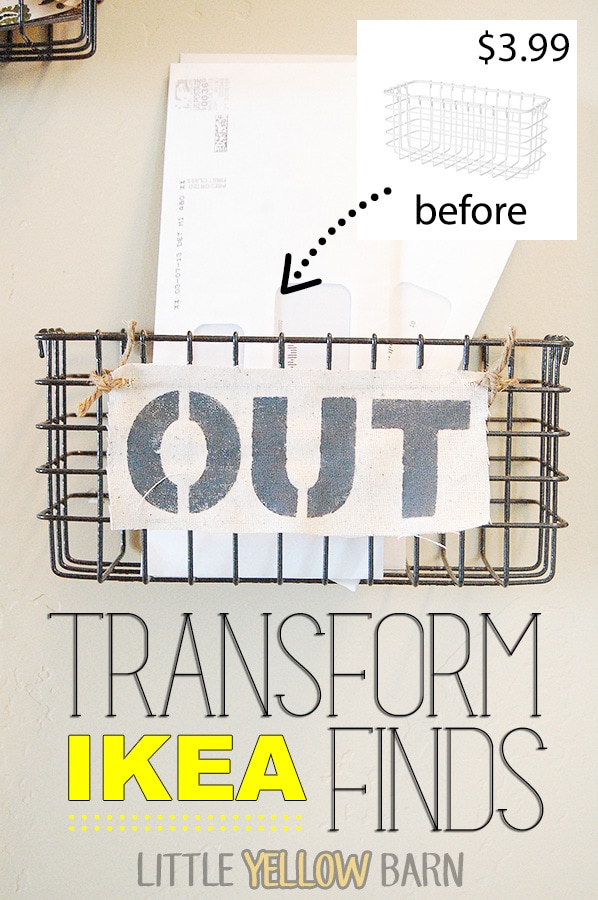
For all tutorials here on the site go HERE.
For all DIY projects go HERE.
And get weekly emails with monthly freebies by signing up for the Lil’ Luna newsletter. 🙂
For even more great ideas follow me on Facebook – Pinterest – Instagram – Twitter – Periscope.
ENJOY!


These are great!! I love pallets. Recently, I did a pallet box (http://balmtomysoul.com/2014/04/reuse-recycle-easter-pallet-box/) for my counter and love it. I am hoping to do a handpainted pallet sign soon!! Thanks for some gorgeous inspiration. I love the pictures on your site!!
Love this. Jourdan, you are a talented girl and I want to see your whole house!