My kitchen needs some MAJOR organizational help. I spent a ton of time organizing the kitchen when we first moved in over a year ago, but haven’t really done much to it since. I’ve noticed that the drawers and counters are getting a little more clutter and it’s driving me wild!
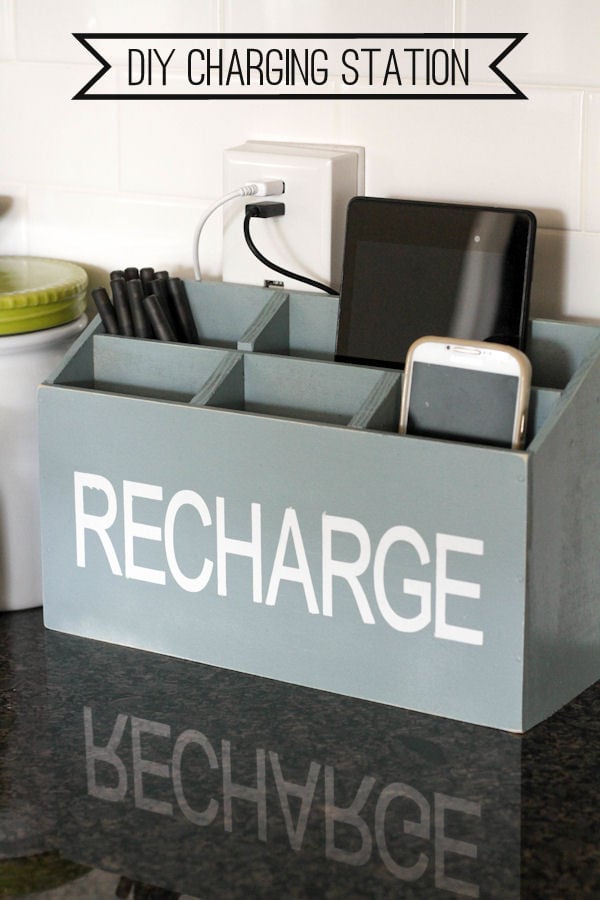
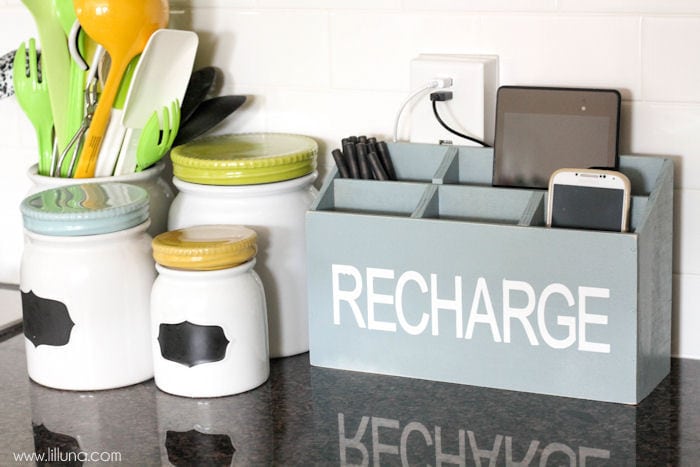
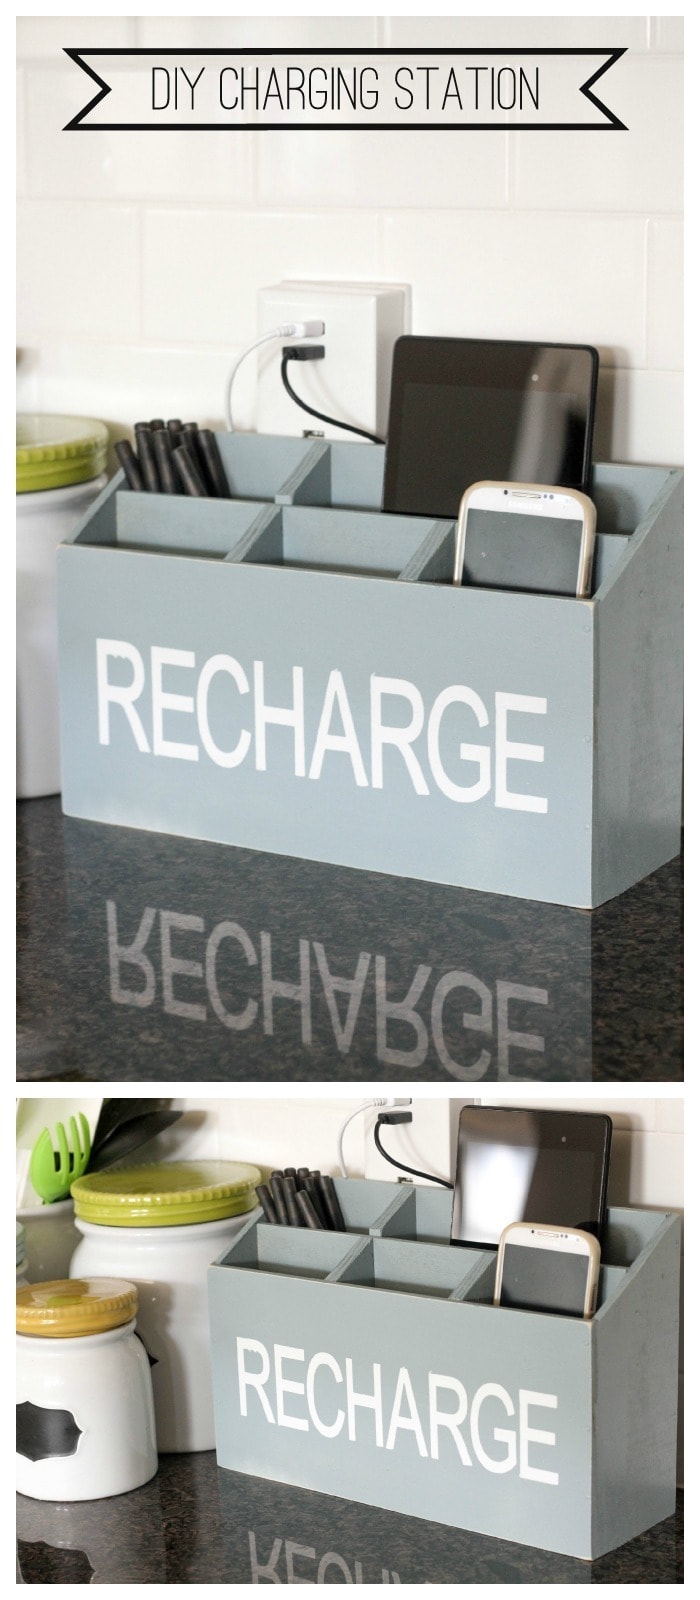
Some of the things adding some clutter to the counters are the chargers for our tablets and phones. Yes, I hate admitting it but with 2 phones and 3 tablets (iPad is for hubby’s work, I have a tablet, and we also have a family tablet – the only one with games) cords are all over the place and I can’t stand the mess it makes on the counters. :/ I had been wanting a little “Charging Station” to keep it organized and hadn’t been able to find any in my shopping excursions, so we decided to make one. We knew we could make it for cheap and pretty easily if we just sat down and mapped it out. With the hubby’s help, we came up with our own little DIY Charging Station that I am now obsessed with!! Not only does it hide all the cords, but it keeps things looking organized and keeps everything in one place. 😉
Here is what you’ll need if you’d like to make one of these as well…
SUPPLIES: (all boards were available pre-cut at these widths and thicknesses at Lowes)
- 1 – 2′ x 5 1⁄2” x¼″ board
- 1 – 3′ x 3 1⁄2” x ¼″ board
- 1 – 2′ x 1 1⁄2” x ⅜″ board (this board is thicker to allow for easier nailing)
- finish nails
- wood glue
- tools
- saw
- hammer
- square
- drill
- drill bit ¾″ or larger
DIRECTIONS:
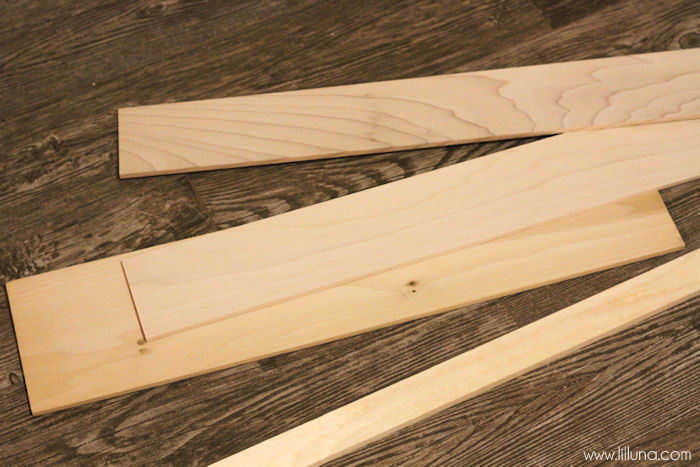
1. We first cut all the boards to the proper lengths:
The 5 ½” wide board was cut to a 12″ section (front) and an 11 ½″ section (back).
The 3 1⁄2” wide board was cut to two 11 ½″ section (long divider and bottom), and two sections that were 5/½″ on one side and cut at a 30 degree angle for a larger side on the back, creating a trapezoid (sides).
The 1 ½″ boards were also cut into three pieces with a 30 degree edge. Two had a short side length of 3 3⁄4” and one had a short side length of 4 1⁄2” (small dividers).

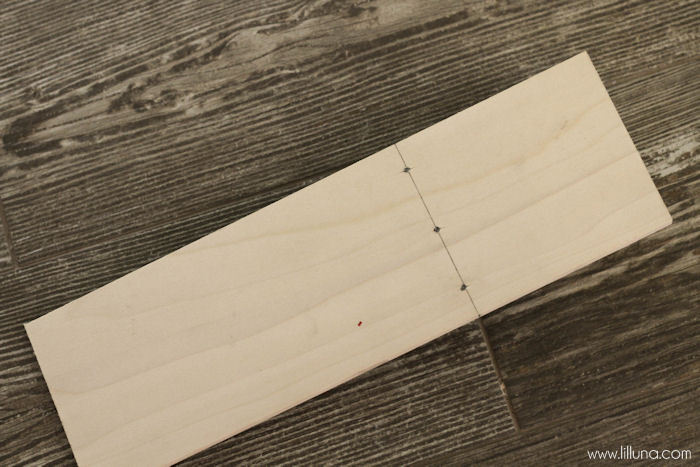
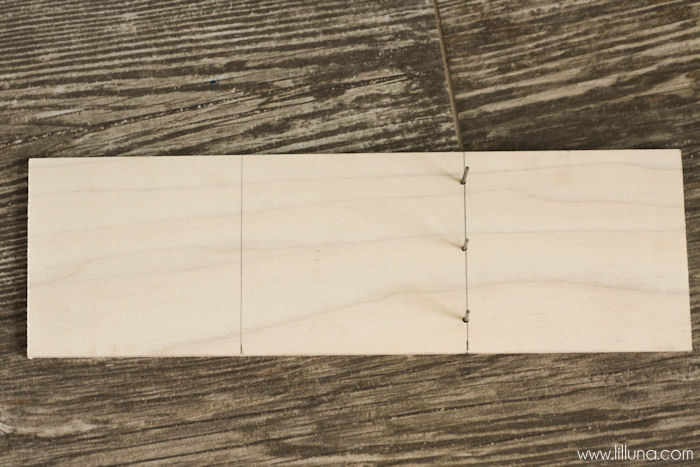
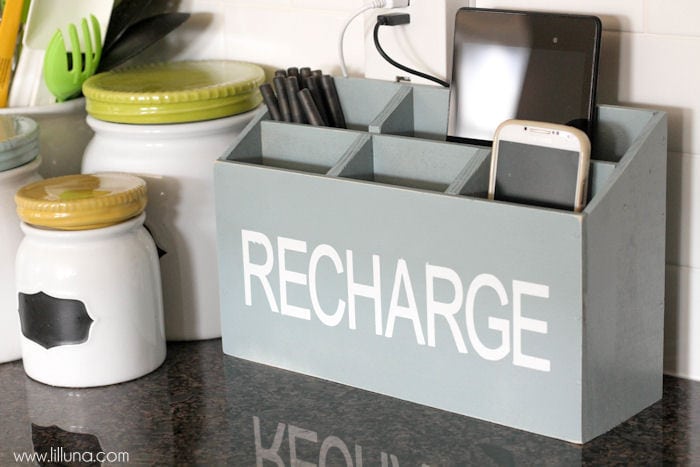
2. I then marked out where I wanted the dividers to be. I marked on both sides of the Long Divider board where I wanted them to be. Ours were approx. 4” apart, or equally divided into thirds.
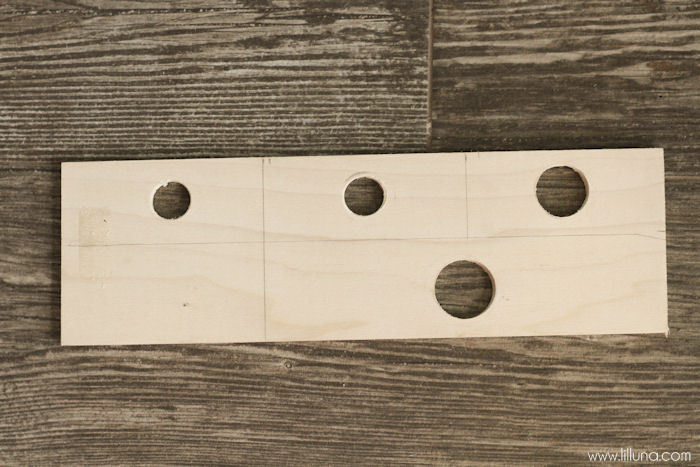
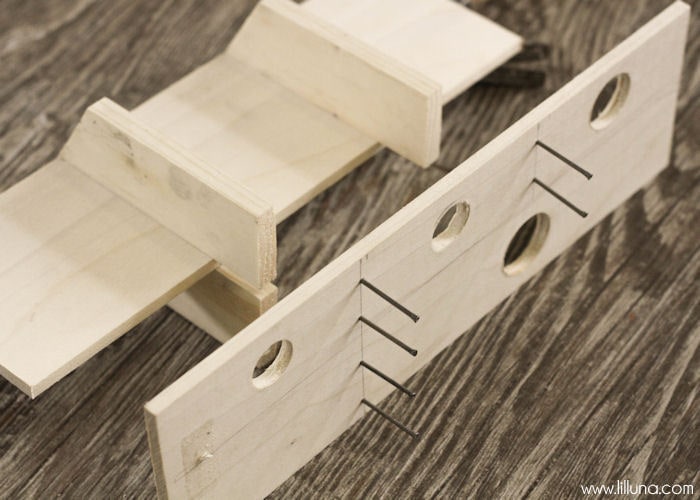
3. On the board that would be the Bottom, I laid out the grid of what the dividers would be like. I then drilled 3⁄4” or larger holes in the sections where I would have cords running into. I left one compartment without a hole so it could act as a pencil holder.
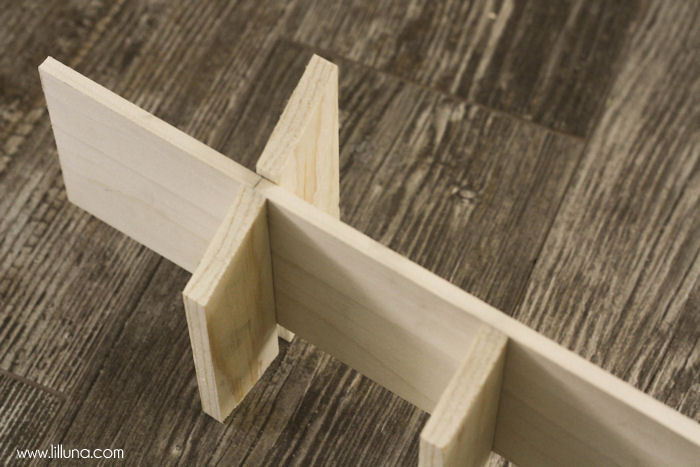
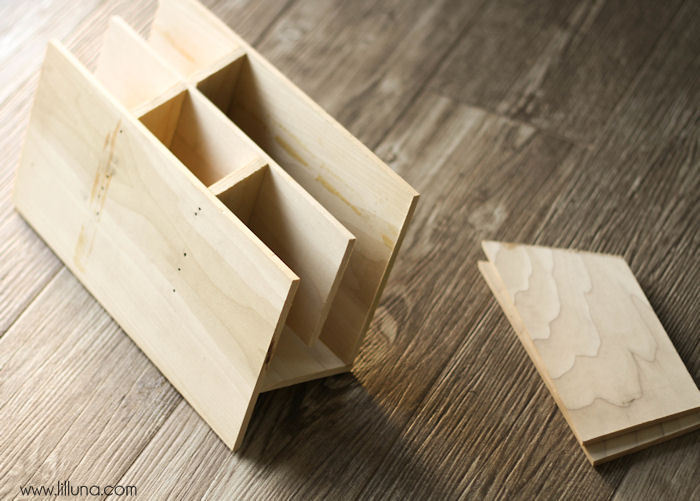
4. I then began assembling the dividers. I drove 3 finish nails along the divider line that I had marked on the Long Divider. I hammered these all the way through.
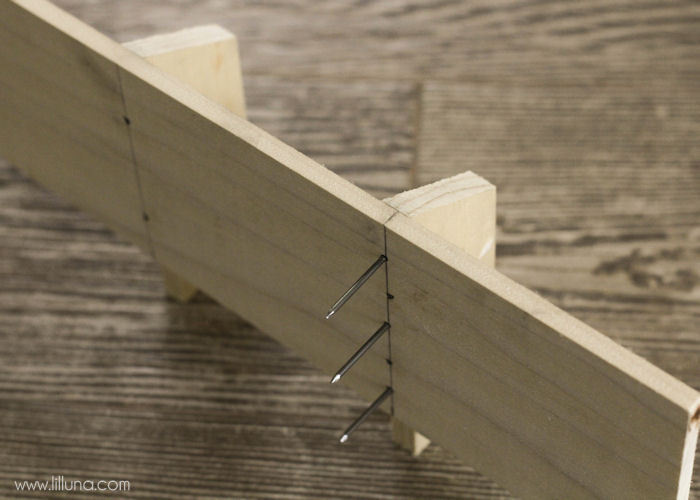
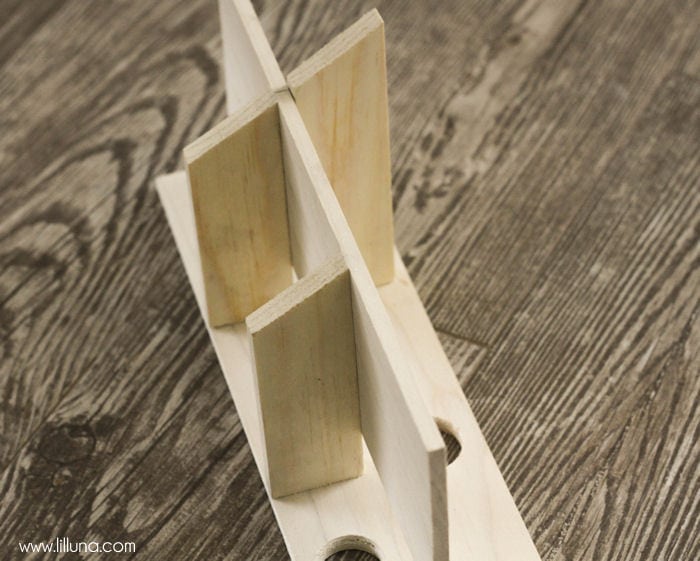
5. I flipped the board over, and nailed two more finish nails, this time into one of the smaller angled dividers. The smaller dividers are taller than the Long Divider, so I lined the long corner up with the top of the divider. If you want a sturdier box, put wood glue at all attachments. I only put it as I attached the front, back, and sides. I nailed a second short divider on the same side of the Long Divider, 4 inches down.
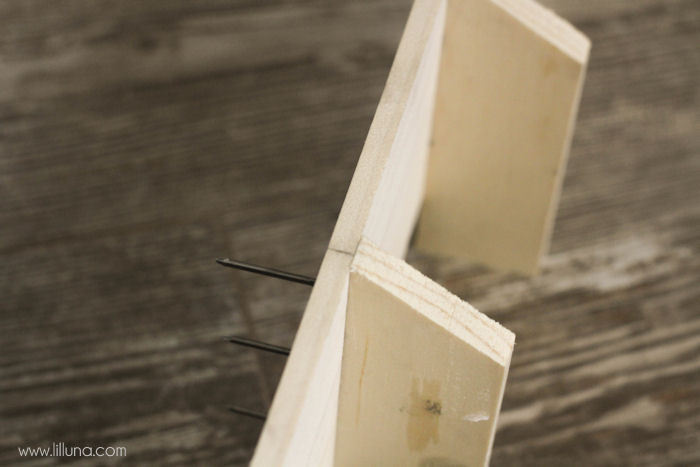
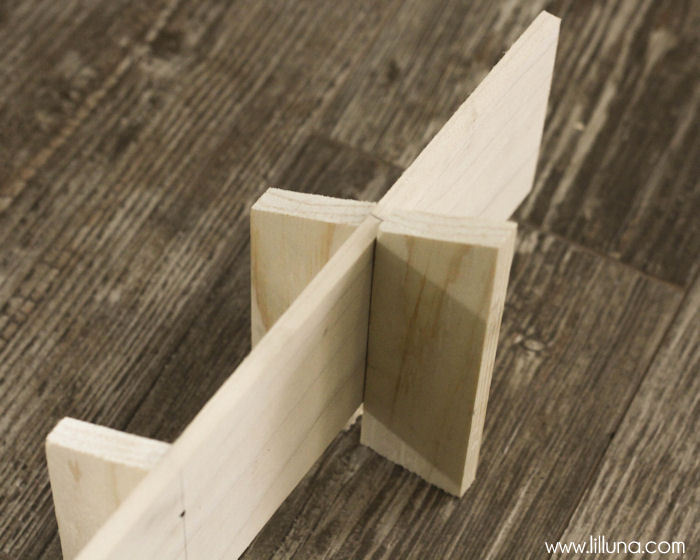
6. I then attached the last longer angled divider. I hammered this directly onto the three nails sticking out. This time I lined them up so the bottoms of the angled dividers were flush. This meant that the edge did stick up past the top edge of the Long Divider, but the 30 degree angle was in line with the angle of the shorter divider. Now the dividers were all assembled.
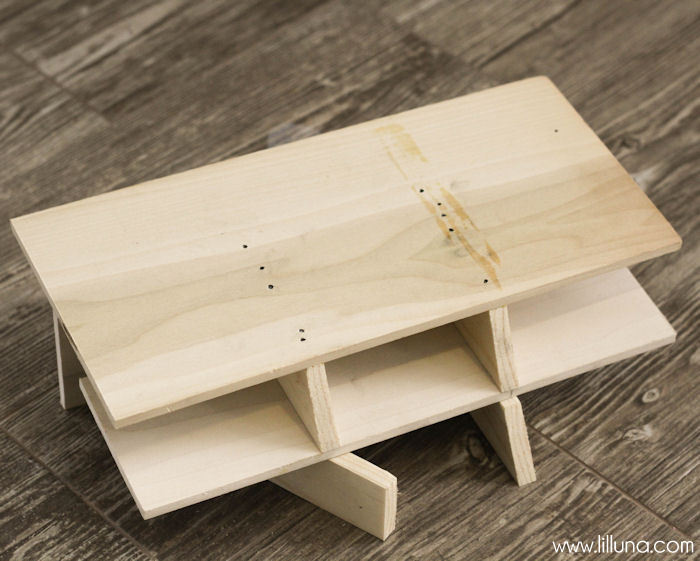
7. I next attached the bottom piece with the holes drilled into it, to the divider assembly. I did this simply by lining up the dividers with lines I had drawn on the bottom piece and nailing finish nails into the dividers. The dividers were placed flush with the front edge of the bottom. This left a 1⁄4” gap on the back edge for the back piece.
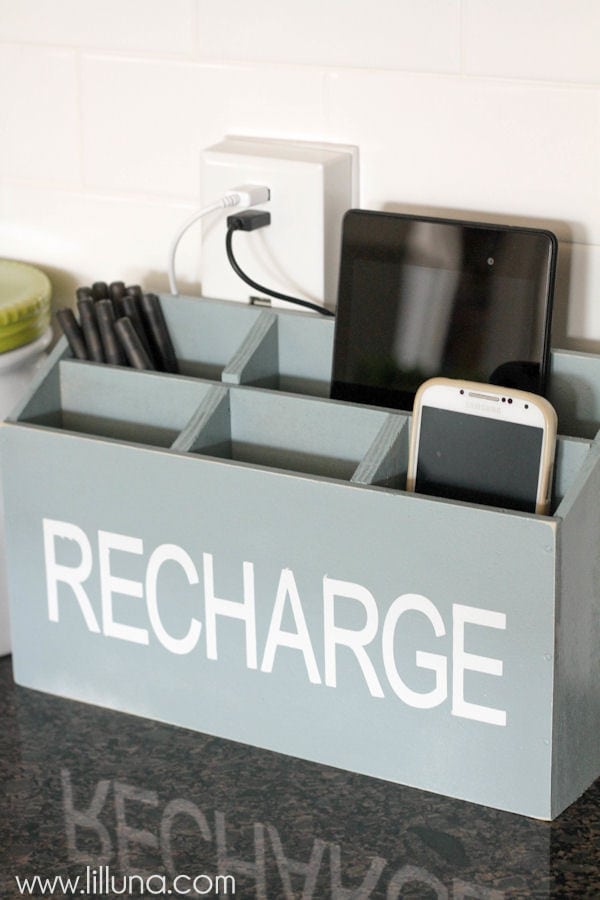
8. Next I attached the front and the back in the same manner; nailing everything together using finish nails into the dividers. The top of the front was lined up with the top edge of the dividers, and the back was placed on top of the lip of the bottom piece. This leaves a large gap in the bottom of the back. This allows for running the cables and hiding a surge protector if desired. (The extra angled divider in the picture is just to stabilize it while I hammered)
9. At this point, all that was left was to attach the side pieces. These were nailed into the front and into the back.
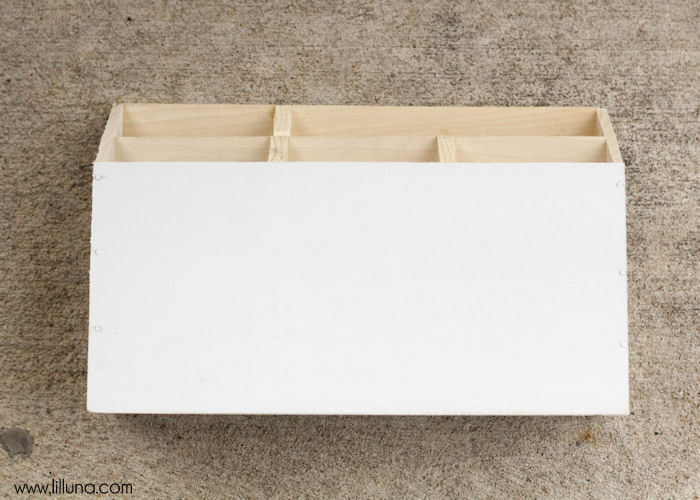
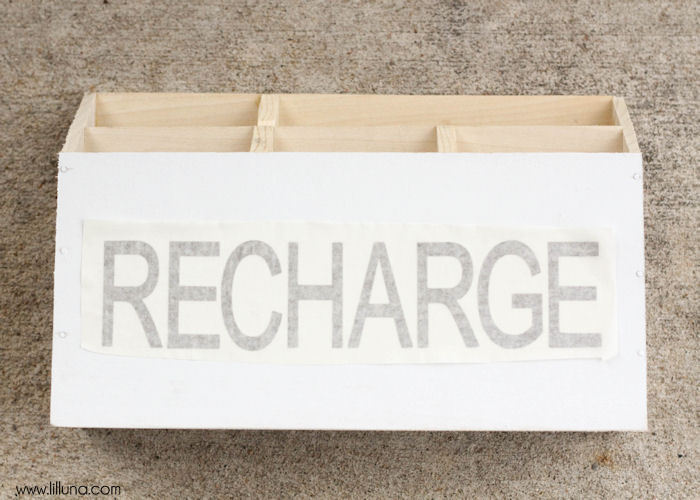
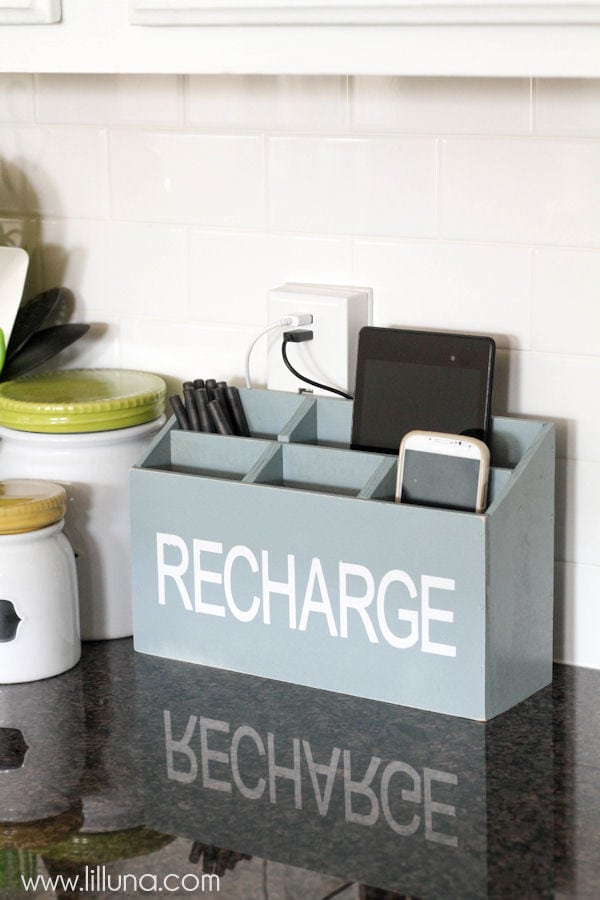
10. After the glue had dried, we spray painted a coat of white enamel on the front of the charging station. Once this was dried, we applied a custom cut “RECHARGE” vinyl piece, and spray painted the the box in the final color that we wanted (gray). We let that dry, peeled away the vinyl and then added a layer of Spray Polyurethane.
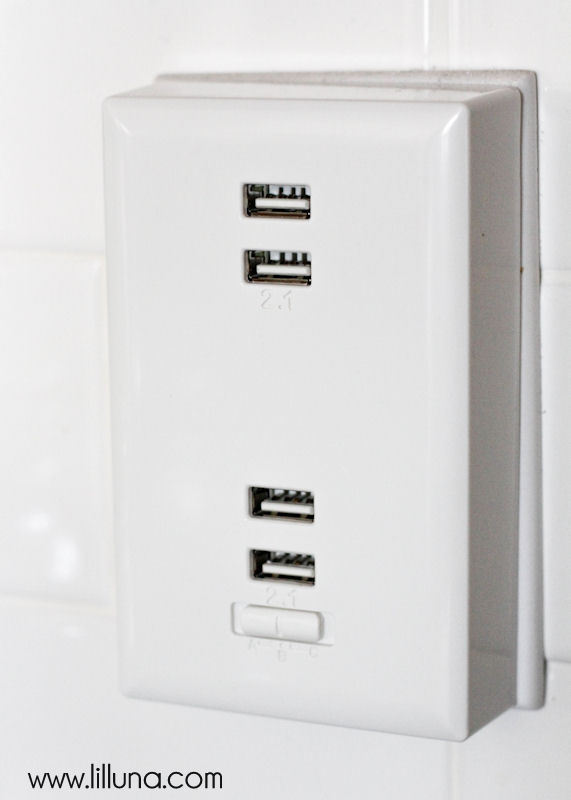
11. There are two ways of getting all the chargers plugged in and working on this station. The first is to find a surge protector that would fit in the gap underneath the bottom board and simply plug in all your chargers. The second option is what we did. We found this fantastic outlet at Lowes that converts a regular plug into 4 USB charging ports made especially for charging phones and tablets. Now we can simply plug the USB portion of our chargers into that and run the cords underneath the bottom of the station and up through the holes.
Brilliant, yes?!
I LOVE how it can all still sit on the counter without looking like clutter!
 So glad we took the time to design this out and make it for the kitchen. We do have extra plugs in our bedroom, so we can charge our phone in there at night, but during the day I love that we have a “specific” spot for all the devices!
For more great organization projects here on the site, be sure to check out these favorites:
For more creative inspiration, visit Lowes Creative Ideas and Lowes.com
This is a sponsored post written by me on behalf of Lowes. All opinions are 100% mine.
ENJOY!


awesome idea! Where could you find the stencil online?
If you go to etsy.com there are thousands of shops who do custom vinyl orders. You’ll just have to let them know the size of vinyl you’d want along with the font. 😉
This is great! We totally need one!
Thanks, Sara!! It definitely helps with the “cord-control”. 😉
I love it! I’ve been trying to figure out a new charging system too!
Thanks, Kim!! This has seriously helped so much and I love that it just look nice instead of cords all over the place. 😉
If the chords come out from the bottom, How does it sit so flat on the table?
I have this same question!
That’s awesome!!!!!!!!
What brand is the converter? I’ve been searching for something like that but I have not had any luck. Please help me find one!!!!
This is pretty awesome!!!
I would love to build one for myself. 😀
Glad you think so!! You should..it’s not too hard! Thanks so much!
Have you had trouble getting it to sit flush on the counter? With the cords coming out the bottom, wouldn’t it be raised a bit? What has your experience been?
The cords come out from the bottom, which is not flush with the side, front, & back pieces. It’s up higher, so that they can come out. Yes, we have to tuck down the cords behind, but a lot of the time, we don’t, so they are just out. Hope that makes sense 🙂
That’s super helpful, thank you!
You are so welcome! Good luck 🙂
Hi! I know this post is an older one, but I’m just seeing it now. Like the looks of this a lot, but I don’t understand a couple of things. You have tried to explain, but it still doesn’t jive for me.
In the photos, the back piece is 5 1/2″ tall, as is the front, so I don’t see how the cords run out the back. If they just go through the holes in the bottom there is no way that this box could sit flat on the counter.
Also, how on earth do you get your fingers down into each little slot to pick up the cord and plug it in the bottom of each device? If the cords hang out over the top of the box when they aren’t charging anything that would look very messy.
Finally, when the cords are attached to the bottom of each device how does that not damage the wires when the device is standing up, putting direct pressure on the actual connection?
OH, and, how could a charger sit under the devices with only the cord coming out of the bottom to plug into the wall?
Photos of the back of the box, and any hidden openings would have helped.
I desperately want to do something like this, but just can’t figure these things out. Thanks much!