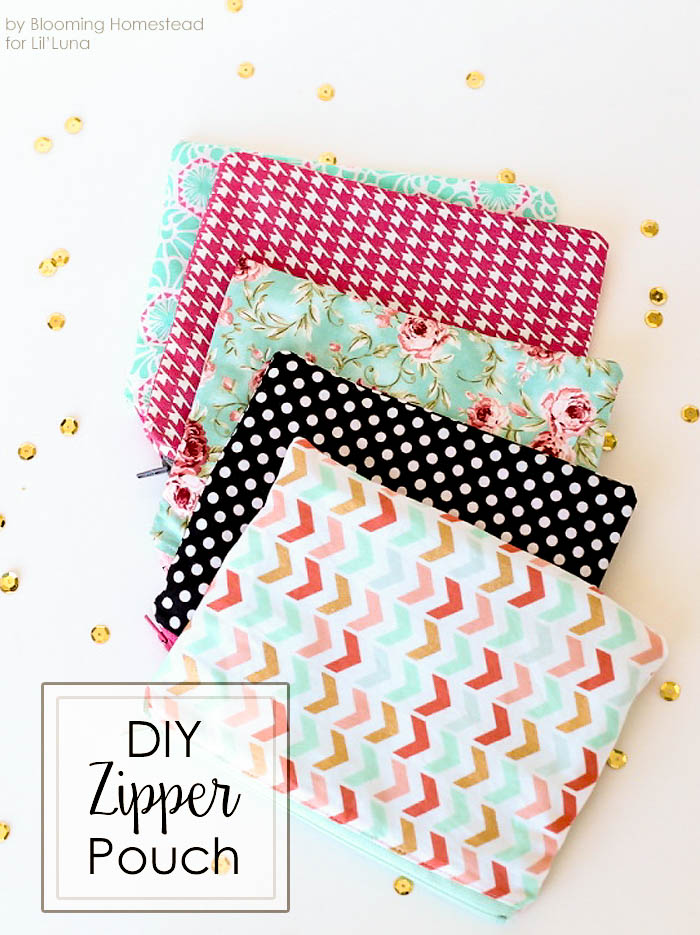
Hello friends, it’s back to school time and we’ve got a simple diy zippered pouch tutorial for you today. These easy to follow instructions will show how to quickly whip up these pouches as an easy beginner project.
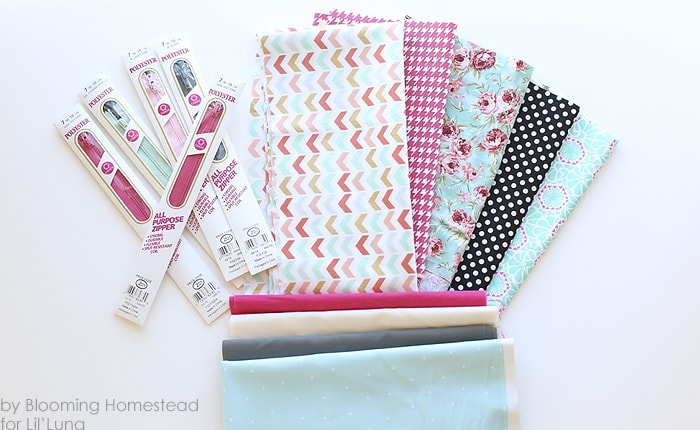
Supplies: Fabric, (outside and lining coordinating fabric) 7″ Zipper, Sewing Machine or Needle and Thread, pins, scissors, opt: zipper foot.
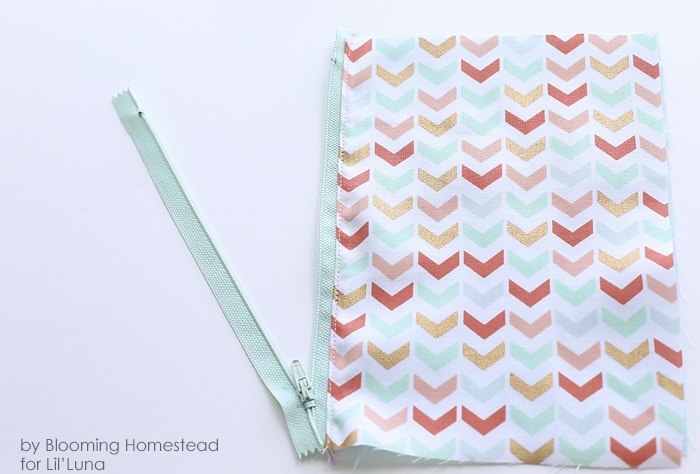
1. To start, you’ll cut your fabric into 4 pieces sized at 8″x6″ pieces. (2 outside pieces, and 2 lining fabrics)

2. First you’ll lay 1 outside piece face up. Next you’ll lay your zipper face down so that they are right sides together and the zipper should be lined up with the edge. Pin in place. Place one of your lining fabric pieces on top of that, face down. You should have the zipper sandwiched between the fabric.
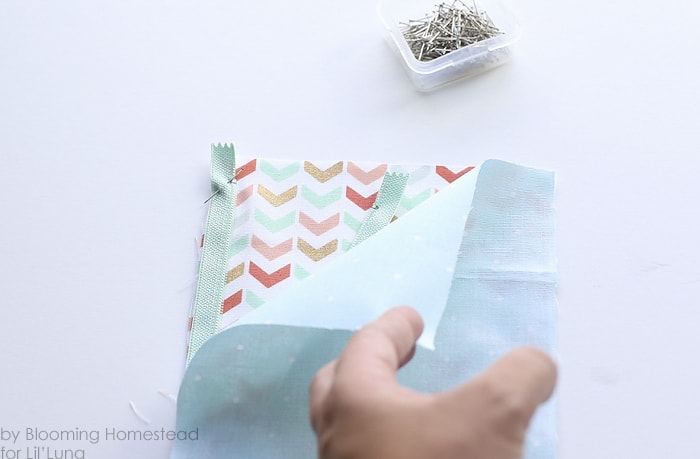
3. Sew them all together by stitching a straight line down the edge, going through both fabric pieces and the zipper. (You may have to lift your foot over the zipper pull as this can get tight.)
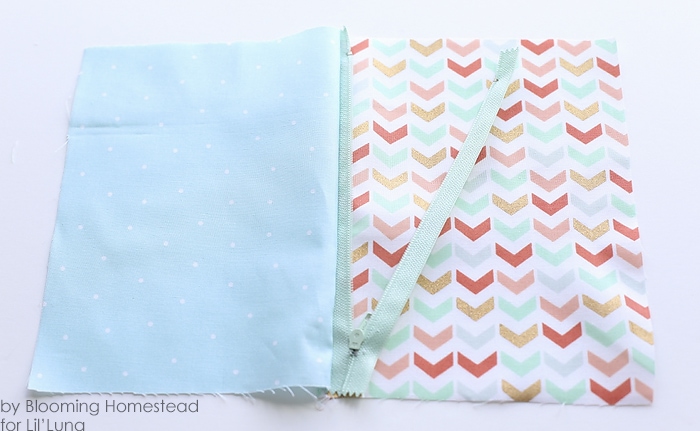
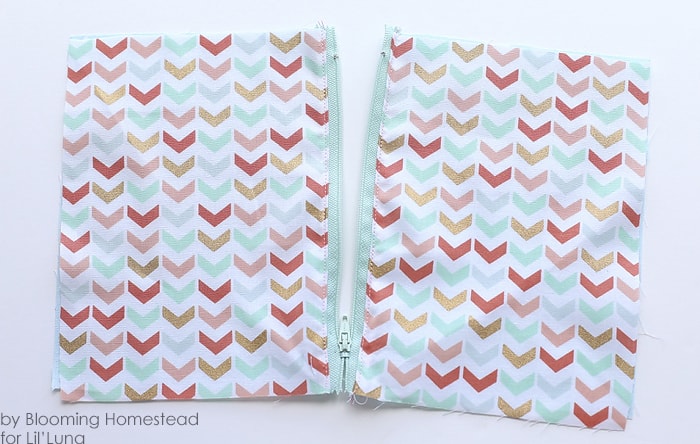
4. Now fold the lining over, and then around to the back. You want to have the wrong sides of both the lining and main fabric touching.
5. Repeat steps 2-4 with the other 2 pieces of outside and lining fabric. Place the opposite edge of your zipper (opposite edge from where you already sewed it to fabric.) face down onto your other main fabric piece, and place your other lining piece right side down on top. Stitch down edge, sewing through the fabric, lining and zipper. (Double check that you have your zipper and fabrics in the right order before sewing).
6. Fold it open like you did with the first pieces.
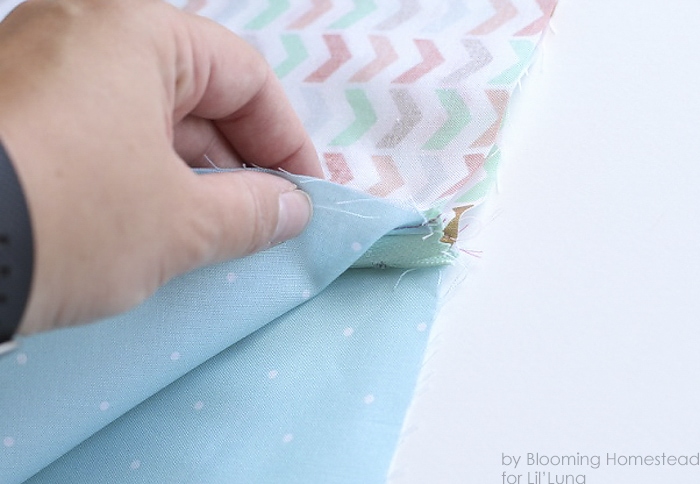
7. After checking that the zipper is sewed to correct sides, fold one of the main fabric pieces over so that it’s laying face down on the other. Continue in the same fashion with the lining fabric. Pin in place to keep the fabric lined up.

8. Making sure to unzip the zipper about halfway, sew all the way around the edges except for a small (about 2″) opening on the lining side. One thing to note: if you want the zipper to lay flatter and more squared after it is complete, fold the zipper toward the lining side so the bulk of the zipper is towards the lining side while you sew it together.

Zipper folded towards lining side.
9. Flip it right side out through the opening. Iron it flat, and stitch the opening closed.

And that’s it! Super easy and cute zippered pouches that can carry school supplies, medical supplies, makeup, etc.
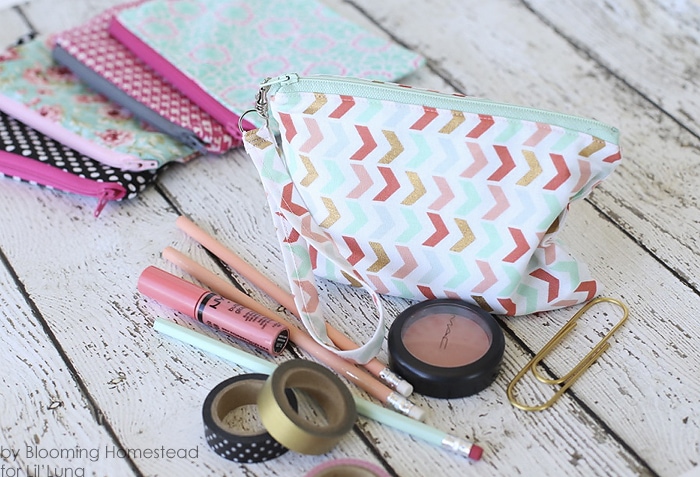
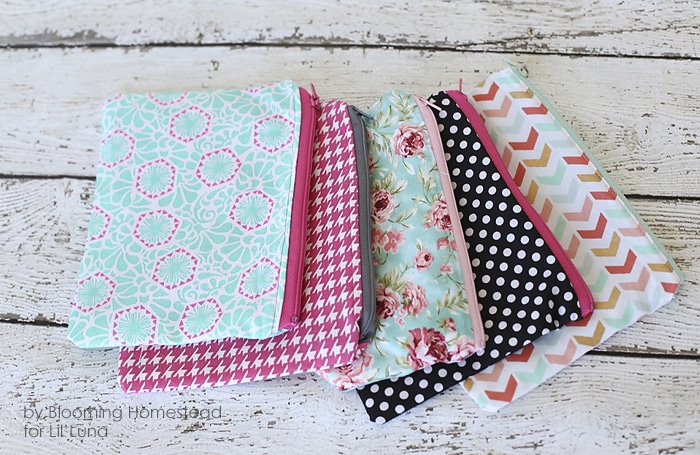
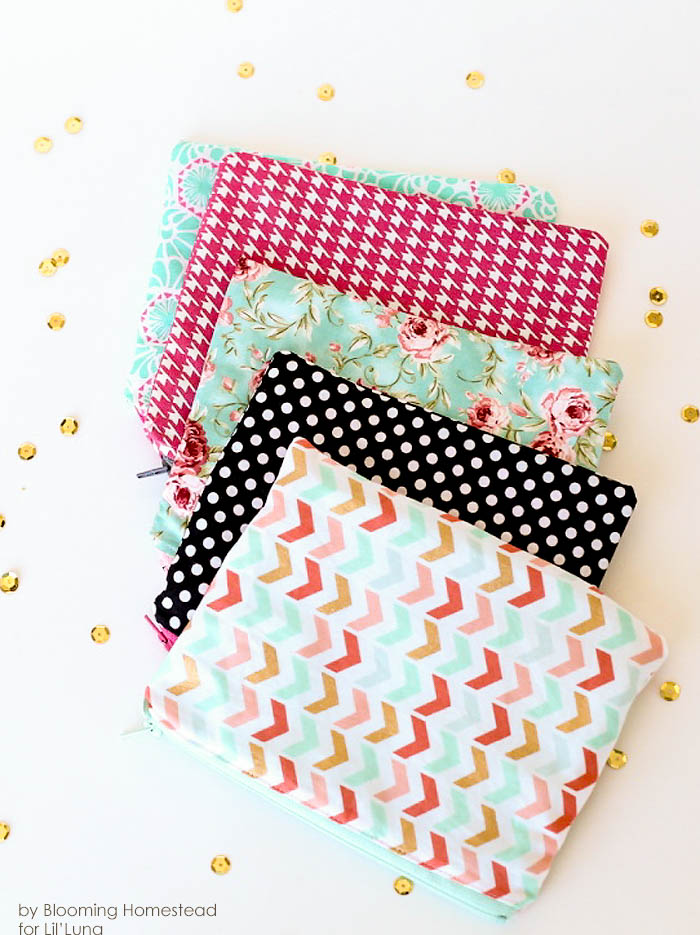
Aren’t they just so fun?
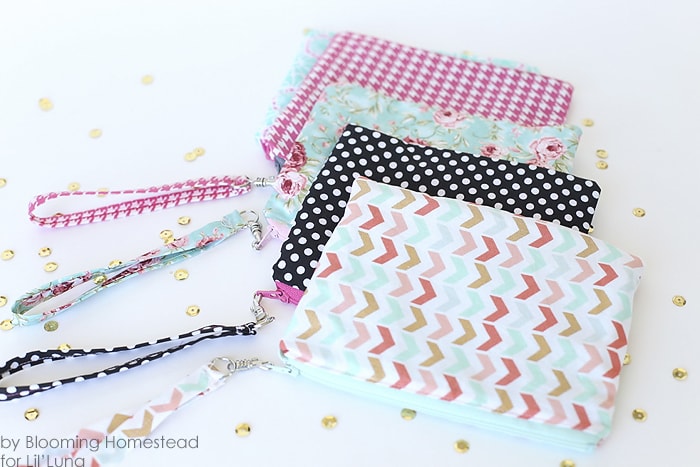
I decided to whip up some easy coordinating wristlets, you can find the tutorial here.

_____________________________
This would make the perfect makeup bag!
Thanks so much for sharing Marie!!
For more awesome tutorials from her, head over to Blooming Homestead!
For more DIY projects here on the site check out these posts:
For all DIY projects and tutorials, go HERE.
For all Gift ideas go HERE.
And get weekly emails with monthly freebies by signing up for the Lil’ Luna newsletter. 🙂
For even more great ideas follow me on Facebook – Pinterest – Instagram – Twitter – Periscope – Snapchat.
Don’t miss a thing – Sign up for the Lil’ Luna Newsletter today!
ENJOY!!


I’m do to update a few zipper pouches. I love the handles on these. Might have to add that to mine.
I’ve made quite a few myself without handles. Love all the pretty fabrics that were used.
Aren’t they so fun?! Perfect for so many things!
Hi Krystin, I reposted this turorial to my blog with proper credit.
http://doityourselfproject.tumblr.com/post/127063875847/diy-zipper-pouches-from-wwwlillunacom#notes
How super fun and cute!!
Love this zipper pouches! I have to make some. Thanks for the tutorial.
Thanks for stopping by!! 😉
I tried this tutorial over the weekend and I’m thrilled with the results!! Fab DIY!!
Gemma
http://www.fadedwindmills.com
Yay!! I love hearing that!! Thank you!
A nice tutorial but I truly don’t understand in part 8 with the zipper – how do you get a nice zipper? Tried like five times and can’t manage to make it pretty.
This is my friend, Marie from http://www.bloominghomestead.com/. You might want to leave her a comment, since it is her post 🙂