I’ve mentioned this before but must mention it again… I feel like together, the hubby and I can do anything. Yes, I know – it’s cheesy but true! Without him, I definitely could not do this blog and he’s always there to help out for every project. For a ton of our home projects I’ll usually come up to him with my “idea” and together we make it happen. It’s so fun!
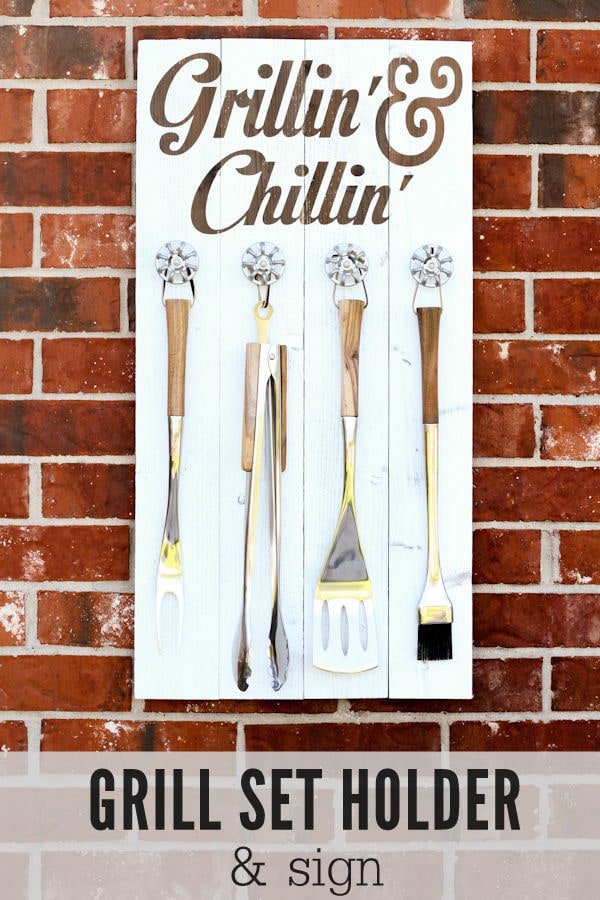
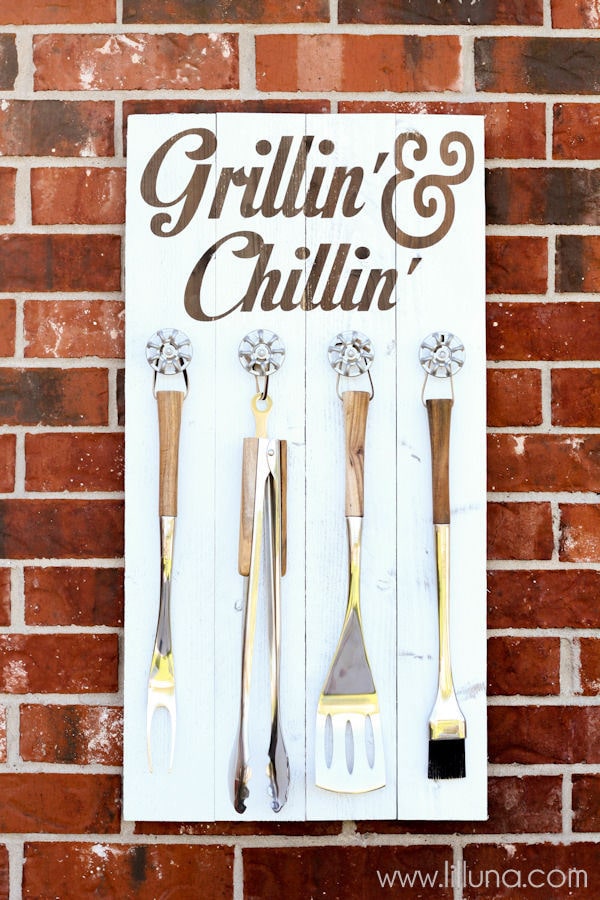
This next project is another one of those “working together projects”. Together, we decided to come up with an Outdoor or Patio Grill Set Holder and Sign. I had wanted to buy him a new Grill Tools Set for Father’s Day but thought making a holder for them would be even better.
Here is what we came up with:
Yeah, I kinda love it. It makes some of the other signs we’ve made for our patio and is the perfect little addition right next to the grill. Since it’s summer time, we’ve been putting the grill to good use, so I have a feeling the new tools will be getting used a TON!! 😉
Here is what you’ll need if you’d like to make one as well…
SUPPLIES:
– Wood (we used Redwood Fence Panels used at Lowe’s – it’s very light-weight and more weather resistant than other woods)
– Paint (Spray Paint)
– Aging Solution
– ¾″ Screws
– Knobs
– Vinyl
– Spray Polyurethane
– Grill Set
DIRECTIONS:
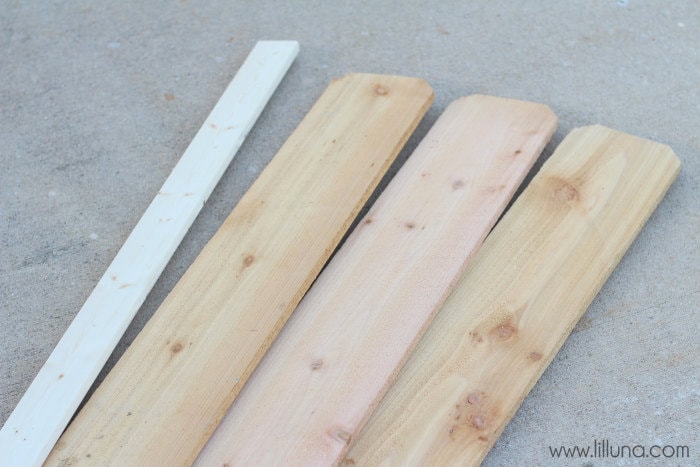
1. Cut the wood panels to 4 inches in width and 31.5″ inches in length. Do this for 4 boards. Also cut two pieces that are 2 inches x 15 inches. These will act as straps holding the 4 boards together on the back.
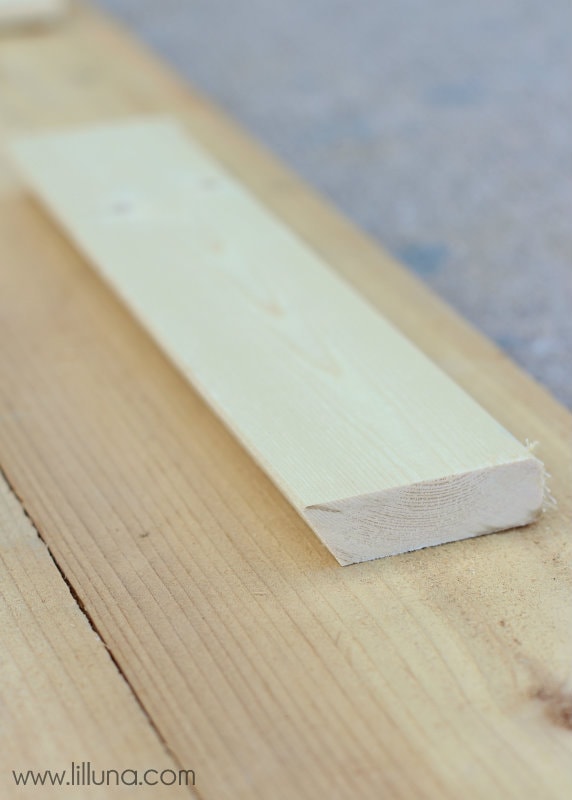
2. Cut one of the strapping pieces on the long edge at an angle (ours was about 30 degrees) to create an undercut. This will give you something to hang it by.
3. Making sure the boards are square to each other and lined up, place the strapping across all 4 boards near the top and the bottom of the back of the sign and drill at least 1 screw into each board. Two screws will make it more sturdy.
NOTE: Make sure undercut is face away on the top strap (SEE PICTURE ABOVE)
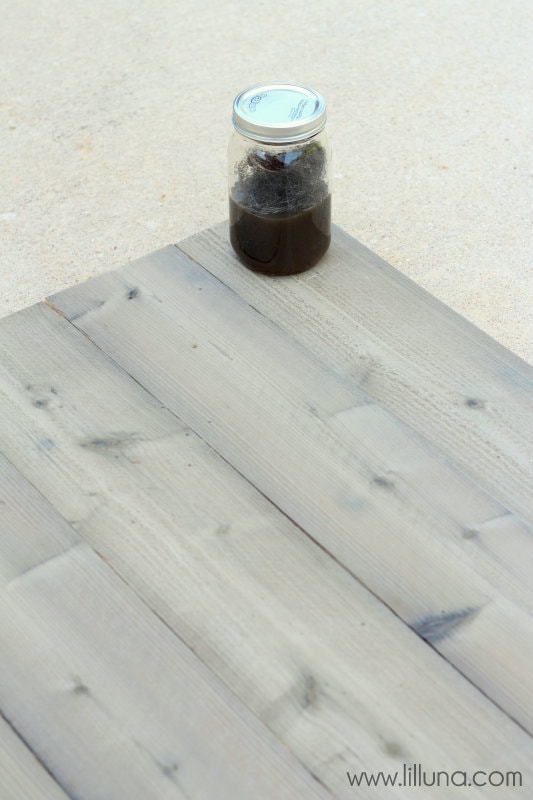
4. Make the aging solution by tearing pieces of steel wool and placing them in a jar (use gloves if possible because steel wool can be sharp). Fill jar with distilled white vinegar. Close the jar and let set for at least 12 hours. Shake before using. WARNING: This concoction smells horrible!!!
Paint using Paint Brush. The wood will begin to gray after a minute or so.
Let dry.
5. Design your vinyl and stick it to the top of the board.
Add spray paint of your color choice over the entire board. Let dry and then peel off your vinyl creating a backwards stencil.
Add a layer of spray polyurethane and let dry.
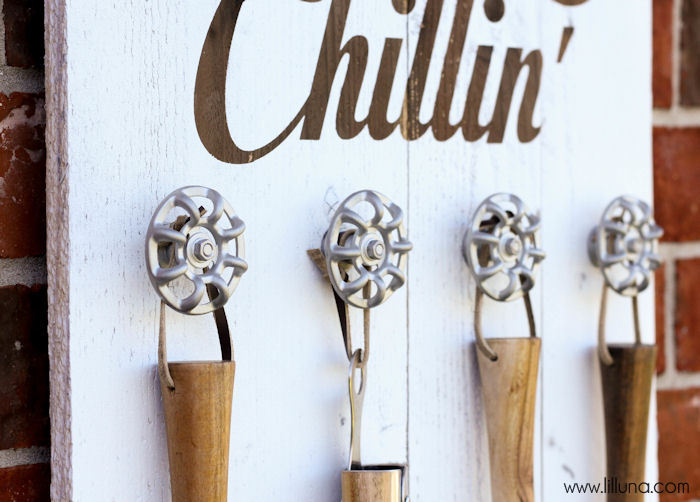
6. Drill holes to attach your knobs where you want them.
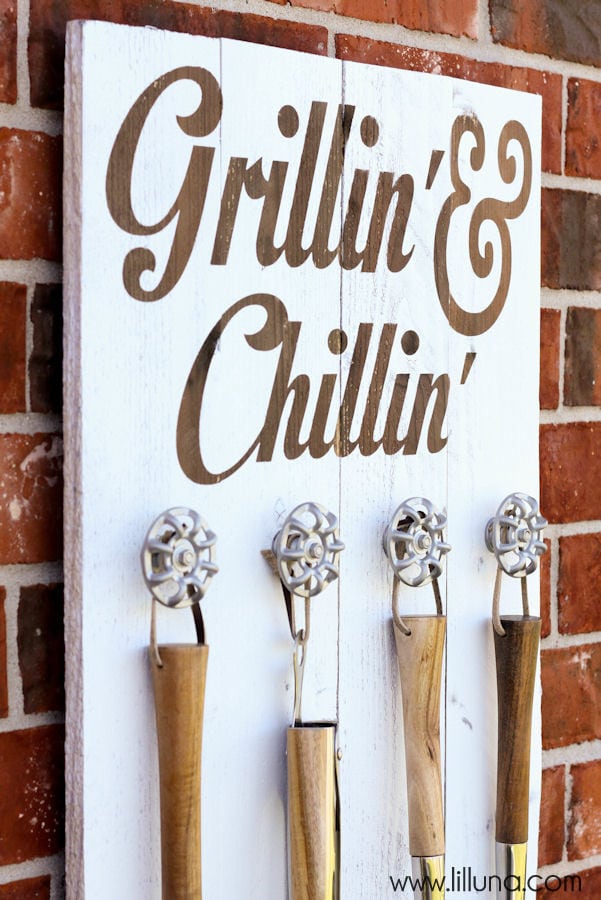
7. Add your tools and hang your sign.
VOILA!
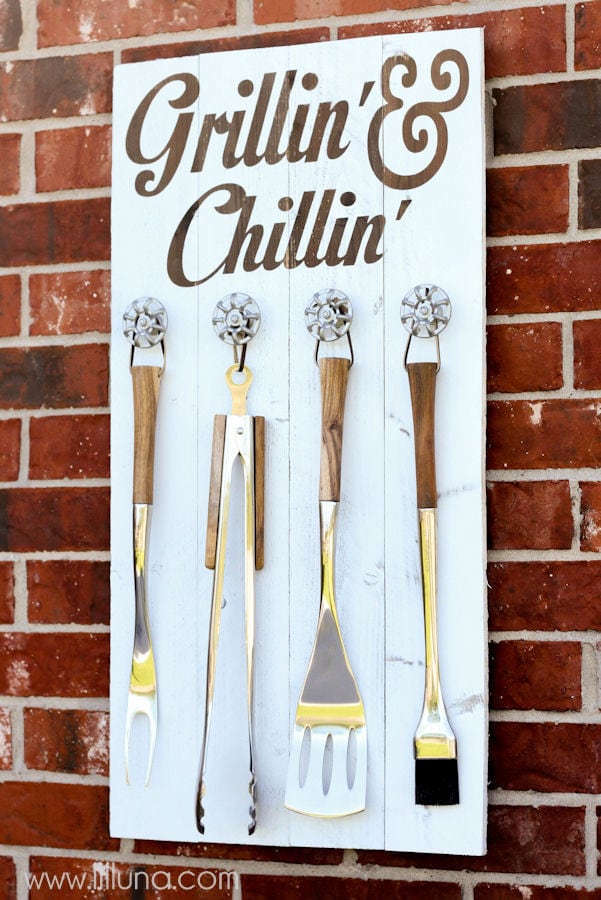
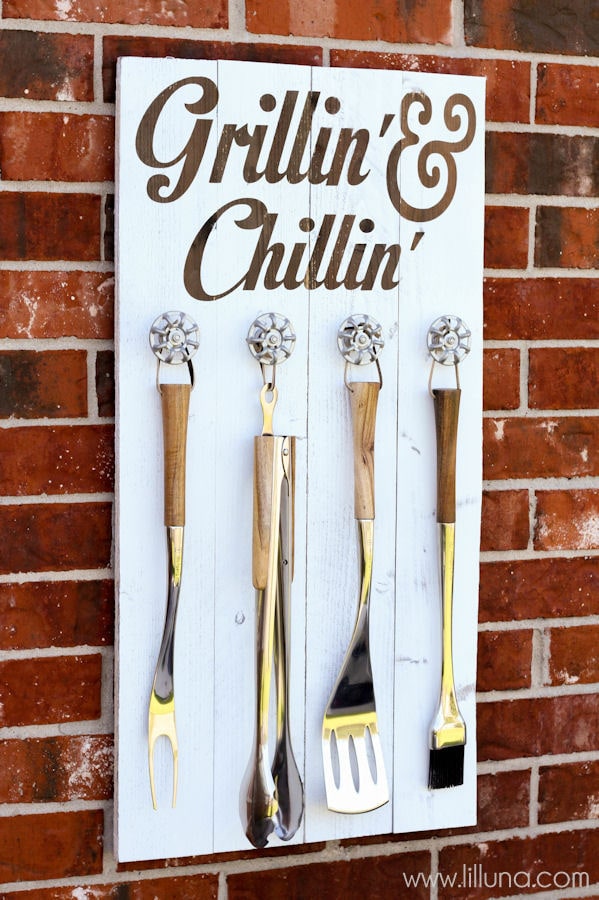
A perfect gift for dad! 😀
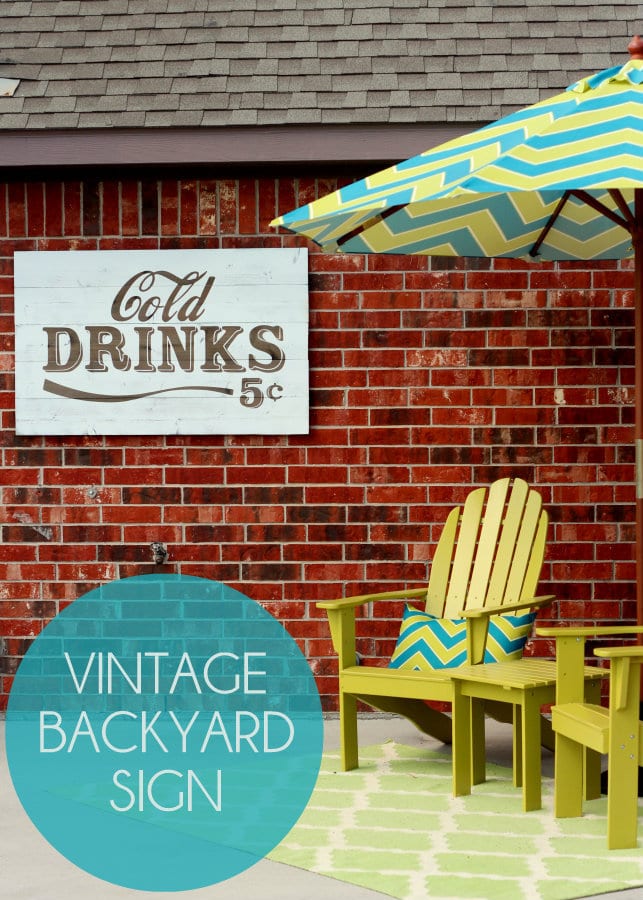
I love that this matches the rest of the items we’ve been making for the outside like our Vintage Cold Drinks sign.
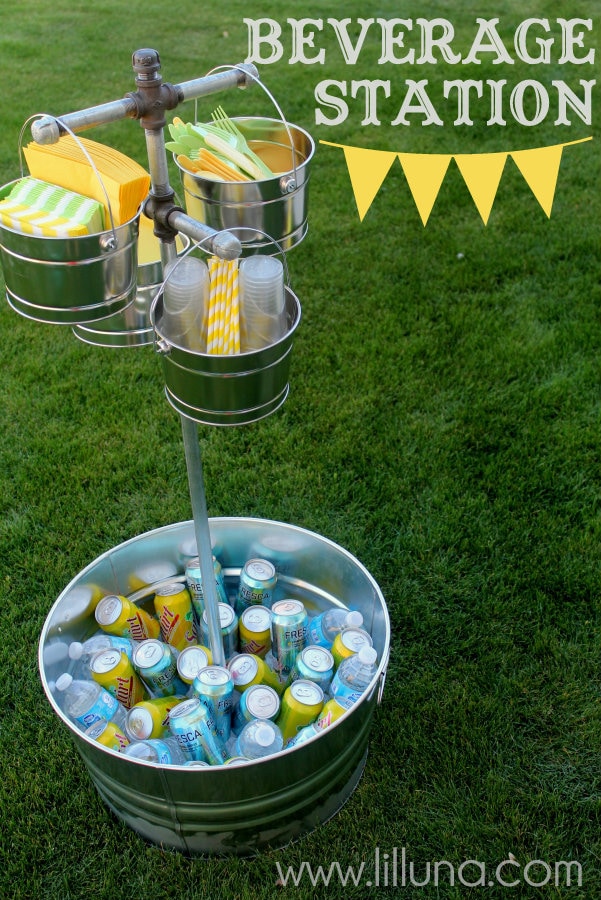
For more fun project for home inspiration be sure to check out:
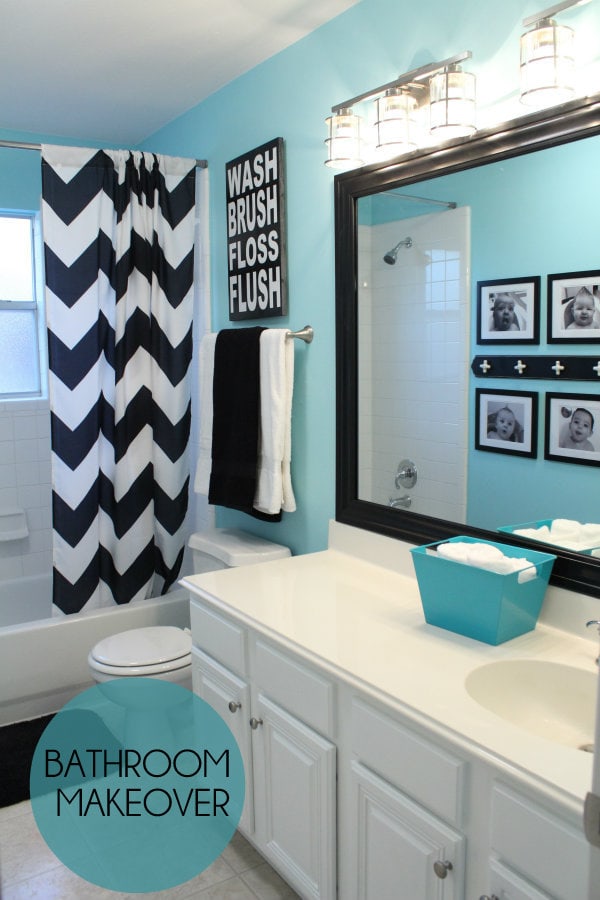
For all Decor ideas go HERE.
For all Tutorials on Lil’ Luna go HERE.
And get weekly emails with monthly freebies by signing up for the Lil’ Luna newsletter. 🙂
For even more great ideas follow me on Facebook – Pinterest – Instagram – Twitter – Periscope – Snapchat.
Don’t miss a thing – Sign up for the Lil’ Luna Newsletter today!
For more creative inspiration, visit Lowes Creative Ideas and Lowes.com
ENJOY!

BEHIND THE SCENES AT LILLUNA.COM:
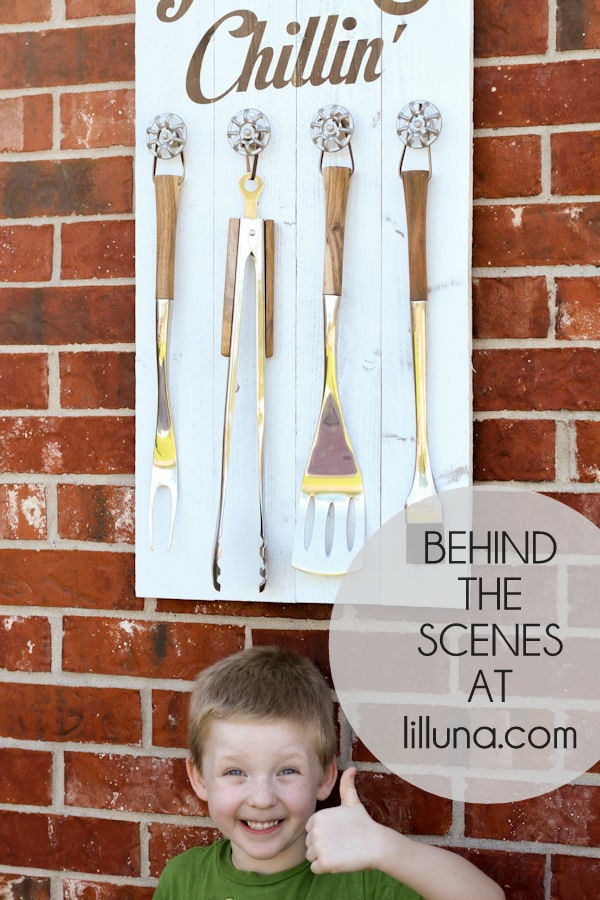
Gav said he liked it and wanted to make sure I got a picture of him giving a THUMBS UP! 😉


Oh, Gav looks like a sweetie! I love the cupboard makeover. Love the green paint, looks like a celery green, very pretty, with the white and black. The chevron shower curtain is very pretty. I’ve been thinking about a makeover in a bathroom, and using a chevron shower curtain too.
This is ridiculously cute!! And SO functional— I mean, grill set utensils are always so clunky and inconvenient to put up anywhere! This is perfect 🙂
Totally agree – it’s definitely been nice for storing them. 😉
Can I ask what color paint did you use in the bathroom? IT looks amazing,
Love this!! Perfect for hanging the grill utensils. Thanks so much for the awesome idea! Pinned 🙂
Very creative and good looking ideas. The tube holder is very fun.
Regular cleaning services London
I am dying over how cute this is!! I love the font you used, and those knobs are awesome!!
Thank you, Liz!! You’re so sweet. 🙂 XO
I’m in love with this. Pinning and shared on Facebook.
Thanks, Melinda!!
I just want to start out by saying all your projects and recipes are awesome. Quick question. How do you do the vinyl lettering. Not the design part, but the printing and cutting?
I actually have a vinyl cutter. I design it on a program and then cut and peel the vinyl myself. If you do not have a vinyl cutter I suggest going to etsy.com and looking for a shop that does custom vinyl orders. 😉
Quick Question, whats the name of the font you used? This is sooo adorable! & such a great man gift idea =)
It was this font – https://www.myfonts.com/fonts/urw/latienne/ 😀
Hi there! Thx for this fun tutorial! I was wondering what the aging solution does? Is that to give the color of the grillin’ & chillin’ once you remove the vinyl? Also do you remember where you got those cute knobs? So cute! Thx in advance.
The aging solution changes the color of the wood to that darker gray/brown look. And the knobs are from Hobby Lobby. We sand blasted them to get rid of the paint that was on there. 😉
Do u makes these to sell??
Unfortunately, I do not. 🙁
How did you hang is from the brick? I love this by the way.
Where did you get the Grill Tools? Awesome modern design!!
I purchased the Grill Tools from Sam’s Club. 😉
What is the brand Of your grill tools? I know you purchased along time ago from sams club so they AREN’T there anymore, Just want to see if i fan find them Elsewhere..
OH, I can’t remember & not sure where they are at the moment. We are renovating & have things put away. I’m sorry!
I’m making these for my father-in-law and brother-in-law, where did you find the vinyl lettering??
I cut it myself with my vinyl cutter but do not offer custom orders. If you go to etsy.com you should be able to find countless shops that offer custom vinyl lettering. 😉
I have a question. When I used the steel wool and white vinegar mixture, it turned my wood BLACK. Just straight up black… What did I do wrong?
What size did you use for your font?
What size font did you use for the grill sign?
My husband and I are making the Grillin’ & Chilin’ sign, can you please tell me the font you used for it. Also, did you use a Cricut to make your stencil? Absolutely love! Trying to get crafty for the holidays
This is amazing. I wish you sold them… It would be perfect for my husband!!!
question?? need help with deorating my front and back of home. i have some ideas but i want to make sure it turn out with comfort. where would i find someone to help me????
This is absolutely adorable!! I’m an event planner for the event consultants, and with Father’s Day coming up, I wanted to find some cute ideas for some of my Orange County clients (outside of the casino nights and Cuban cigar rollers lol). What a wonderful idea! A grilling party WITH a beverage station! Those buckets are too cute! 🙂 I mean blackjack, poker and cigars aren’t the best idea for the little ones. Thank you so much for the great ideas!
Oh, thank you!! It’s a hit for those grill lovers! I hope it works out and everyone loves it!!
I LOVE the sign and want to make one.. I was wondering one thing.
How do you attach the wood to the brick? I notice someone else asked the same question but I did not see a reply.
I hope you can help.
Thanks.
Hi, I love this and was wondering if you are interested in making one for me to purchase….if so send me an email. If not, I understand 🙂
Where did you purchase the knob from?
We got them from Hobby Lobby and sanded the paint off, to get the metal look. Hope that helps!!
We love the Grillin’ & Chillin’ sign. So my daughter and I (dad) made this project. Olivia cut all the wood (with supervision), attached everything, aged the planks. It looked great.
Olivia hand cut out the Grillin’ & Chilin’ font onto vinyl. We placed the vinyl on the wood, firmly; and painted the wood with spray paint. Sadly we had a ton of paint bleed through. So much that some letter we completely unreadable. Can you please provide additional detail on the type of vinyl you used, and the paint (if you remember). This is such a great Father Daughter project, and I feel horrible, and I know Olivia is upset with the final product. Thank you so much for your help, and we love your site!!
Hi Joe! So awesome you are doing a project with your daughter!! I’m sorry you had problems with the project and with the vinyl. I’ve seen that happen before when the vinyl wasn’t very stick and did adhere well to the wood. I used vinyl from my pro-cutter, but it should work with all vinyl. The only suggestion I could think of is to order vinyl from someone who has a professional cutter (like someone from etsy.com as opposed to someone with a Silhouette or Cricut). Once you have the vinyl, you need to make sure you rub it on really well and then light spray paint over it. I highly recommend using Rustoleum because it goes on well and usually only needs one quote. I’d let it dry completely and then peel it off. I’m so sorry once again you had issues and wish you the best of luck with your father-daughter project! 😀
So functional and yet so cute! I fell in love with the knobs right away, they fit perfectly! You’ve done an amazing job, thanks for the awesome idea!
Thank you!! I’m glad you like it!! Thanks for stopping by!
Very creative of you! A really good one. Keep up! The Grill set holder is definitely a great addition to every garden barbecue! For me, definitely. Cheers.
Oh, thanks!!! I will try to keep it up 🙂
where did you get the knobs? this is so cool
Thank you!! Oh, man it’s been so long, but I think they were from Lowes 🙂 I don’t know if they’d still have them, because it was a while ago.
Where did you get your knobs from for your Chillin and Grillin sign?
Nevermind! I see you’ve answered this question before.