For those who missed it on Eighteen25 last week I wanted to share with you the tutorial I shared…
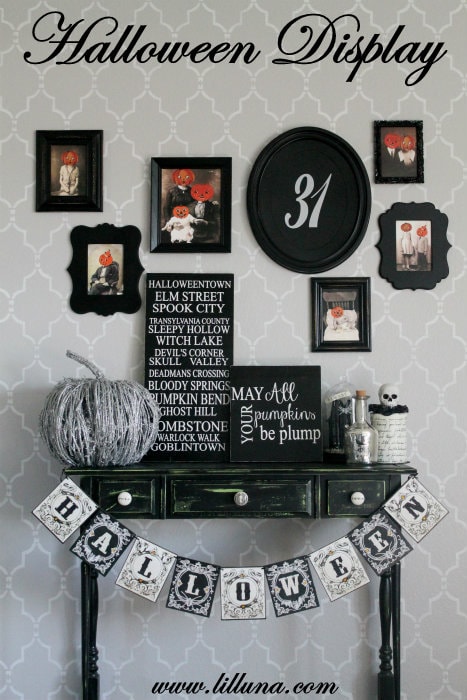
As Halloween approaches I’ve obviously been thinking of decor and what I wanted to do for my house. I knew I wanted an awesome entryway and decided this year to use mostly White, Black and Silver decor with accents of orange. With that in mind I decided to come up with a Spooktacular Halloween Gallery Wall with a creepy tablescape. I hope you like it… 😀
Almost everything in the picture above was made, except for the pumpkin and few pieces on the right (purchased at Marshall’s). Even the table was made (thanks to the hubby!!)
To begin I decided to make a few Subway Art pieces. The first one is inspired by a Subway Art Drawer from Matthew Mead that I fell in love with listing several spooky Halloween locations (He actually has a printable of it for sale HERE). I changed mine up a bit and added a few more cities that I either made up or found online that are real locations here in the U.S. Here is how I made it…
SUBWAY ART SIGNS
SUPPLIES:
– Wood (1 ft x 2 ft)
– Vinyl
– White Spray Paint
– Black Spray Paint
– Polyurethane
– Sand Paper
DIRECTIONS:
1. Begin by spray painting your piece of wood white. You can use craft paint as well, but I love Rustoleum Spray Enamel. It works so well with the vinyl and looks really nice! Let your paint dry.
2. As the paint dried I designed my vinyl and cut it out using my Silhouette. Peel and add adhesive to your vinyl.
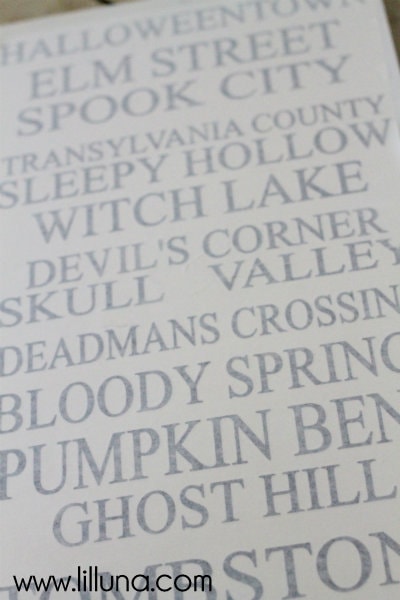
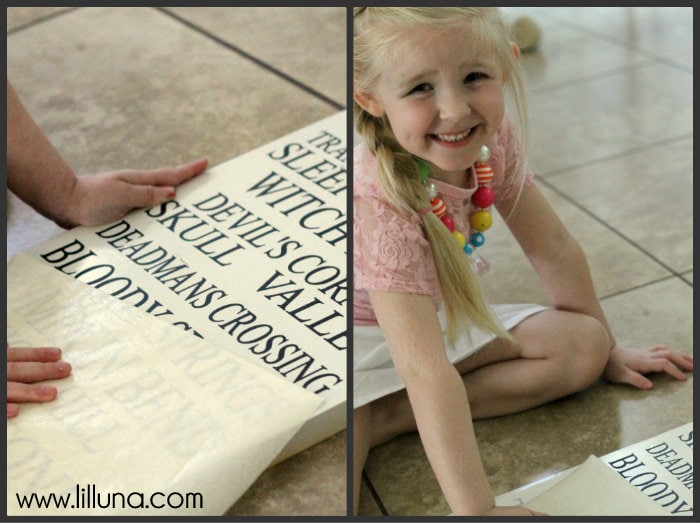
3. From there I added my vinyl (which can be any color since you’re only using it as a stencil) to my board, and peeled off the adhesive. My Lily is always happy to help with my crafting and helped me pull it off. 🙂 (NOTE: You do not have use the vinyl as an adhesive. If you want to use it for the lettering just paint your piece and add your vinyl on top).
4. From there I spray painted the board the color I wanted it to be (in this case, black) and let it dry. I peeled off the vinyl and sprayed it with Polyurethane. Let dry.
This is the finished product:
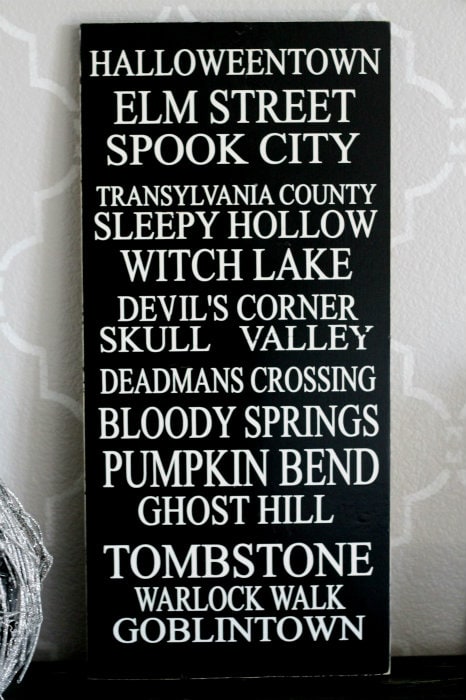
I also decided to make another one that was a little smaller. Directions are as the same as above but this piece is only 1 ft x 1 ft.
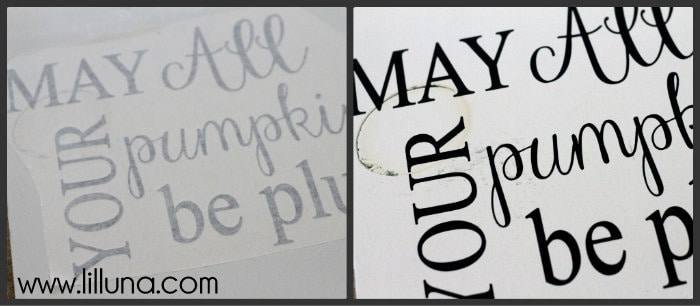
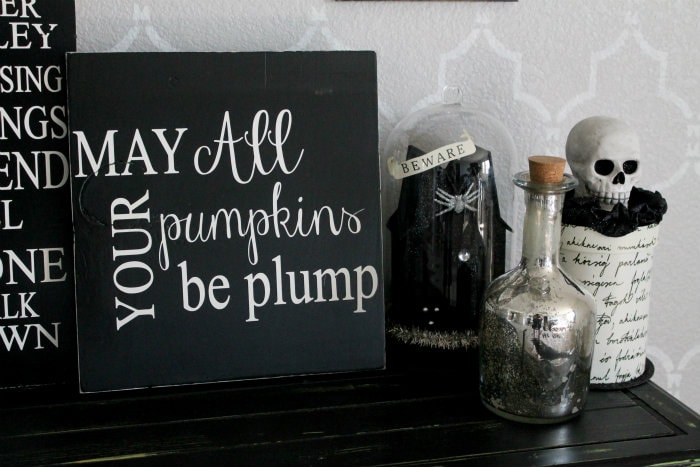
Saw the saying at the store “May All Your Pumpkins be Plump” and loved it!!
What’s great about these signs are they are quick and easy and only cost a few dollars to make!
From there I decided to make a 31 sign. Making the 31 sign is super simple. Here is how to do it:
Halloween 31 Sign
SUPPLIES:
– Frame
– Spray Paint
– Vinyl
DIRECTIONS:
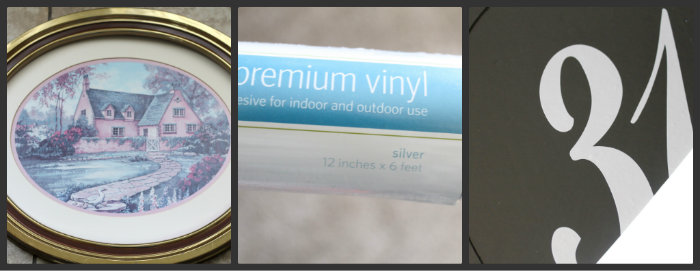
1. Find your frame (I got mine for a few dollars at Goodwill) and spray paint it your desired color. I painted mine black.
2. From there I designed my 31 on my Silhouette. The font used is: Elite Script Heavy.
3. Add 31 to frame.
Hang and enjoy!!
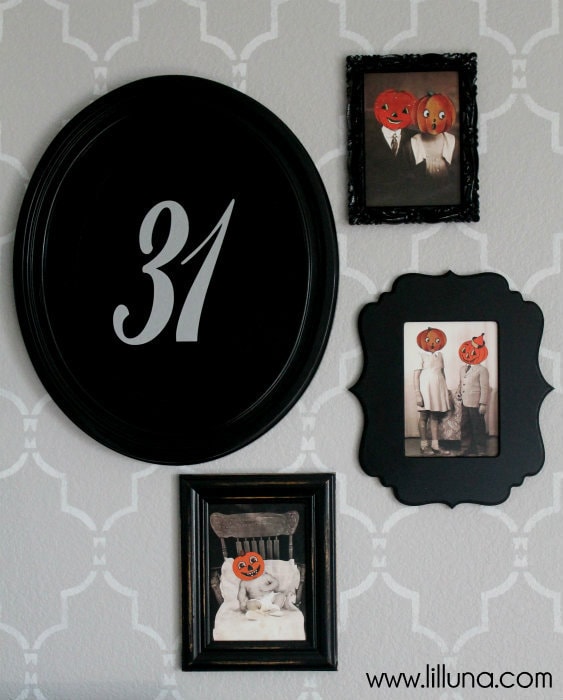
I love how simple and easy the 31 sign was. It was the perfect focal point for my gallery wall and was also made for only a few bucks.
To finish off the gallery wall it was really simple. I bought some more frames at Goodwill, spray painted them and added some spooky pictures.
The photos are actually of mine and my husband’s ancestors. I found some vintage Halloween and cat faces online (again, some found from Matthew Mead – can you tell I LOVE the guy?) and photoshopped the heads onto the vintage images to create some fun but spooky pictures.
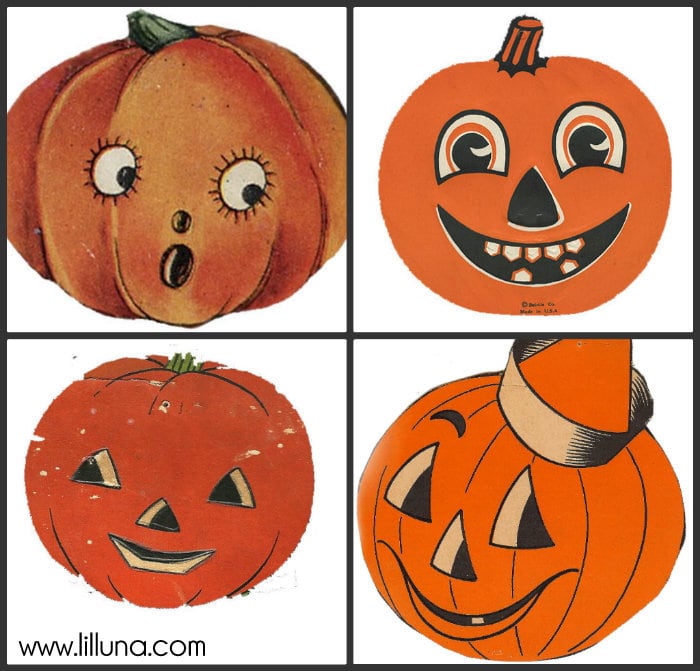
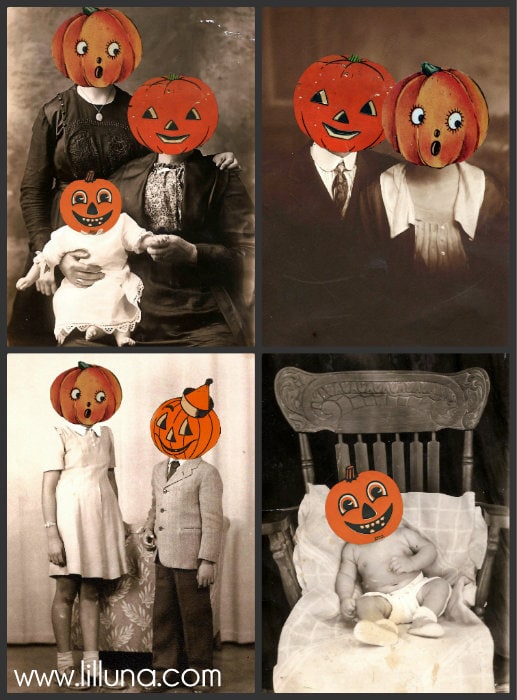
I created EIGHT different Vintage Halloween Pictures for you that can be downloaded HERE:
For 5×7 images Part 1 go HERE and for Part 2 go HERE.
For 8×10 images Part 1 go HERE, for Part 2 go HERE, for Part 3 go HERE, for Part 4 go HERE, for Part 5 go HERE and for Part 6 go HERE.
I just got them laser color printed at the local copy store, cut them out and placed them in the frame. From there I added the pictures to the wall using command strips so I wasn’t putting a gazillion holes in the wall (hubby’s new rule, lol!!)
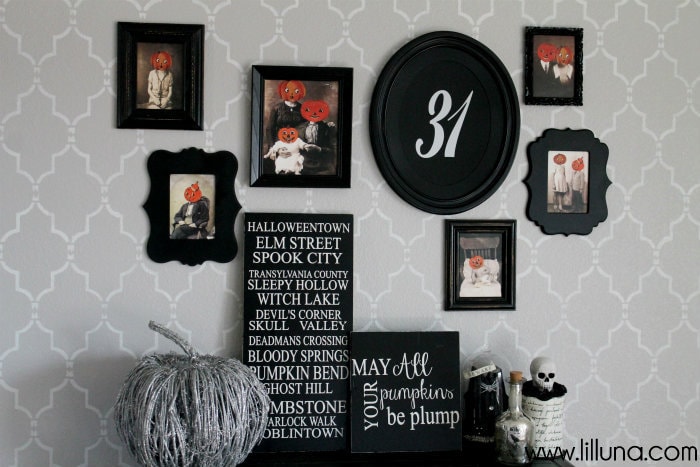
I LOVE how the gallery wall turned out!!
From there I topped things off with the few pieces I bought from Marshalls along with a banner.
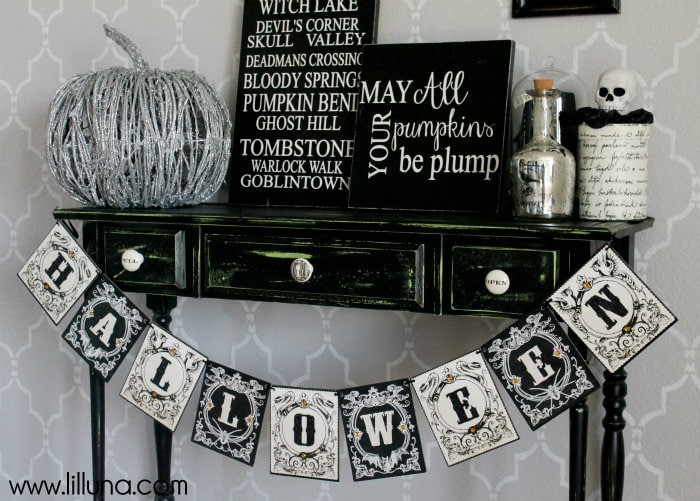
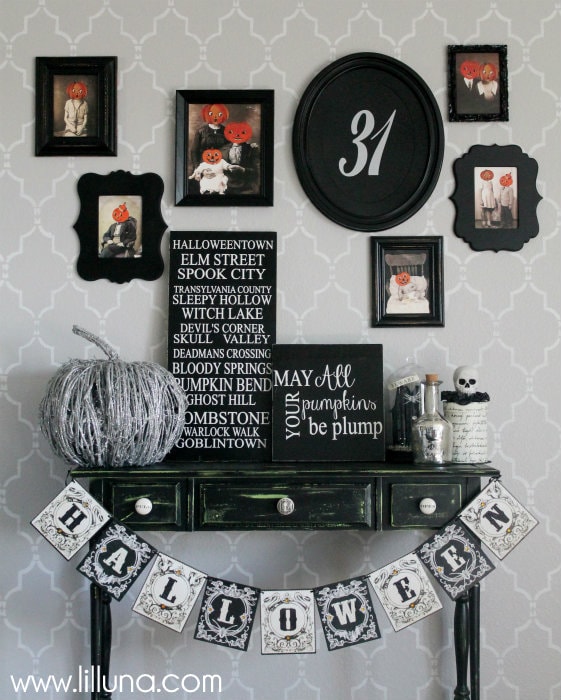
I’m so happy how it turned out and am so glad this officially got me in Halloween Decorating mode.
For more Halloween Creations be sure to check out:
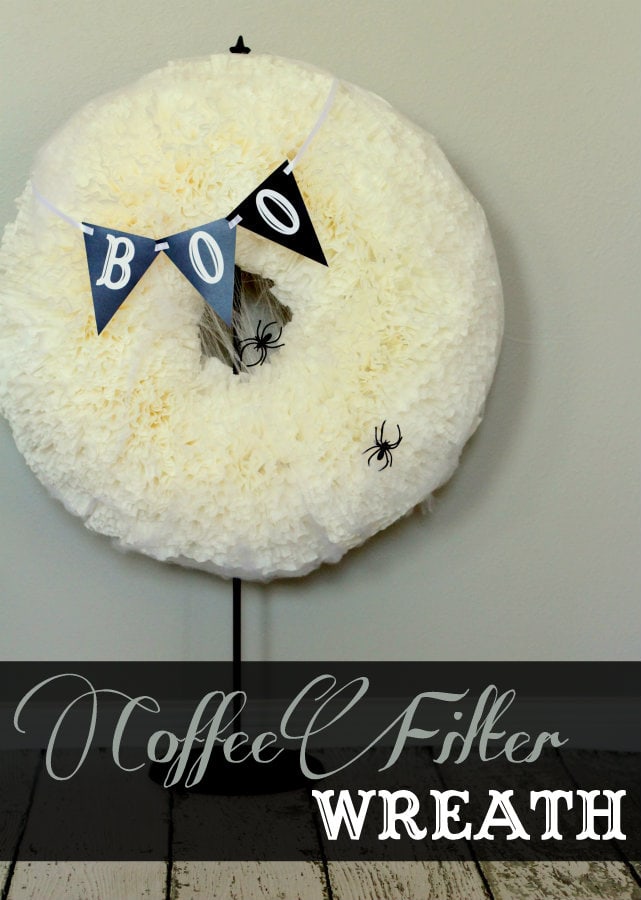
Halloween Coffee Filter Wreath
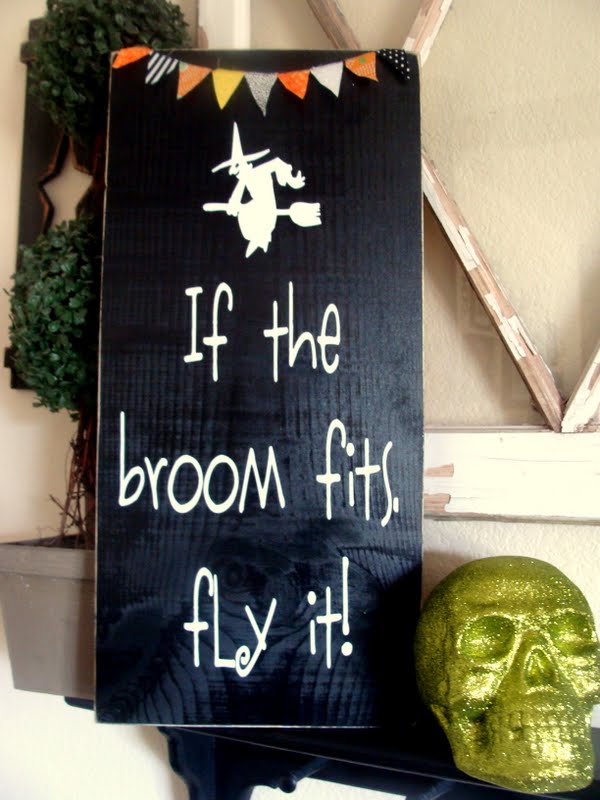
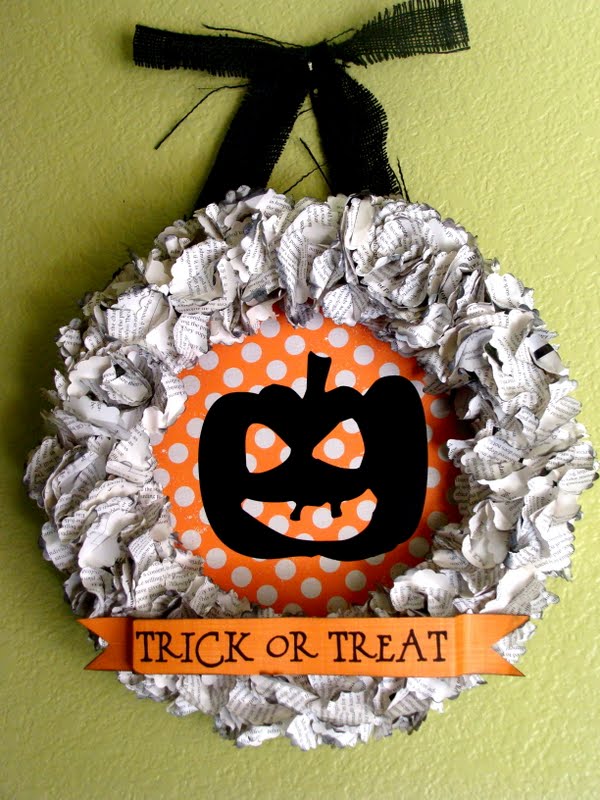
For all Halloween creations go HERE.
For all Decor ideas go HERE.
And get weekly emails with monthly freebies by signing up for the Lil’ Luna newsletter. 🙂
For even more great ideas follow me on Facebook – Pinterest – Instagram – Twitter – Periscope – Snapchat & YouTube.
ENJOY!


Smiley pumpkins 🙂
This is so cute! Love all the details. My hubby has the same non hole in the wall rule. 🙂
LOL!! Gotta love hubby rules!! Ha!
So fun Kristyn! I’m pinning right now. 🙂
So glad you like it, Rebecca! And thank you so much for pinning. 🙂
Love this! Thank you for the awesome tutorial!
You’re welcome, Beki. So glad you like it. 🙂
Love it! What an original idea. 🙂
Thanks, Hani!! Have a great week. 🙂
Did you make the banner or buy it? I LOVE it!
I bought it at Joann’s using my coupon. It’s so cute and sturdy!
I love the Subway art sayings!!! Such a fun Halloween entryway! I’m thinking I need a Halloween nook of some sort now.
You definitely need a Halloween Nook!! Decorating for Halloween is the best. 😀
Thank you for sharing! I love the display, especially the framed pictures. Such a fun idea!
Thank you so much, Laura!!
Kristyn, OMG! This is AMAZING! I love the fact that you used pictures from your ancestors! Have a super fun day! Smiles, Jill
Thanks, Jill! So glad you like it!! And I hope the ancestors don’t mind… would be bad if they did, lol!!
Where did you get the banner from. Love it.
Thanks for sharing all of your hard work, this is great.
I actually got it at Joann’s using my coupon. It’s an awesome banner!! 😀
such a fabulous display kristyn. thank you for sharing with us.
I love this! great inspiration for halloween decorating! I absolutely love the pumpkin face ancestors! that is too funny/cute!! so creative and that silver pumpkin, is that Marshalls too? love it!
I love EVERYTHING about this!!! The plump pumpkins sign is fabulous, I LOVE the silver grapevine pumpkin, but those pumpkin faces… ohh, so cute!! Great job!
xo,
Laurie @ Gallamore West
Super creative and sppooooky. Thanks for all the tips!
this is too cute!! saw it over at tt&j and had to come over here to tell you! love the whole display!
Super awesome Halloween wall! I love all those photos and the small sign in particular; thanks so much for sharing!!!
Thanks for the kind words. I’m officially busting out the rest of my decor today and can’t wait! I LOVE Halloween!! 😀
Wow, this looks so cute! I love the little pumpkin faces on the old pictures.
Thank you so much, Amanda!! So glad you like it. 🙂
WOW! This is rockin’. Thanks for the Halloween decor inspiration. You did a fantastic job.
I love this!! I saw, then pinned this on Pinterest todauy and have featured it today on my Pinterest Inspired Pic of the week! I hope that’s ok! Lve those pumpkin heads!!! So cute & clever!
~Kim
I really enjoy your blog. I printed off all the pumpkin head pics and got some black frames at Walmart and poudly displayed the family pics on the entry table by my front door. I’ve received many compliments on the creative display. Thank you for all your wonderful ideas.
Super cool! We are getting so excited for Halloween!
Team Craftwell