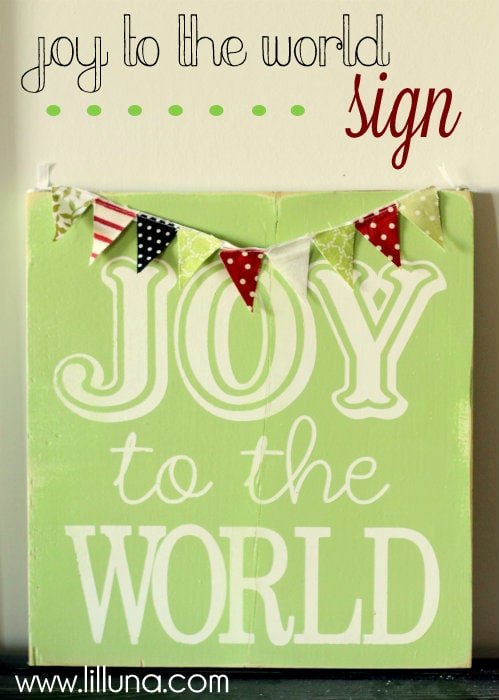
Today, I will be sharing a super cute and easy Christmas craft that can be made for under ten dollars. Not sure about you but I’m always looking for easy and inexpensive (but cute!) creations, and I’m hoping you think this next one is just that.
It’s a Joy to the World Sign that you can make too!
SUPPLIES:
– Wood (mine was 1 ft. x 1 ft.)
– Vinyl/stencil
– Spray Paint
– Fabric scraps & ribbon
– Tacks
– Sand Paper
– Spray Polyurethane
DIRECTIONS:
1. Begin by cutting your piece of wood. I got mine at Lowe’s as a 1 ft. x 4 ft. sign for $6 that we cut in 4. Begin by spray painting the front of your board whatever color you want the text to be. Let dry.
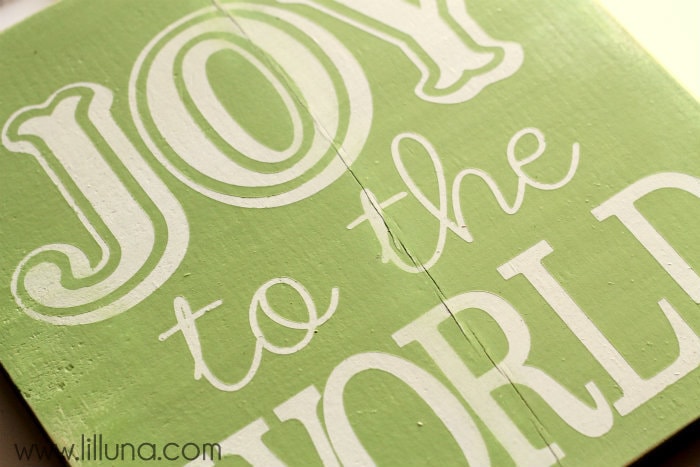
2. Design, cut and peel your vinyl. Add to board and spray it the color you want your board to be. I used Apple Green. Let dry. Then, peel off your vinyl.
3. Spray a layer of Spray Polyurethane onto your board. Let dry.
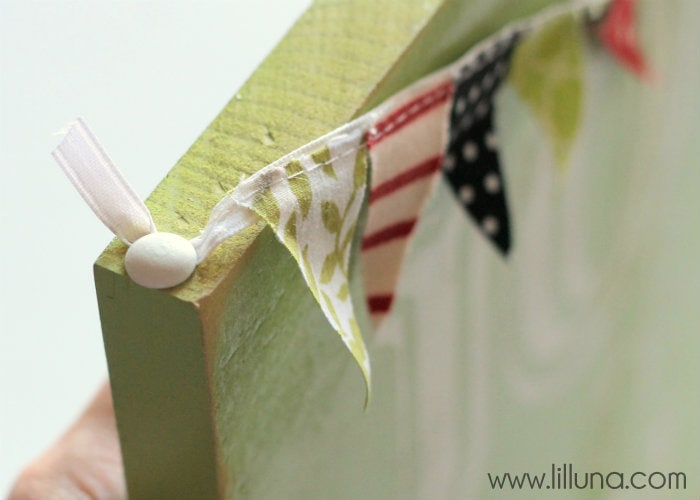
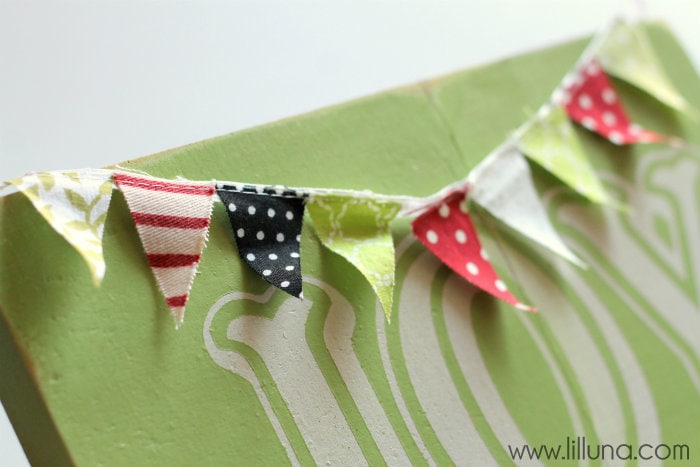
4. Make a small bunting for your sign. I cut out triangle scraps and sewed it onto a ribbon. I used furniture tacks to attach the banner to the top.
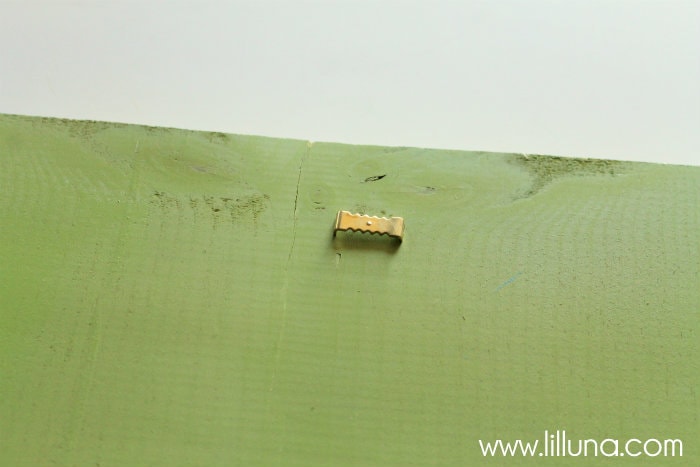
5. Add hanging teeth on back.
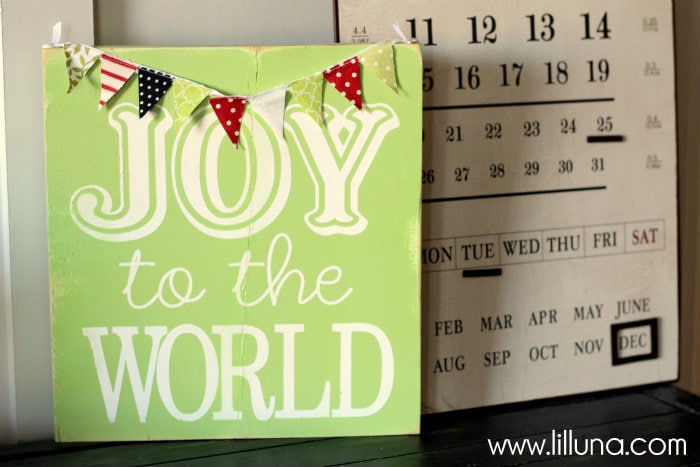
And you’re finished!! It’s that easy!
If you’re looking for more cute and inexpensive creations, be sure to check these out:
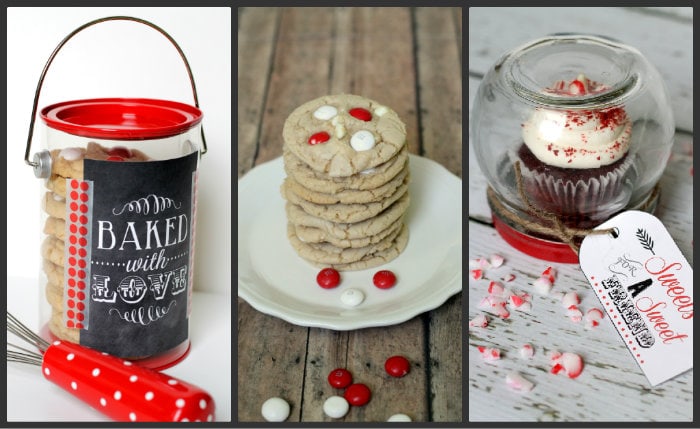
{Cookie Gift Idea – White Chocolate Peppermint M&M Cookies – Cupcake Gift Jar}
For all Crafts & Tutorials go HERE.
For all Gift ideas go Here.
And get weekly emails with monthly freebies by signing up for the Lil’ Luna newsletter. 🙂
For even more great ideas follow me on Facebook – Pinterest – Instagram – Twitter – Periscope – Snapchat.
Don’t miss a thing – Sign up for the Lil’ Luna Newsletter today!
ENJOY!



Love Joy To The World.. I’m definitely always on the lookout for inexpensive and cute craft ideas too 🙂 Thanks for the idea!
Hi! This sign is so cute! Would you mind sharing the fonts you used? Thank you!
And that is where the formal lecture ends and the hands-on work begins. I am definitely going to make this a try. Let’s hope for the best.
Thanks for this lovely post.
You always come up with the cutest ideas Kristyn! Pinning this one for sure. 🙂
too funny- i have that same magnetic calendar- 🙂 and I put dots on my ornaments several years ago- just like your post below 🙂 I guess great minds think alike! happy holidays!
Hi! I’ve been looking for the font to joy? Is it a special one or one I can download? Thanks!
I’m a Silhouette newbie and would love to know the names of the fonts used in both of your “Joy to the World” pieces (light green one and red Subway art one). Thank you for sharing your amazing creativity with us!
This is so cute, I would love to make this on a smaller scale 6 x 6, would mind sharing the fonts especially the Joy one.
Thanks
I’d love to know what font is used for JOY too. Such a happy sign. . .I’d love to make one for my Christmas decor this year.
please tell me what kind of stencil cutter you use, it looks like it does a very nice job. you have so many cool holiday crafts like this i cannot WAIT to try…not that i need more, wait, can you ever have too many holiday decorations 🙂
LOL!! I use an industrial vinyl cutter as well as the Silhouette Cameo and the new Cricut machine. All cut vinyl really well! 😀