Hello there! This is Sarah joining you all again from over at Boxwood Clippings.
Today I’m excited to share another fast and festive project that’s sure to get you in the Easter mood, and get you thinking about spring and warmer temperatures. Yay!
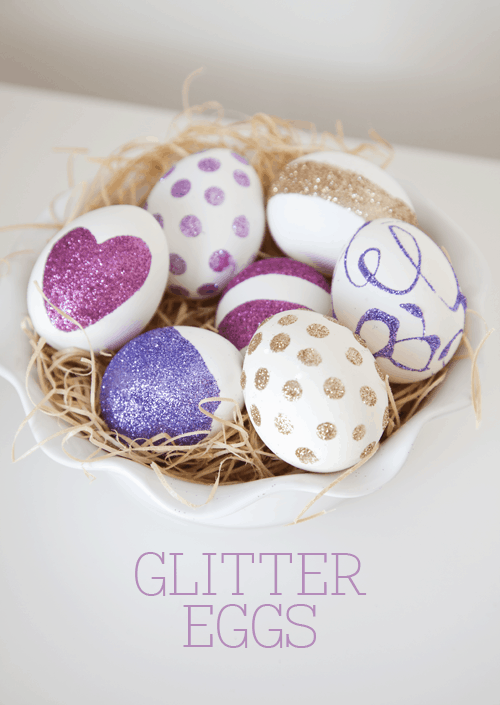
These glitter eggs are a twist on the regular way to decorate eggs, but don’t worry; they are just as easy and kid-friendly as the traditional dying methods. We’re just adding more shimmer!!!
YOU WILL NEED:
Eggs (hard boiled or hollowed)
Glue (Elmer’s is great)
Glitter
Clean paper (to catch the excess glitter)
Tools, such as a paint brush and pencil erasers to apply the glue
Somewhere to hold wet eggs. I used Styrofoam and some pins
.HOW TO:
1. This first step is the most important: how to apply the glue. Decide what design you’re going for, and go for it! Keep it simple by free-handing dots, stripes, swirls or any other design you can think of. It may be easier to only apply glue to half the egg, and go back and do the other half after it’s all dried.

2. Next, place paper under the egg to catch the excess glitter, and generously sprinkle glitter over the design.

3. Place the egg to dry, and continue the design on the other side once it has.

4. Carefully fold the paper in half, forcing glitter to go to the middle, and pour back into container. I prefer to use a new sheet of paper with every new color of glitter, so it’s easier to do all the eggs with the same color at once to save on clean up time!
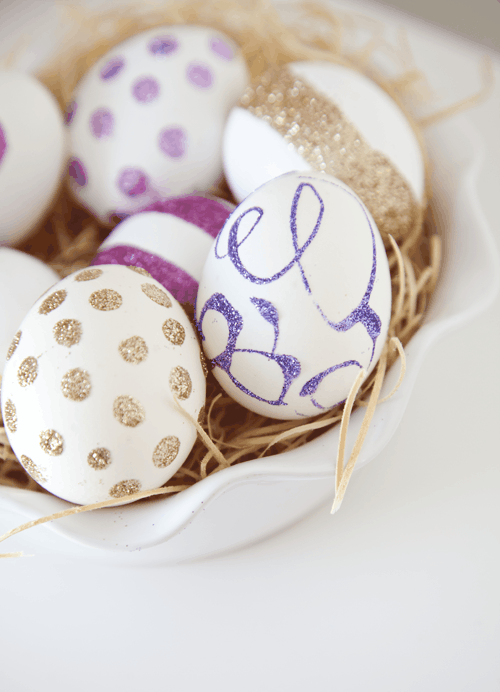
And there you have it: sparkly eggs and probably a sparkly face too 🙂
To see more of our Easter ideas, please visit us over HERE, HERE or HERE!
 ————————————
I’ll definitely be making these for Easter! SO pretty and so easy to make.
Thanks, Sarah!
For more great projects from her please be sure to head on over to Boxwood Clippings. 🙂
For more great ideas from her, here on Lil Luna check out:

And for all Easter ideas go HERE.
For all crafts & tutorials go HERE.
And get weekly emails with monthly freebies by signing up for the Lil’ Luna newsletter. 🙂
For even more great ideas follow me on Facebook – Pinterest – Instagram – Twitter – Periscope.
ENJOY!





So very cute…I think I will be giving this a try. Thanks for sharing.
These are so CUTE!
Aren’t they?! And so easy too!!
Thanks for finally writing about >Glitter Eggs Tutorial <Liked it!
You’re welcome!! Glad you stopped by!! Thank so much!