You ready for the holidays?! I sure am!!
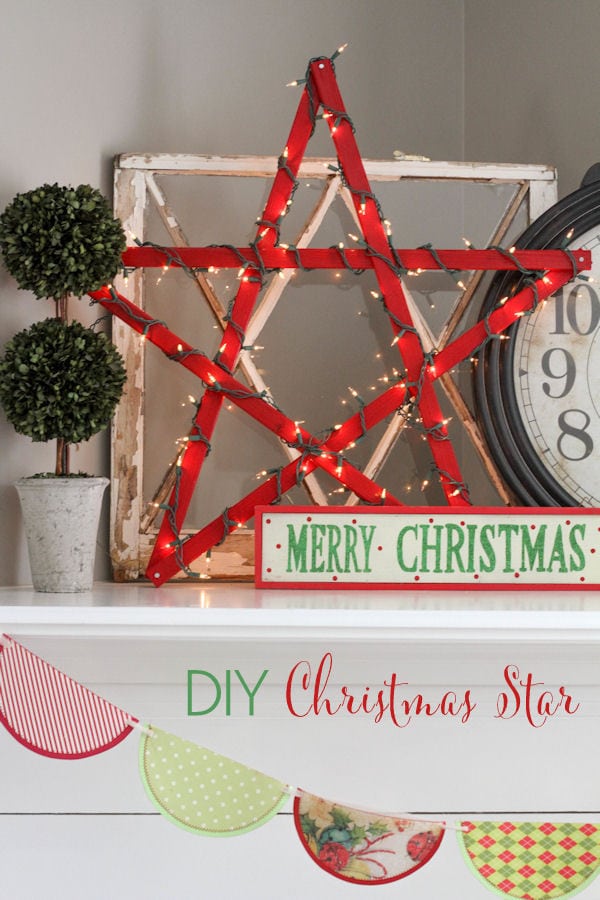
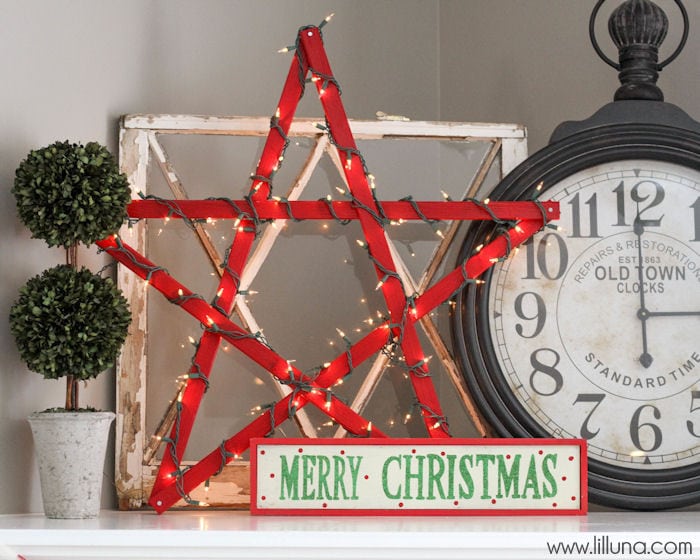
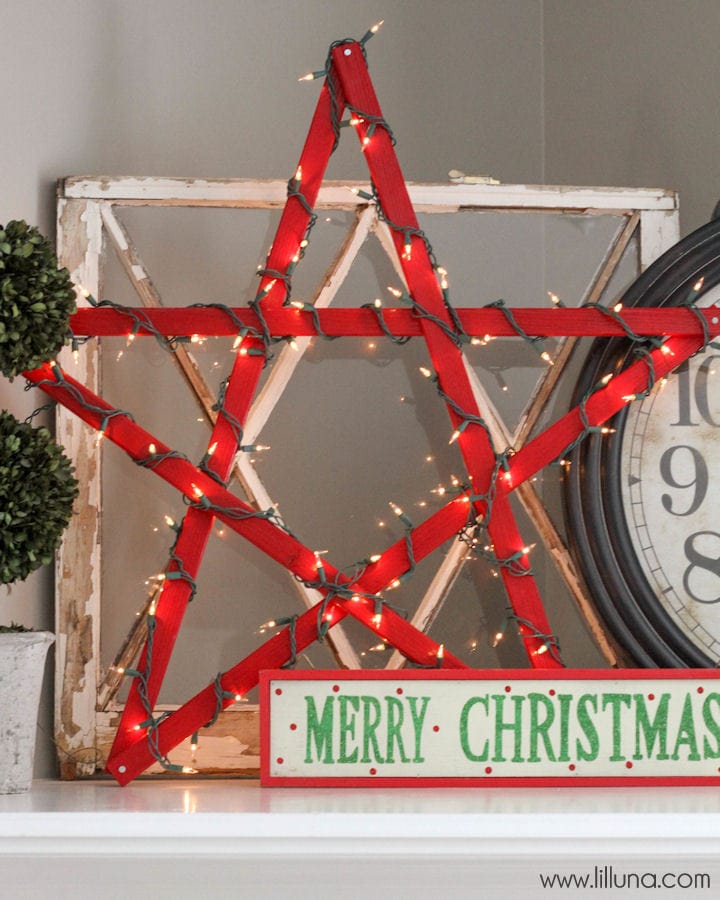
We’ve already been getting ready and decorating and have even completed a few holiday projects already. One of those projects was a DIY Lighted Christmas Star. I had seen this star a few years ago and knew I needed one in my life as well. I knew a BIG, RED star would be a great addition to our holiday decor, so we headed to Lowe’s and bought all the supplies. I’m happy to report that it was very simple to do and was super inexpensive too (my favorite projects!!)
This DIY Star would also be a great Christmas gift! With the lights, it is especially pretty and will be a great addition to any home during the holidays.
Here is what you’ll need to make it…
SUPPLIES:
- (All bought from Lowe’s…)
- 1″x2″ lumbar boards (actual is about ½″x1.25″)
- 1″ drywall screws
- ¾″ flat head nails
- white Christmas lights
- spray paint
TOOLS:
- miter saw (hand or electric)
- Drill
- 3/32″ drill bit
- hammer
- clamp
DIRECTIONS:
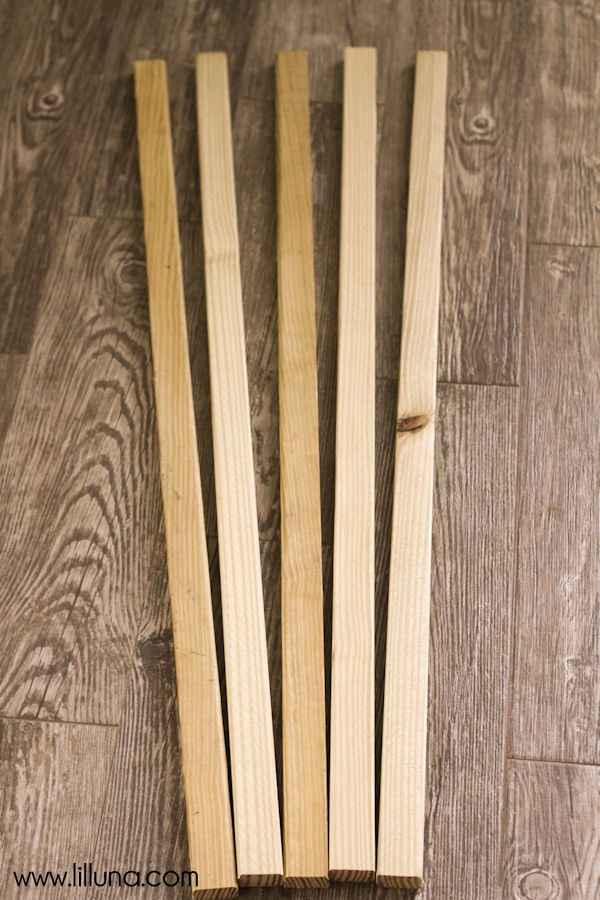
1. We cut three 8 foot boards lumber into five 36″ sections (this creates a star that is about 34″ tall).
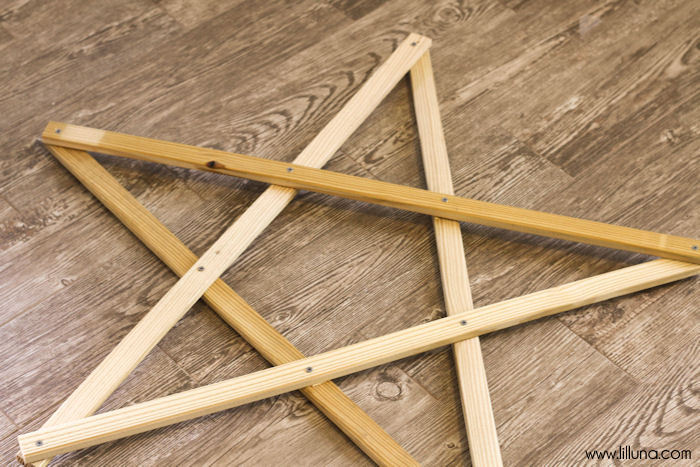
2. The hardest part of the whole project was the next step of figuring out how to lay the boards on top of each other so that each corner was as flat as possible against the board beneath it. In the end, there were only one or two boards that we had to bend and weave into place. The back side of the star will be facing up as you lay it out. See the picture for the way that we laid it out.
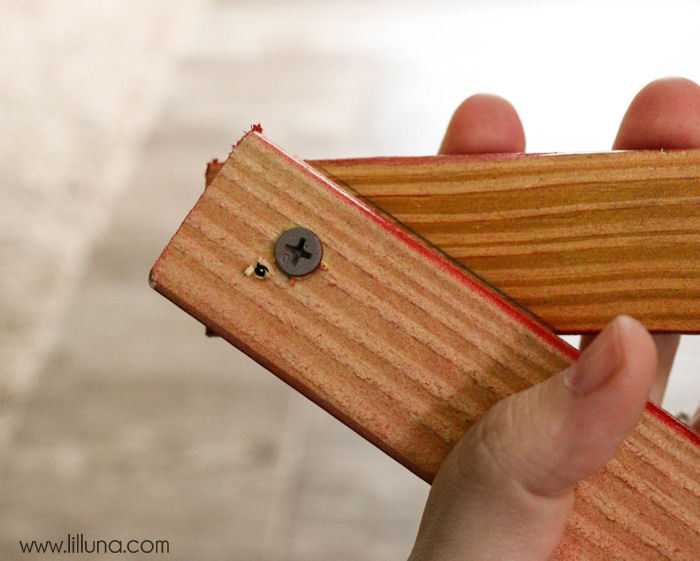
3. When laying out the star, it was easy to make the star crooked. To help with this, try to make all the corner overlaps look like the ends all overlap the same amount and in the same angle. We traced a line down the edge to mark the position.
Once the star was configured on the ground, we began securing the pieces together by screwing the corners together. The screw head showed on the back of the star, but the screw was not visible on the front.
When connecting the corners, we completely secured each corner first before moving onto the next one. We pre-drilled a hole for the screw using a 3/32″ drill bit. We then drilled completely through the top board, and halfway through the bottom board. After that, we secured the boards together by driving the drywall screw completely through the first board and halfway into the second.
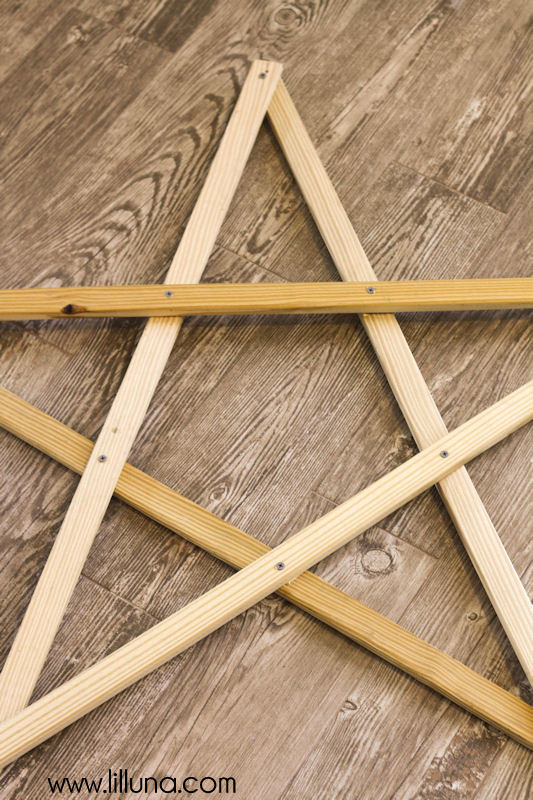
4. We moved onto the next corner, and continued until all corners were secured. We then repeated this method of screwing the boards together for the five corners of the pentagon created in the middle.
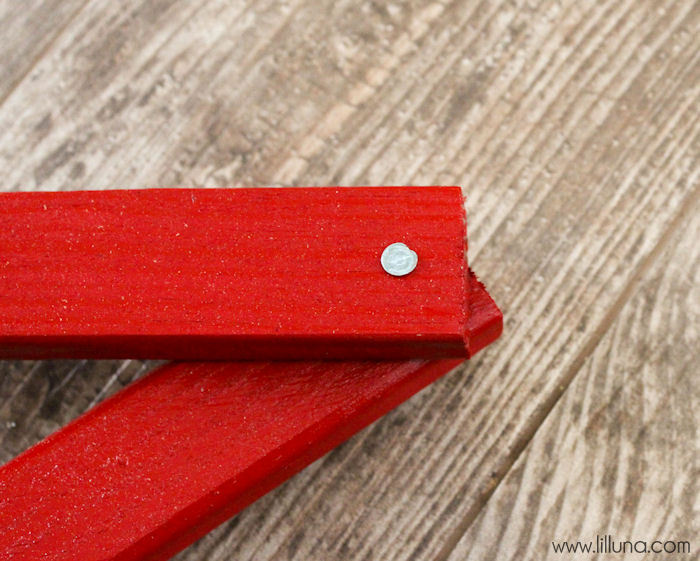
5. At this point the star was fully constructed and ready for paint. Once the paint had dried, we wanted to attach some silver flat head nails to the front side corners as embellishments. I drilled a hole just slightly smaller than the diameter of the nail and hammered the nail in.
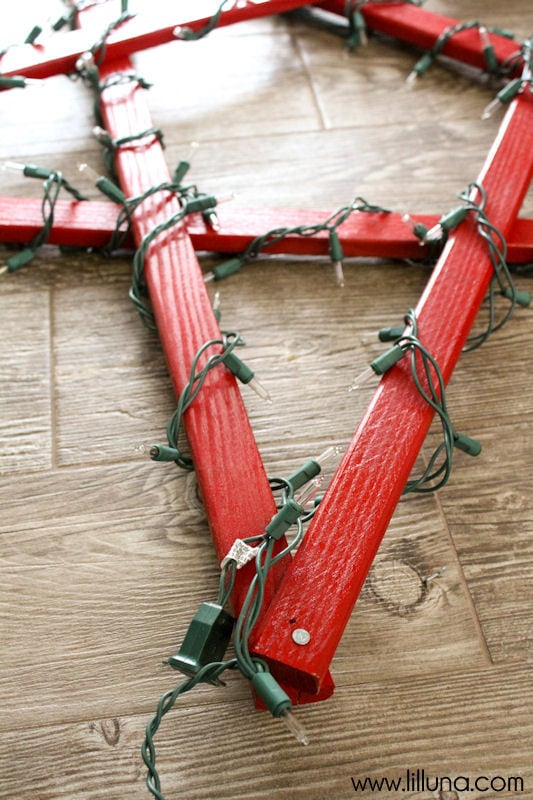
6. To finish it off, we wrapped the star in the Christmas lights. A 100-light string was the perfect length to cover the whole star. 🙂
The total cost for this light was right under $10!
Sweet, right?!
It is the perfect addition to my mantel, and I love that it was simple and cheap to make.
For more great Christmas gift ideas for the DIY-er, check out:
For more creative inspiration, visit Lowes Creative Ideas and Lowes.com
ENJOY!!

This is a sponsored post written by me on behalf of Lowes. All opinions are 100% mine.
