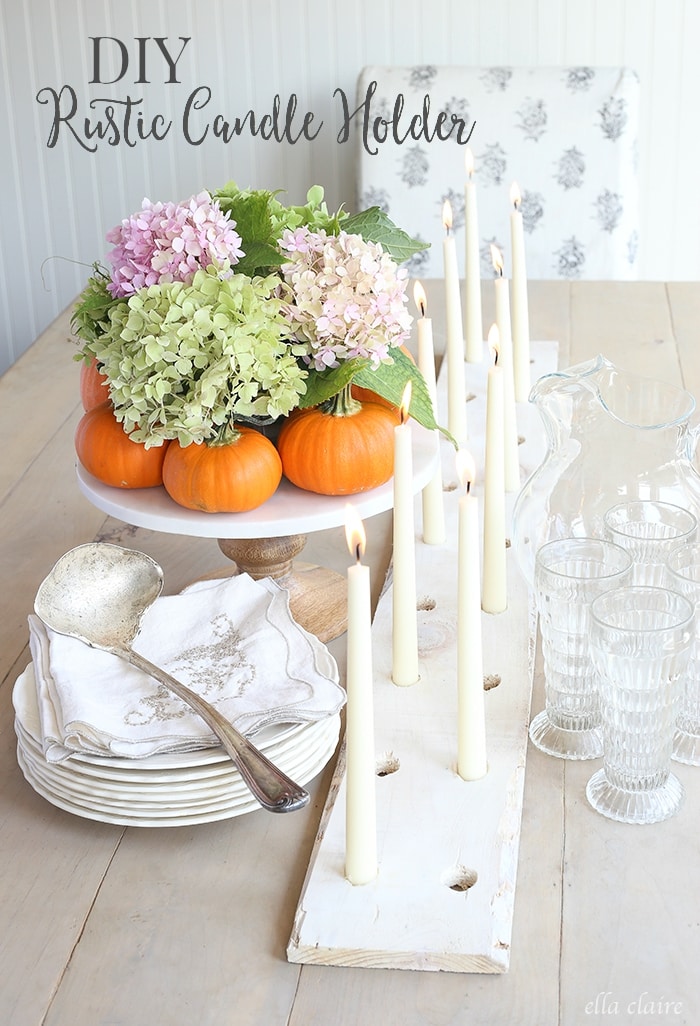
Hi, it’s Kristen from Ella Claire, and I am back with a fun DIY project that is perfect and versatile for all of your upcoming holiday decorating! Decorating for the holidays is one of my absolute favorite things, and I look forward to it every year (you can see my Fall home tour HERE and my Christmas home tour HERE). I always like to add new little touches each year to my holiday decor and I appreciate pieces that can transition with the different seasons.
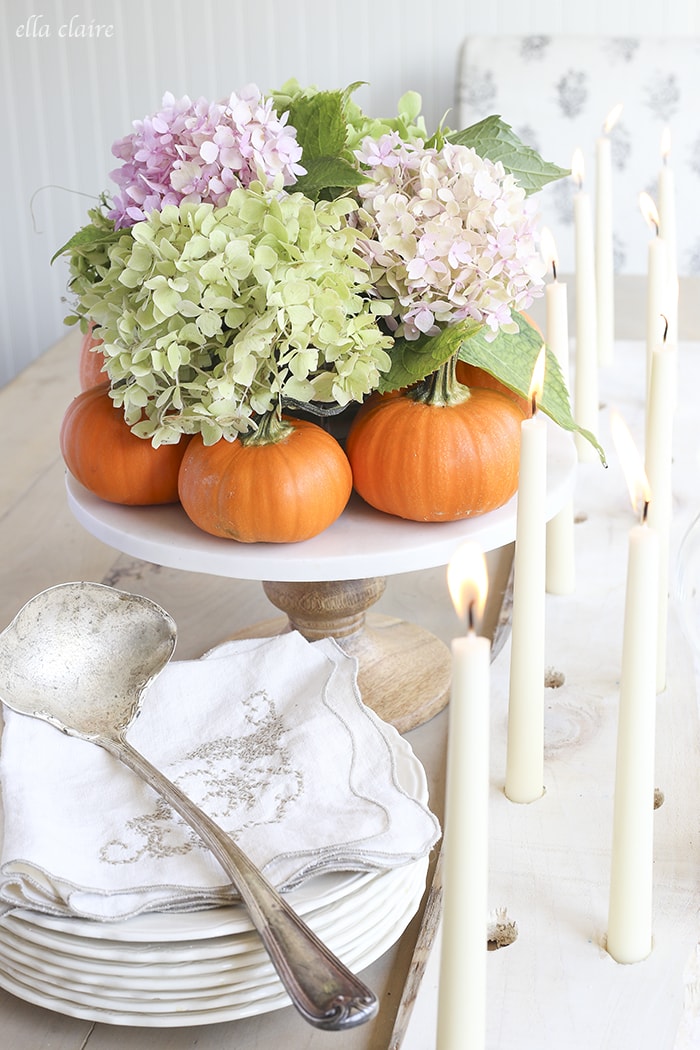
When I saw this rustic candle holder on Pinterest, I knew I wanted to make one for my table. Unfortunately the pin is mis-linked, and I couldn’t find the original source, so if you know the source, please share with me!
Anyhow, it was a fun and easy project, and I am so happy with the result! It was also really inexpensive- under $5.
First, I started with a cheap cedar fence picket. I searched through the pile at the hardware store, and picked the really rough one that no one would actually want to put on their fence. I wanted the character of the knots and gnarled edges. I cut it to the size I wanted, 46″, which was a nice long runner while still leaving plenty of room on the ends of the table for place settings.
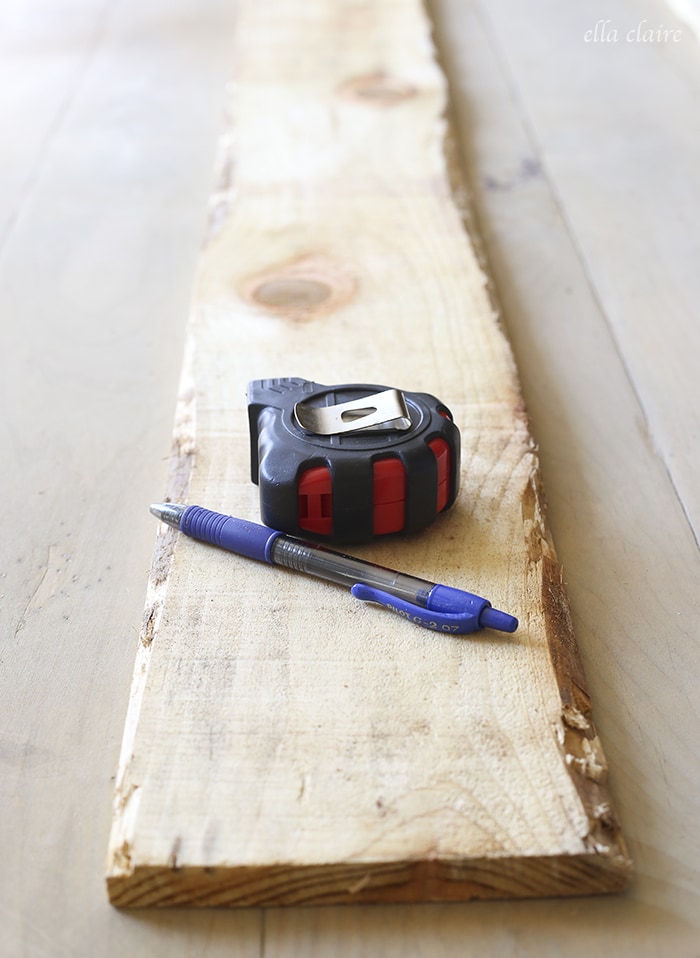
I placed marks 3″ inside from the right and left end, 1 ½″ from the top and bottom edges, to mark my first set of candles. Then I marked a set in the middle (23″ from edge). Then I marked each in half, and then half again. So, in the end, I had 9 sets of 2.
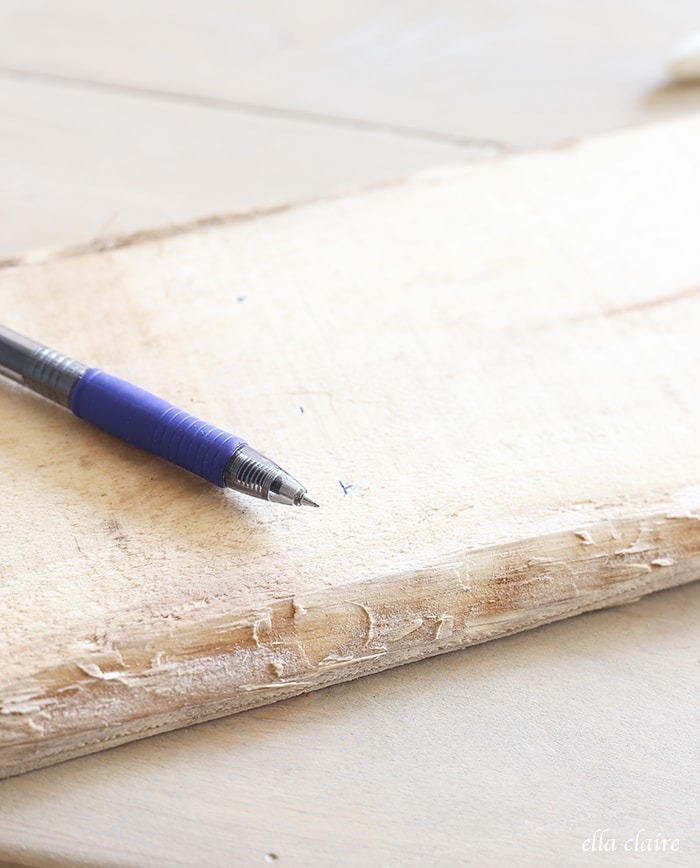
I used a 13/16″ spade bit that I picked up at the hardware store while I was there to make all of the holes. It is important to drill straight down, and all the way through the board. Tip: take the taper candles you will be using to the store with you to make sure you are getting the right size bit and err on the side of going slightly smaller instead of bigger. You want your candles to be snug in the holes.
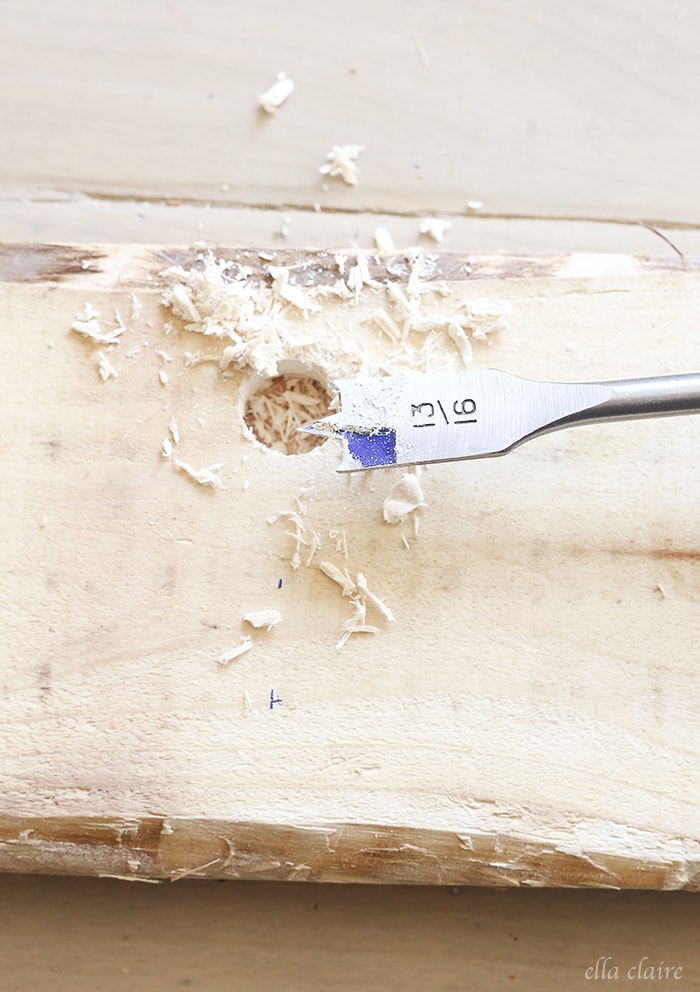
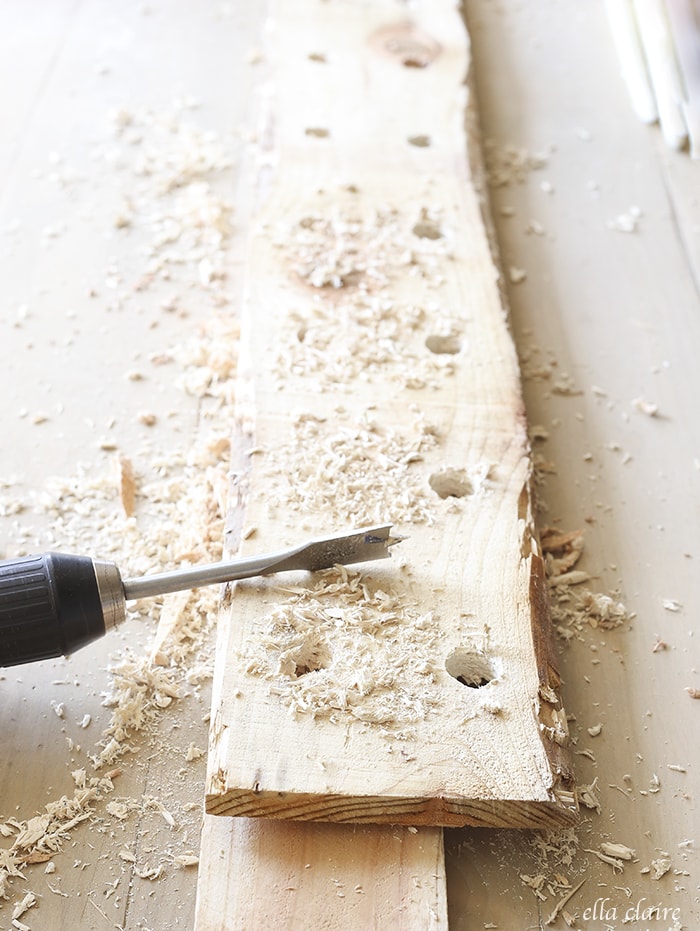
When I was finished, the holes were a little rough, and definitely needed a some light sanding.
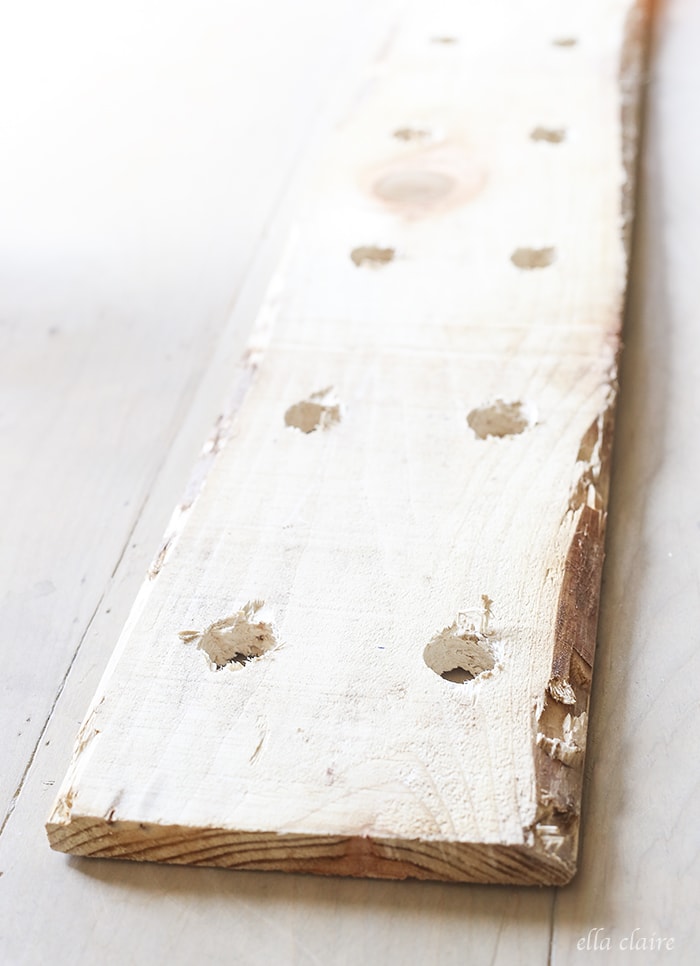
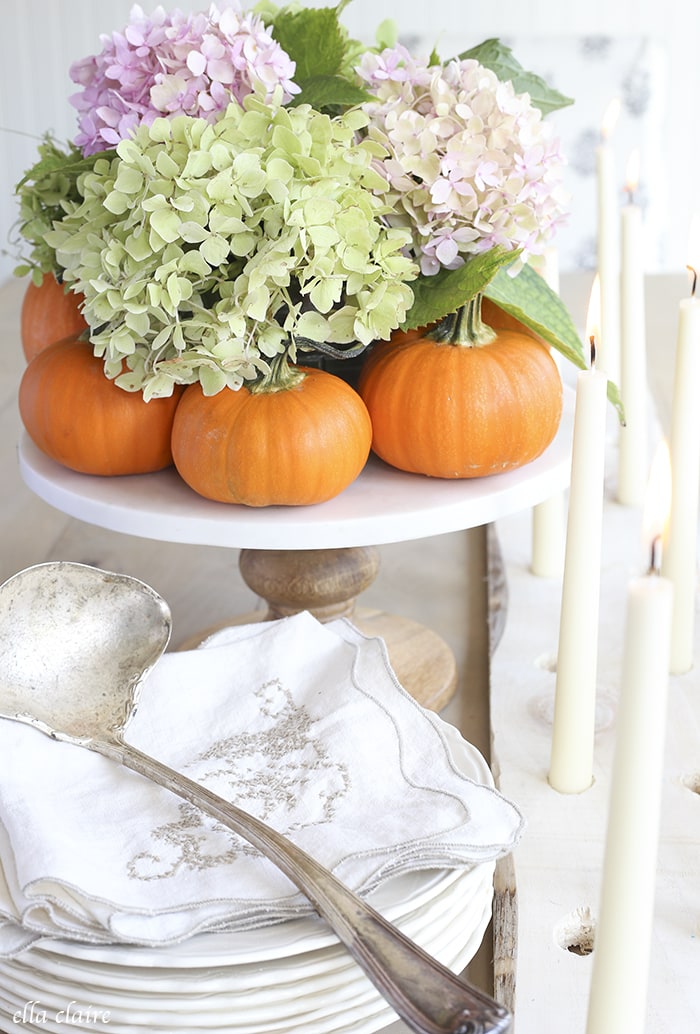
After a light sanding, I decided to whitewash my board with some paint I had on hand. I think it would have been really pretty stained as well. I stuck some of the taper candles that I had on hand (originally from Walmart) into the holes and I was finished! I love the way it turned out! I think it will be perfect for holiday family dinners!
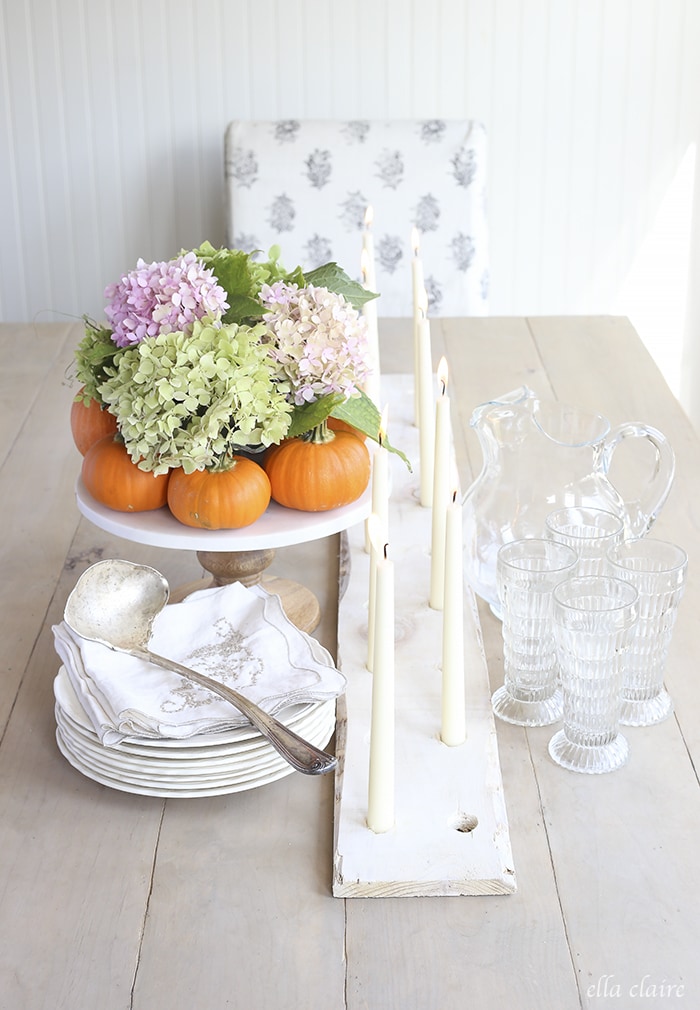
Of course, as with any other candle holder, you don’t want to light this baby and then head to the grocery store or anything. It should only be used with supervision. The candles were really tight and secure in their holes, and I burned them down for a while without any issues.
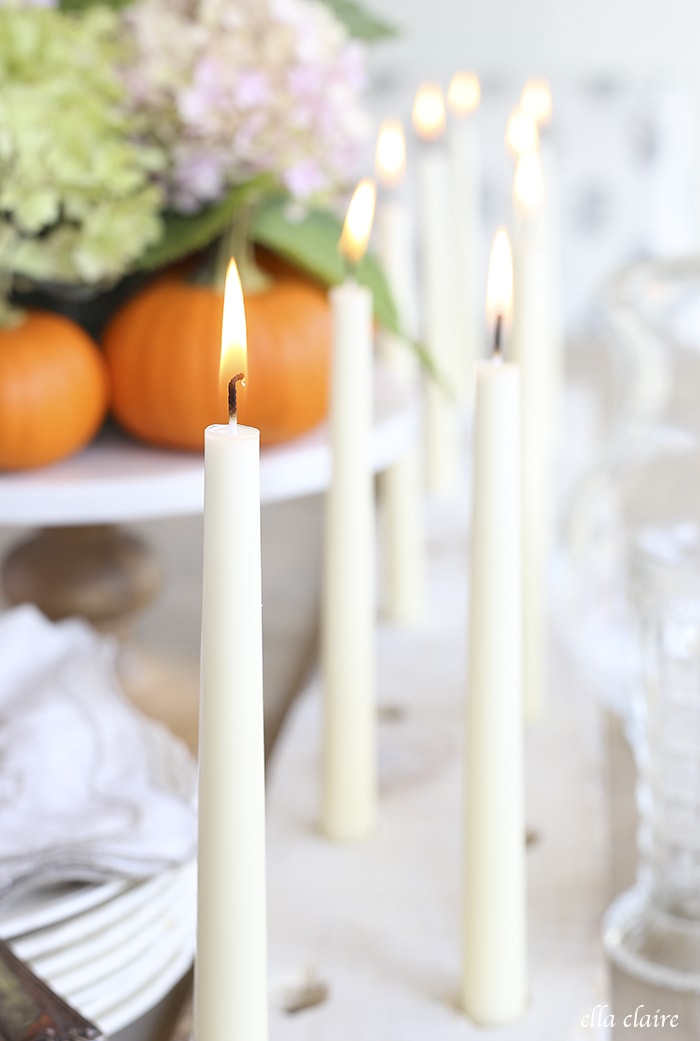
I look forward to using this a lot in the next few months! By the way, you can see the tutorial for this hydrangea and pumpkin Fall centerpiece HERE.
Here are a few more posts you might love:
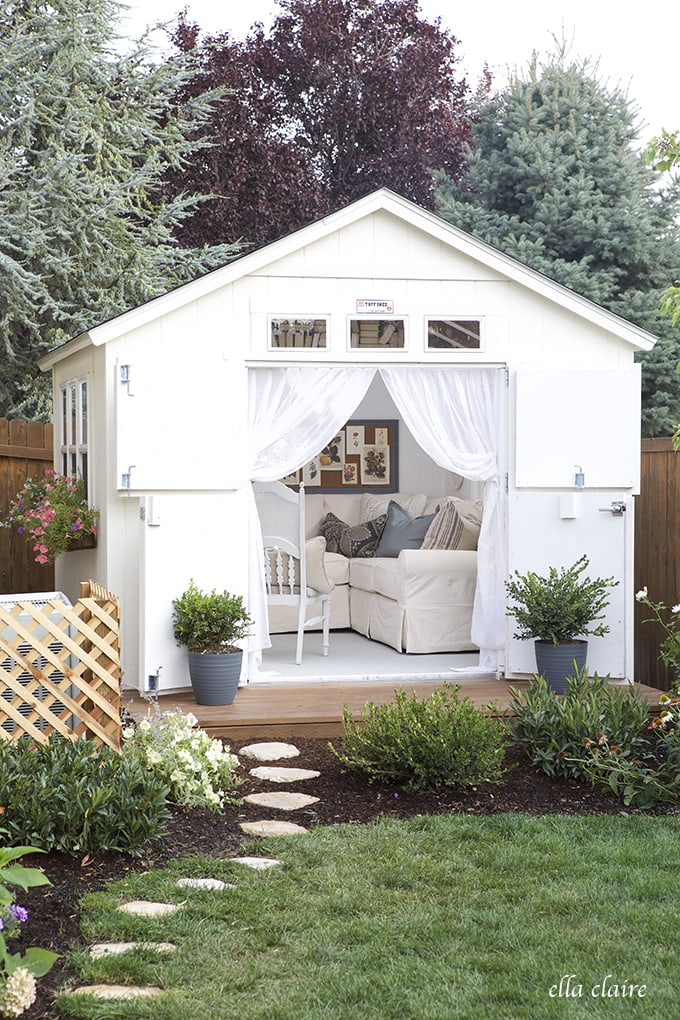
DIY She Shed Reveal| Ella Claire
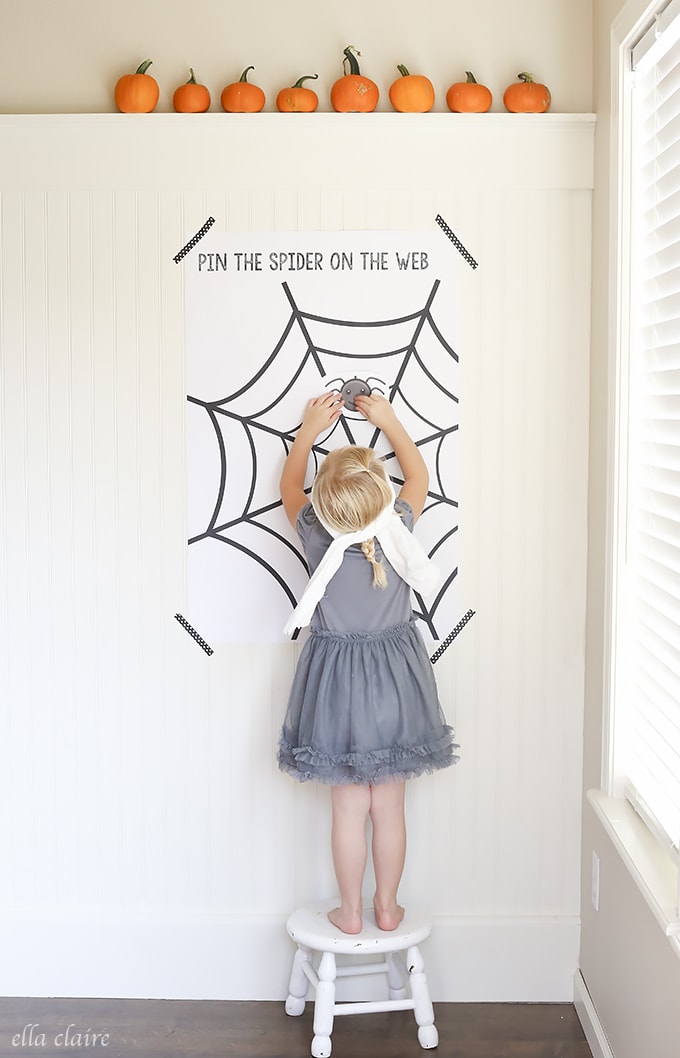
Free Printable Pin the Spider on the Web Game
————————————————
I’m in LOVE with this DIY Rustic Candle Holder!! It would be perfect for any holiday, but I especially think it would be great for Halloween, Thanksgiving and Christmas!!
Thanks, Kristen!!
For more great fall projects, check out:
For all tutorials on the site go HERE.
For all Fall ideas go HERE.
And get weekly emails with monthly freebies by signing up for the Lil’ Luna newsletter. 🙂
For even more great ideas follow me on Facebook – Pinterest – Instagram – Twitter – Periscope – Snapchat.
Don’t miss a thing – Sign up for the Lil’ Luna Newsletter today!
ENJOY!


Love the candle holder. Even though it is rustic, it has an elegant element to it. Love the hydrangea pumpkin centerpiece too. Love it!!
I totally agree, Crystal!! It would be great for a spooky Halloween or for a nice Christmas dinner. 😉