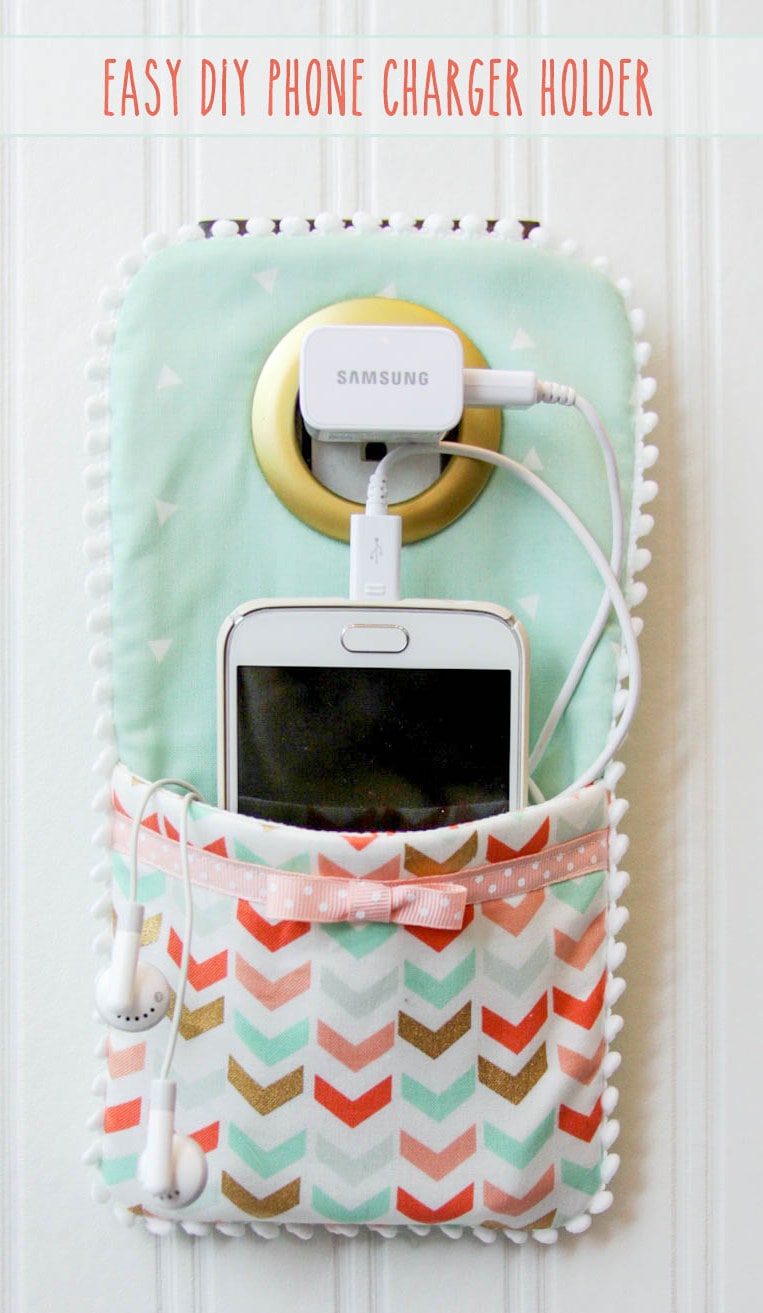
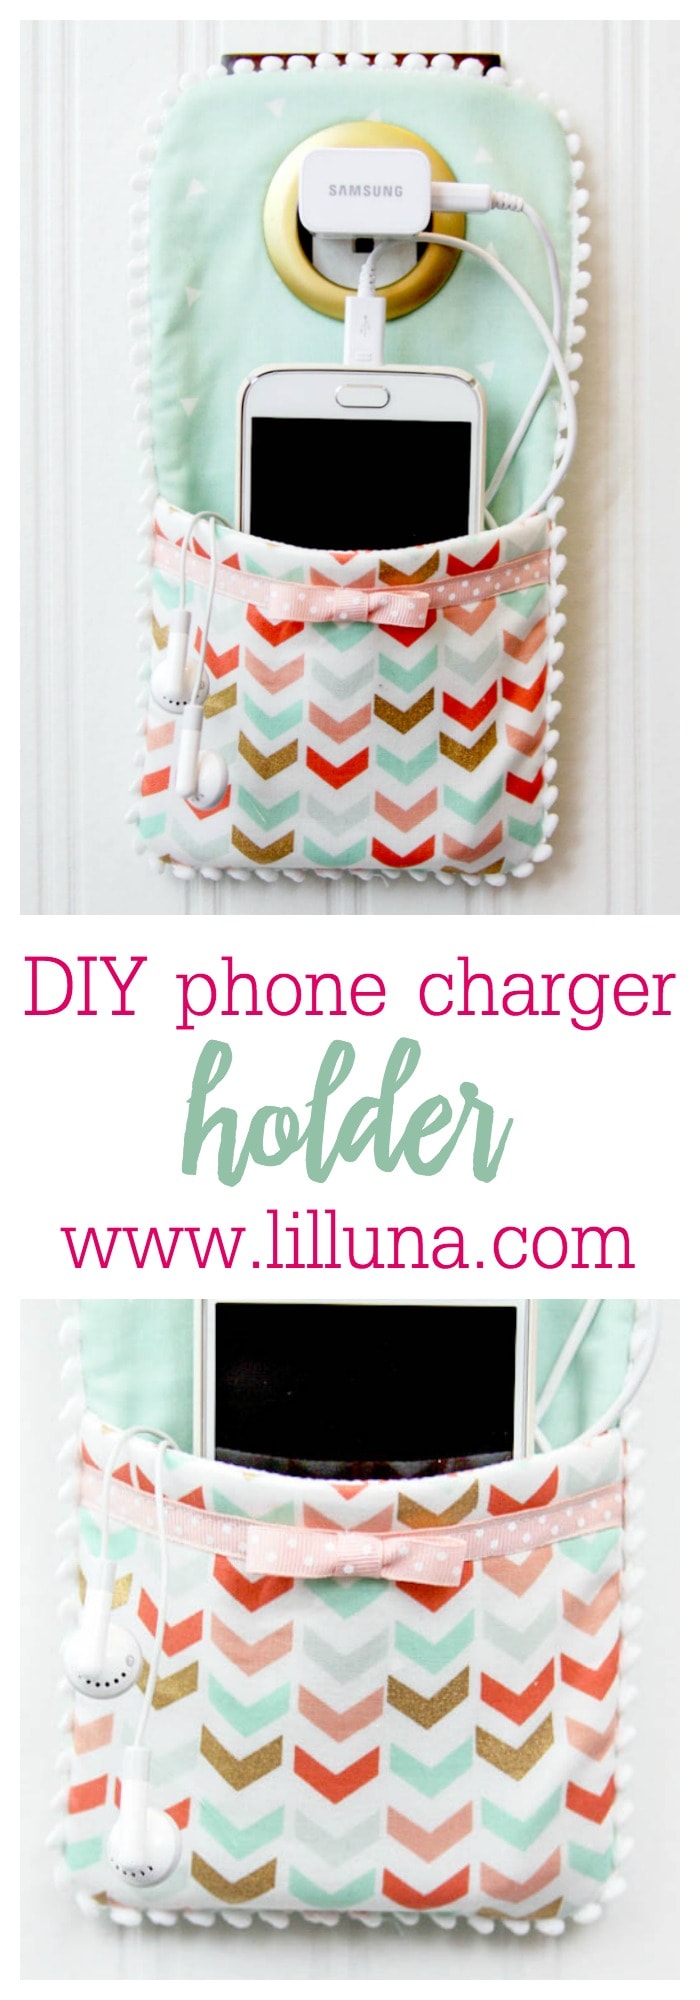
Hi everyone! It’s Bev from Flamingo Toes here, with a fun and super quick gift idea for you! This easy DIY Phone Charger Holder is so fun to make up for anyone – they would be perfect for friends, teachers or even as neighbor gifts! (Or you could make one up for you!)
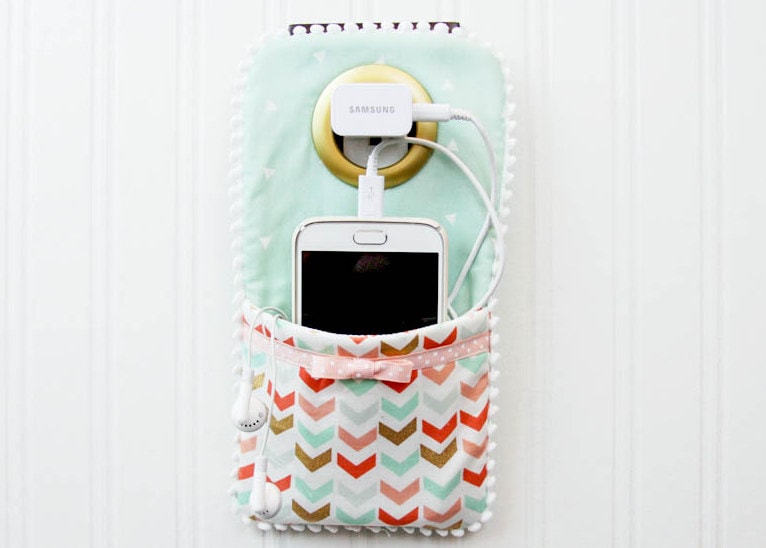
It doesn’t take long to sew this up, you can make one up in about 30 minutes! And don’t be nervous about the little grommet at the top – that couldn’t be easier to install. You don’t need any tools!
Note: I don’t really recommend hanging this for any length of time from your charger, you don’t want to put a ton of weight on that. I keep a Command Hook next to my outlet and hang it there – it’s super convenient and doesn’t put any stress on your charger or the outlet!
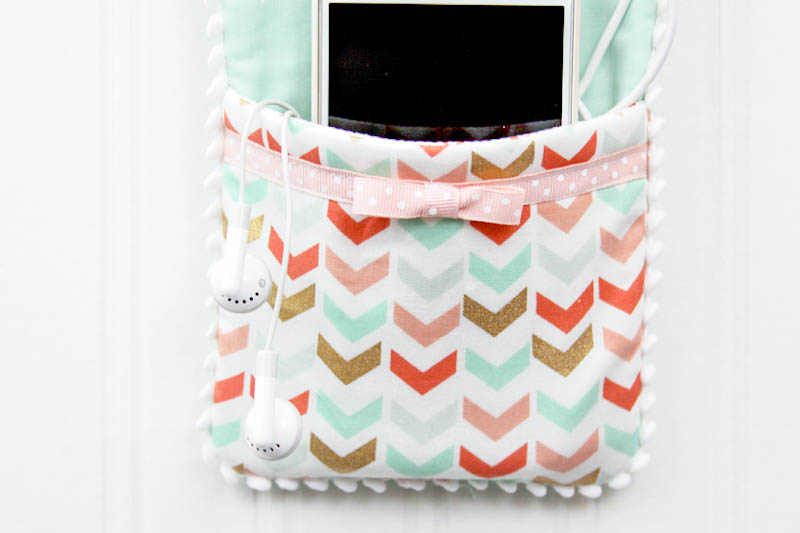
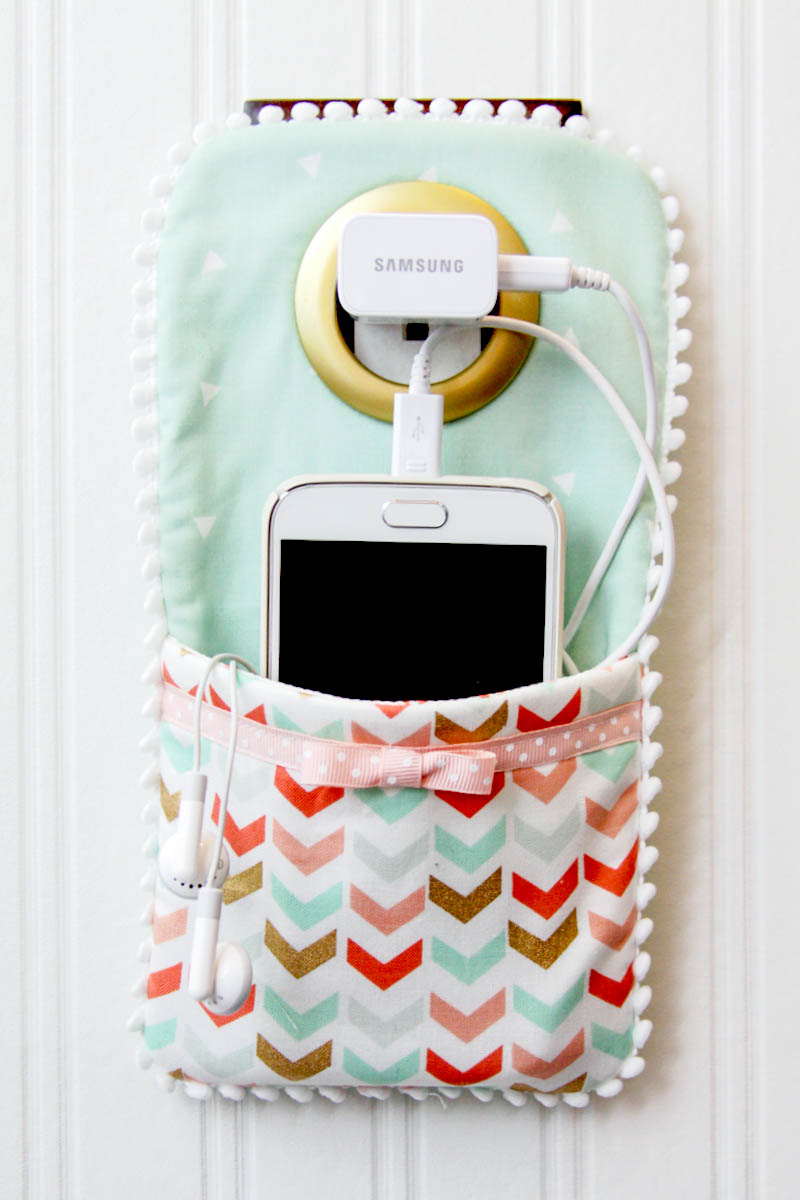
This sweet little pocket all dressed up with a bow is the perfect size for holding your phone, tucking in your charging cord, and even a set of earbuds! Wouldn’t that be a fun gift? A cute little wall charger holder and a matching set of earbuds!
Let’s get started!
Materials:
- Fabric
- Main Front and Back – 2 pieces 10 ½″ x 6″
- Pocket Front and Back – 2 pieces 7″ wide at top and 6″ wide at the bottom, and 5″ tall
- Fusible Fleece – one piece 10 ½″ x 6 and one piece 7″ x 5″
- Ribbon – 10″
- Pom Pom Trim – 30″
- 1 Plastic Curtain Grommet
To start, cut out all your fabric and fleece pieces. Iron the fleece to the back side of one of the pocket pieces and one of the main pieces.

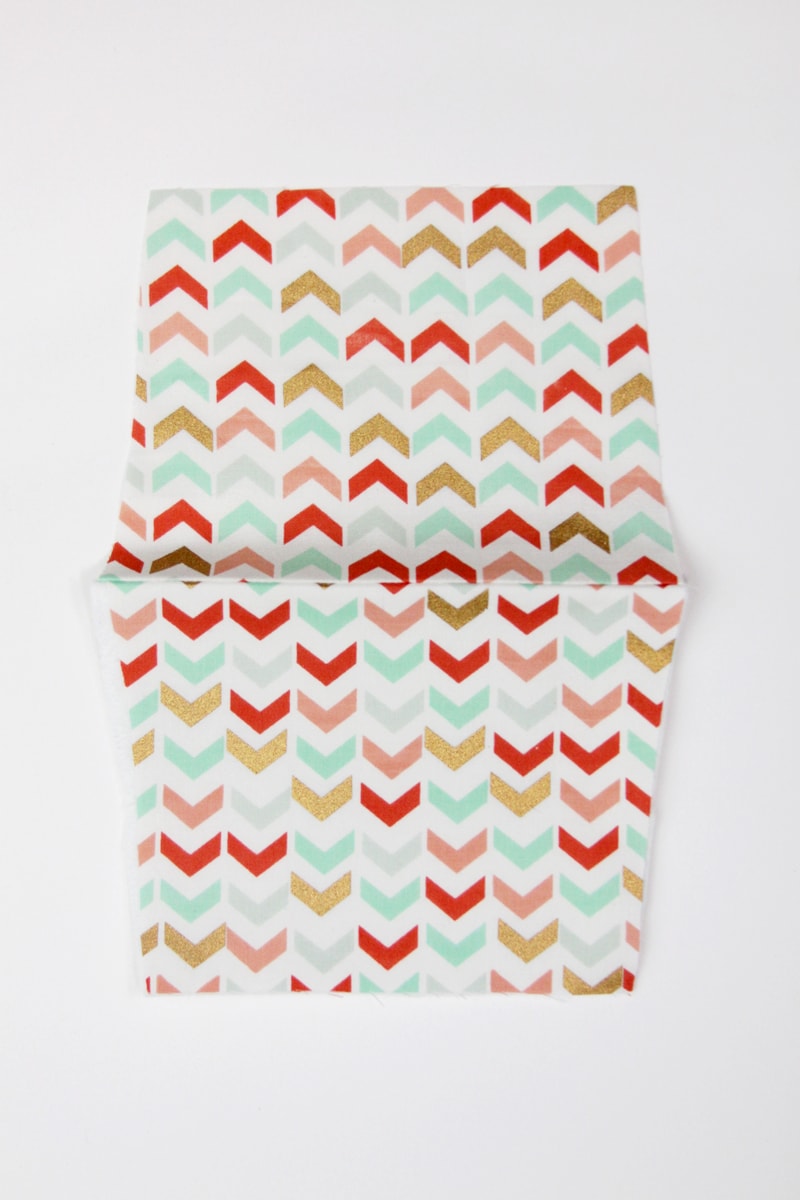
Sew the two pocket pieces together just along the top edge, with right sides together and a ¼″ seam allowances. Fold the pieces so the right sides are out and press.
Sew the ribbon ⅜″ down from the top edge, along both sides of the ribbon. Form a little bow with the extra ribbon and hand sew the bow in place.
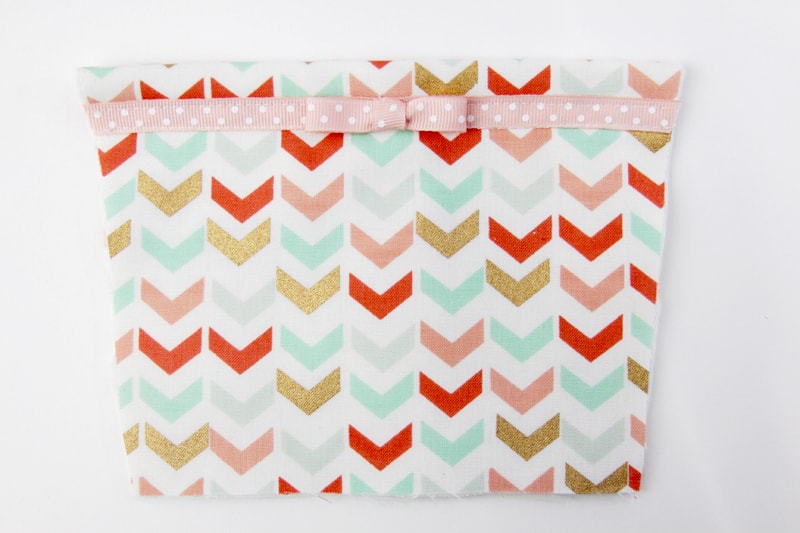
Place the front pocket on the front main piece (the one with the fusible fleece on the back side) and line up the bottom edge and the sides. Sew the sides and bottom down with a ¼″ seam allowance. Because the top of the pocket is wider, the pocket will stick out from the main piece just a bit.
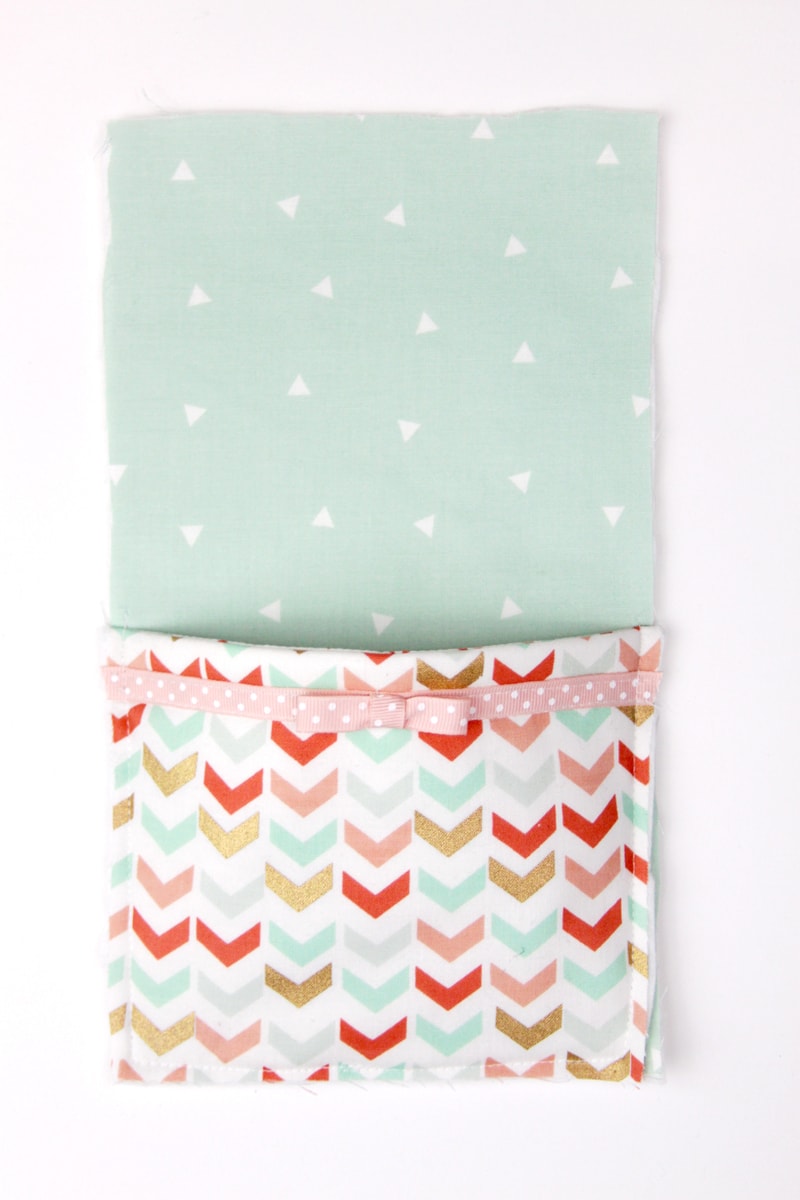
Use a spool of thread as a guide and trim all four corners so they are rounded. Sew your pom pom trim around the edge of the holder, ⅜″ in from the edge. Make sure the pom poms are pointing towards the center.
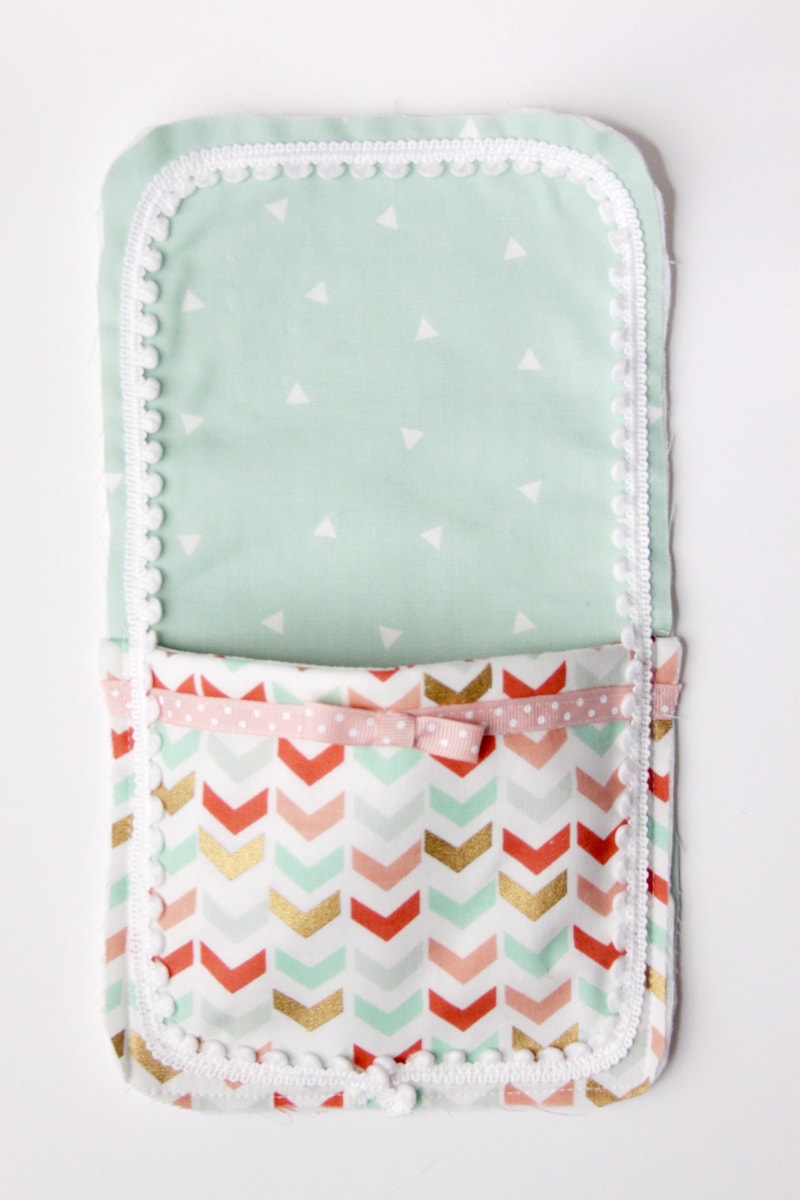
Pin the back main piece to the front main piece so that the right sides are together. Sew around the sides and leave an 2″ opening on one side, above the pocket. Turn the holder right side out through the opening. Press everything, then hand sew the opening closed.
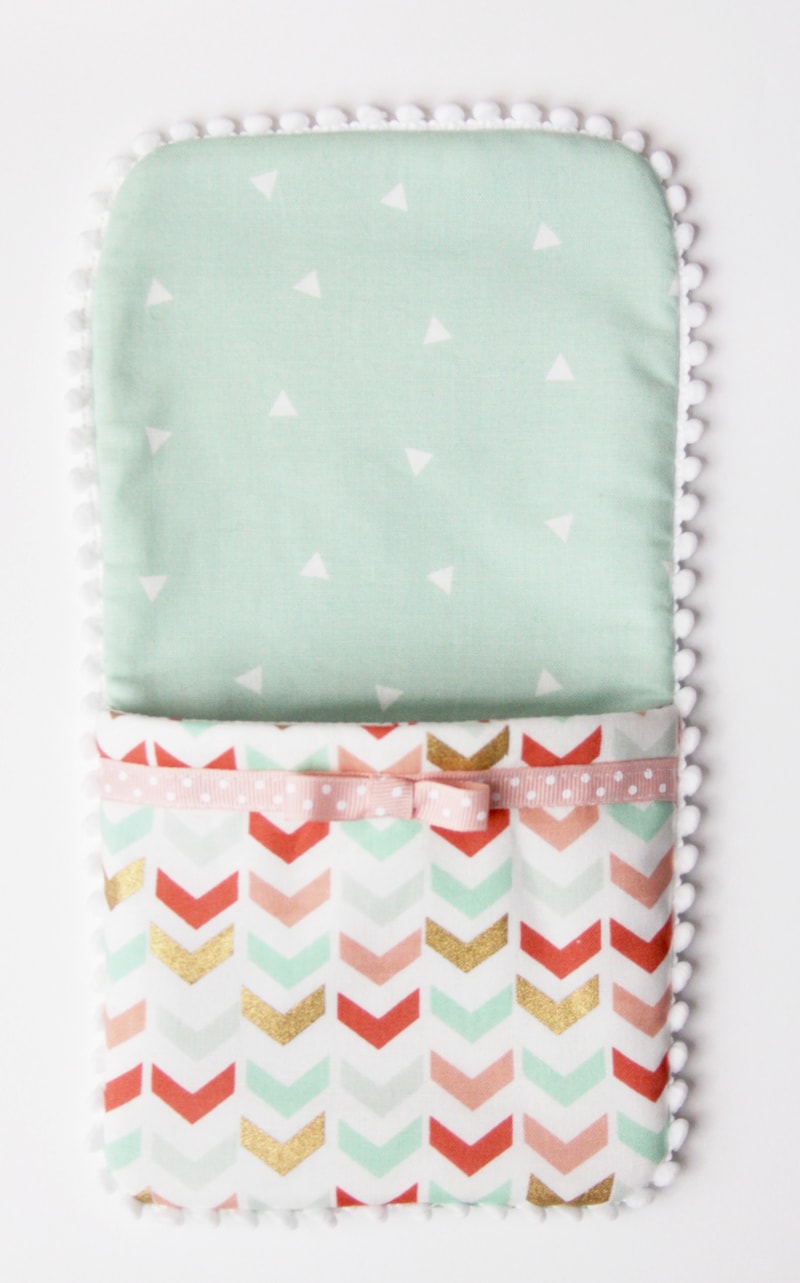
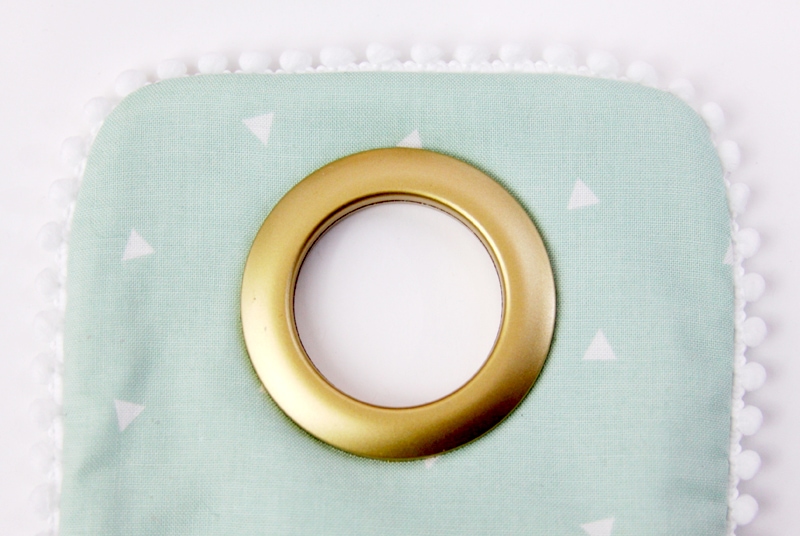
Put the curtain grommet in place, following the instructions on the package. These just snap into place, super easy.
And that’s it! You have a super cute place for your phone while it’s charging – and a super safe place too!
I’d love to see a photo if you make one!
________________________
This is such an awesome sewing project!!
Not only would it make a great gift, but its perfect for people who are getting into the “organization” mindset as the New Year rolls around. 😉
Thanks for sharing this with us Bev!
To see more of Bev’s awesome creations, head over to Flamingo Toes.
For more sewing projects, check out these posts:

For all sewing projects, go HERE.
For all DIY and crafts, go HERE.
For even more great ideas follow me on Facebook – Pinterest – Instagram – Twitter – Periscope.
And get weekly emails with monthly freebies by signing up for the Lil’ Luna newsletter. 🙂
ENJOY!!


I just adore this! I’m just learning to sew and I can’t wait to get good at it so i can make this!!! I really want to know where you get your fabric. I’m looking for patterns and colors similar to those fabrics
Thanks Jess!
I’m so glad you like it! I think it is a great beginner project – if you need any help with is just email me – I’m happy to help out!
The fabrics are from Hobby Lobby. They have so many cute prints right now!
So cute! I’ve got a Craft Gossip post scheduled for this afternoon that features your tutorial: http://sewing.craftgossip.com/?p=85870 –Anne
Love it!! What a great idea!! So stinkin’ cute!!
Loved this! Thank you for sharing this idea!