This post may contain affiliate links. Please read our disclosure policy here.
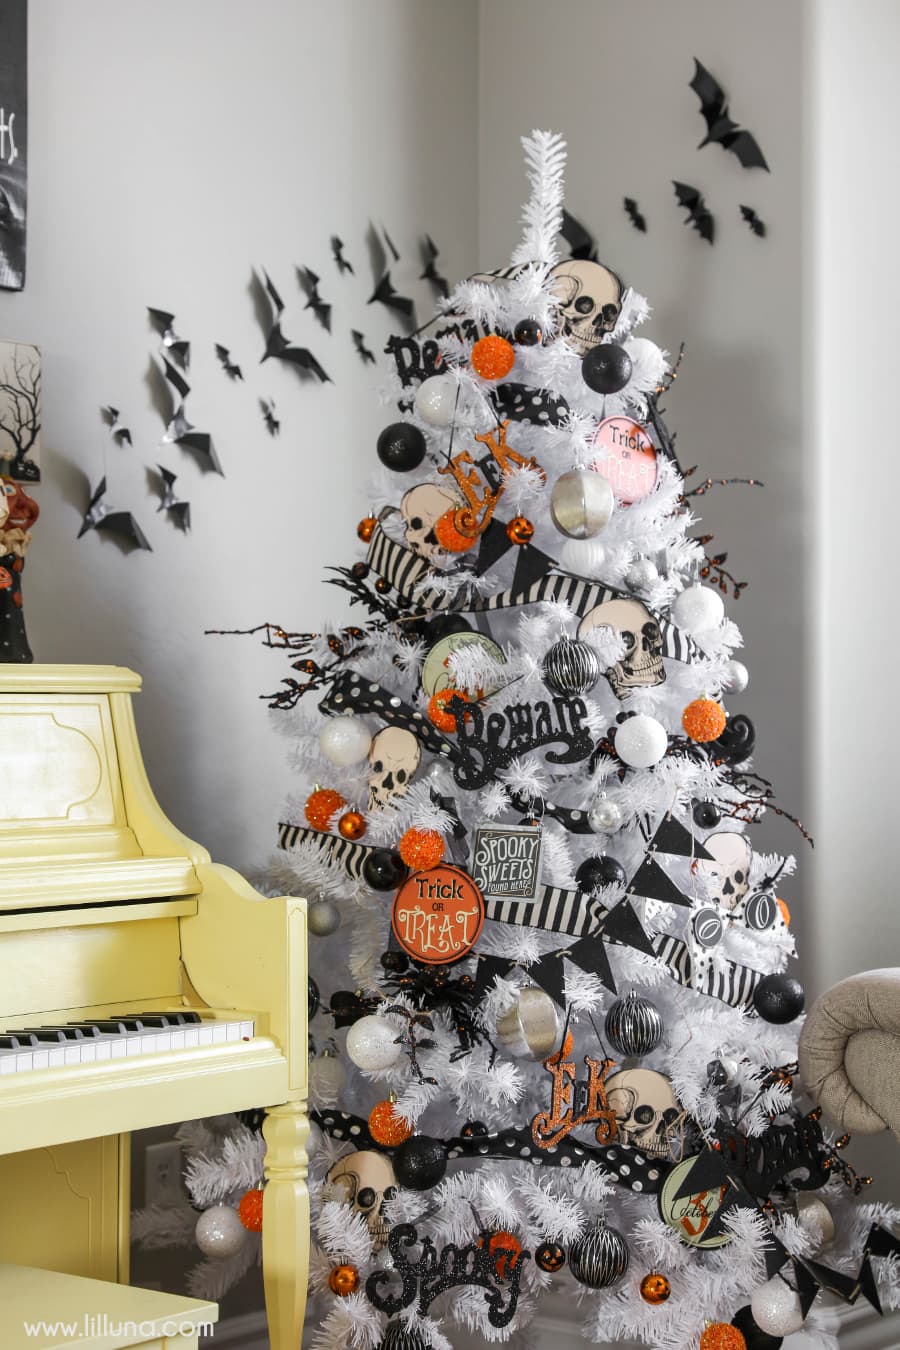
I love to create and I love Halloween so you better believe I had so much fun putting together a Halloween tree and some decor for my home. I hate to admit it but I’m usually so busy with the family and creating for work that I don’t have to time to create just for fun. When I was at some stores this week and saw all the Halloween items already half off, I knew I had to buy some of it and put together a Halloween tree, especially since I’ve been wanting to do one for years. I’m so happy with how it turned out and realized just how much I love to create, and more specifically to create for no other reason than just because. 😉
Since I love Halloween so much I’ve always enjoyed decorating my house for October, and today I’m going to share some of the decor and the Halloween tree I put together this week. I hope you like it and can use the ideas for inspiration for your own home. Let’s begin with the tree…
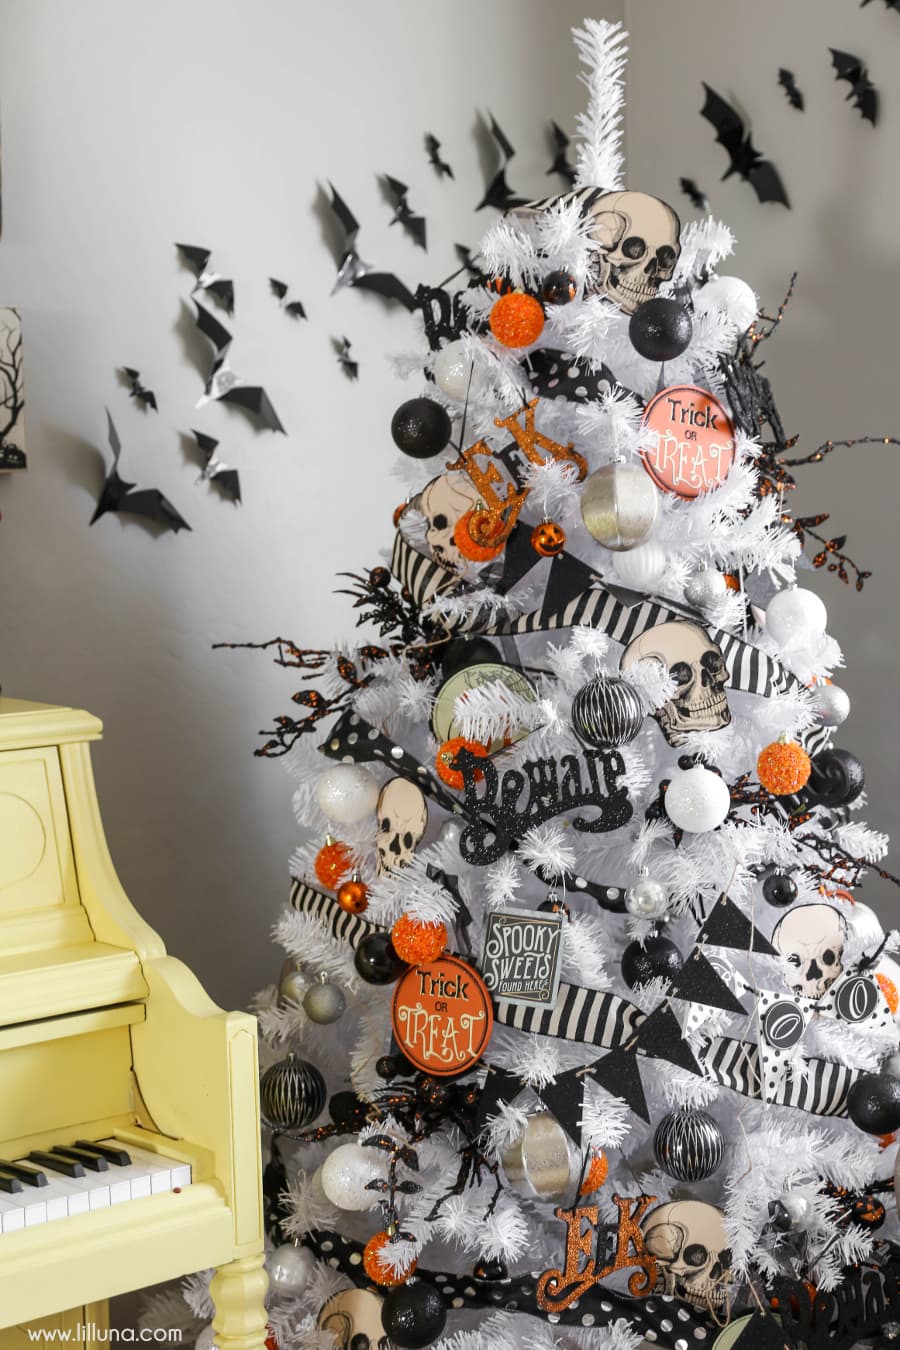
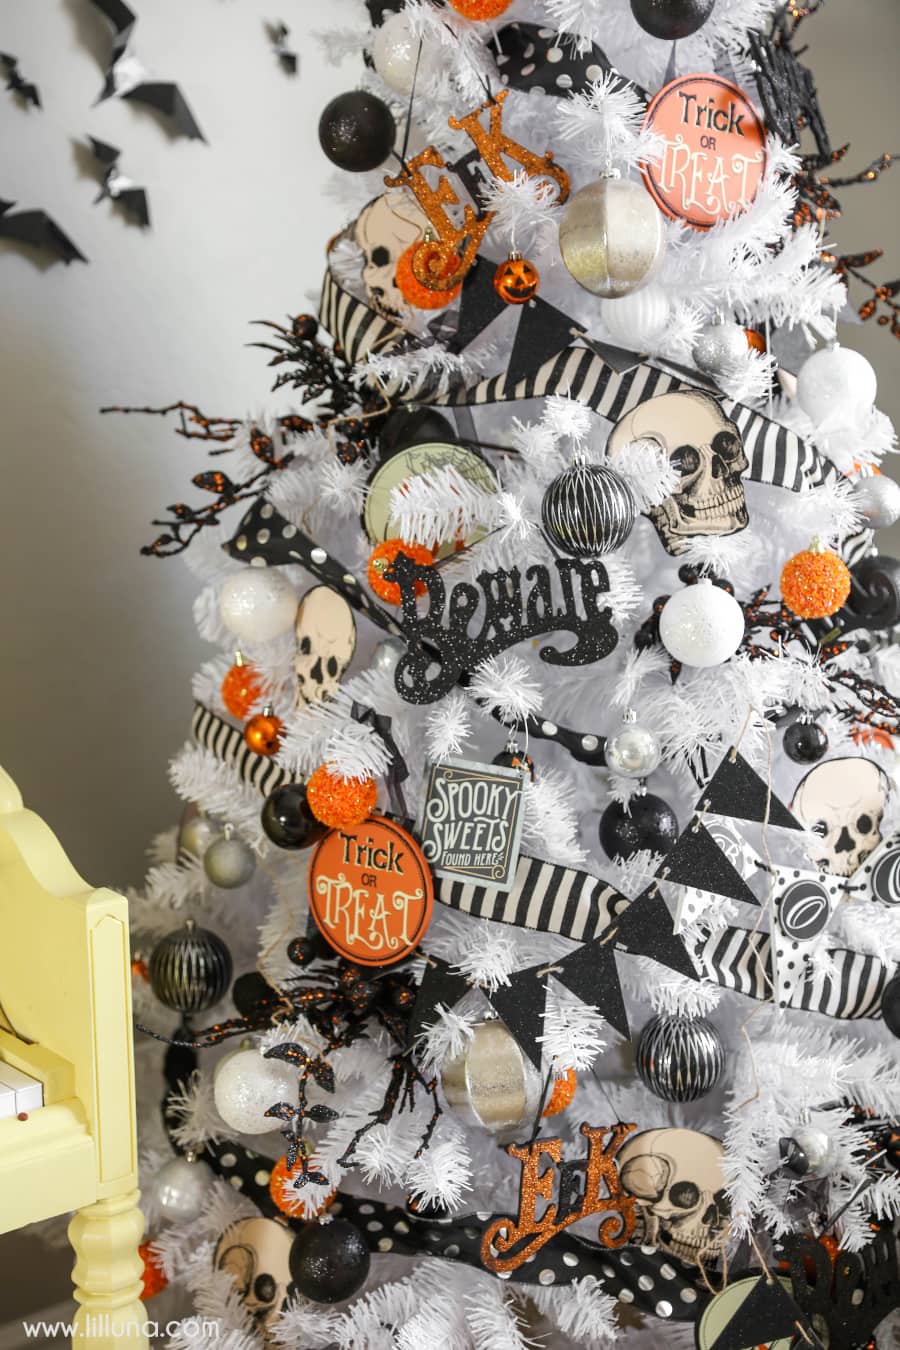
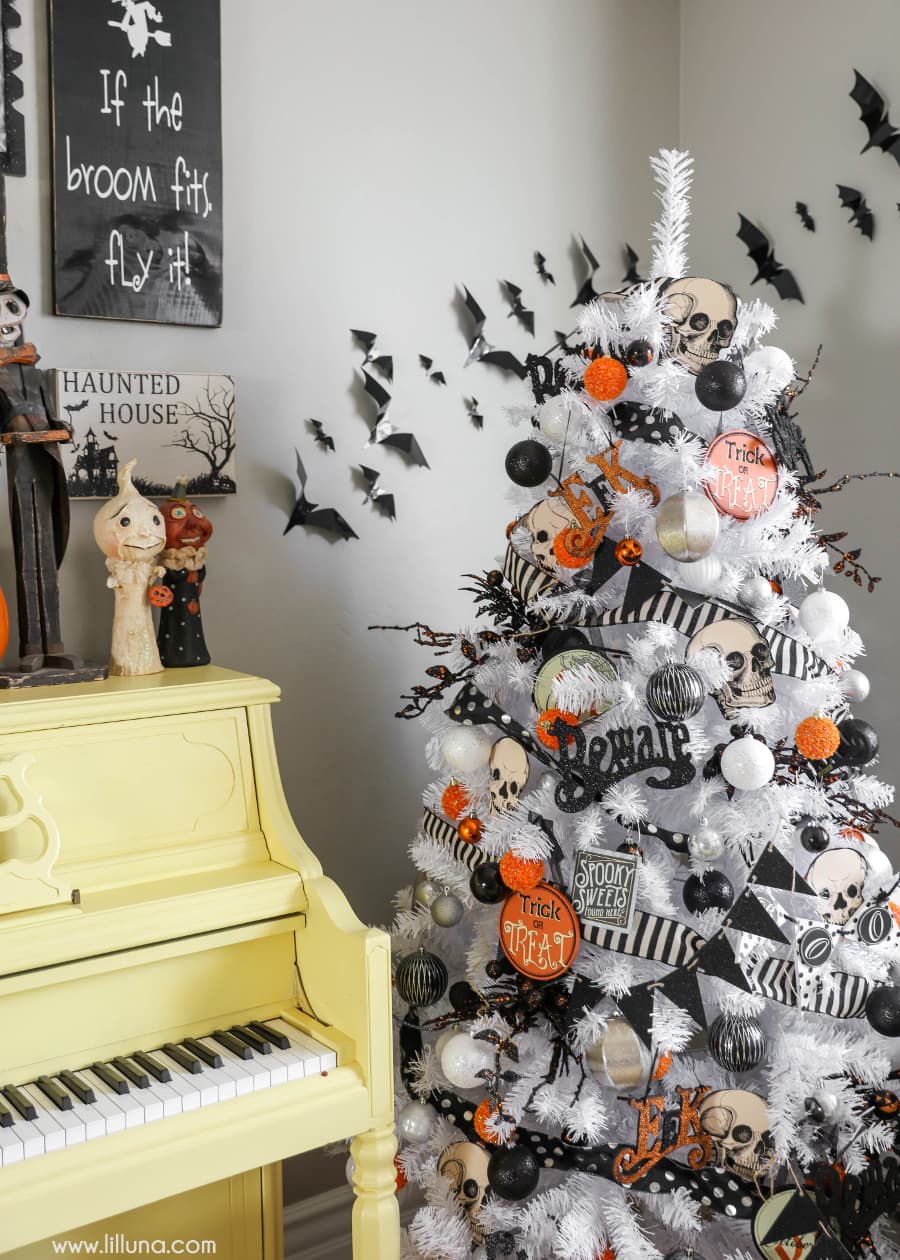
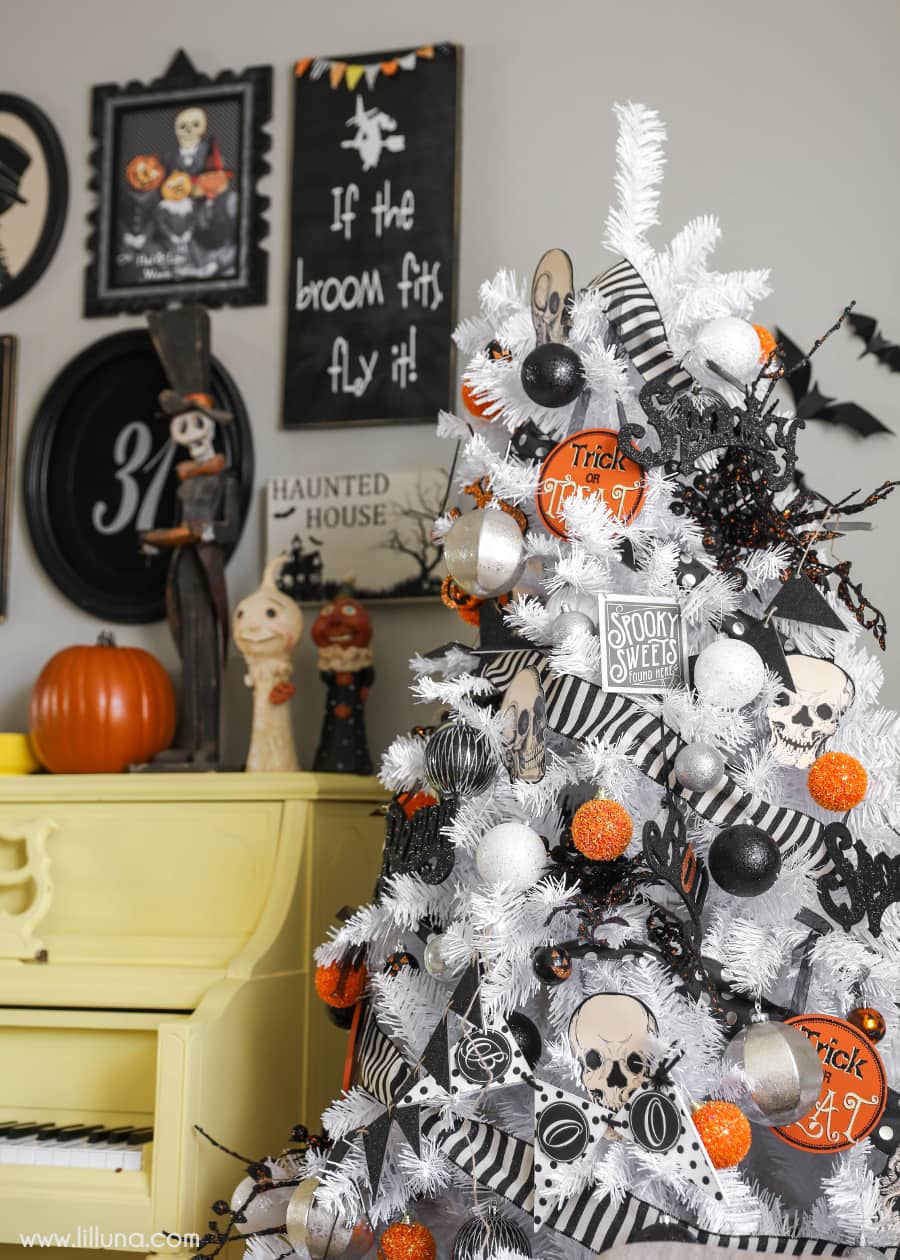
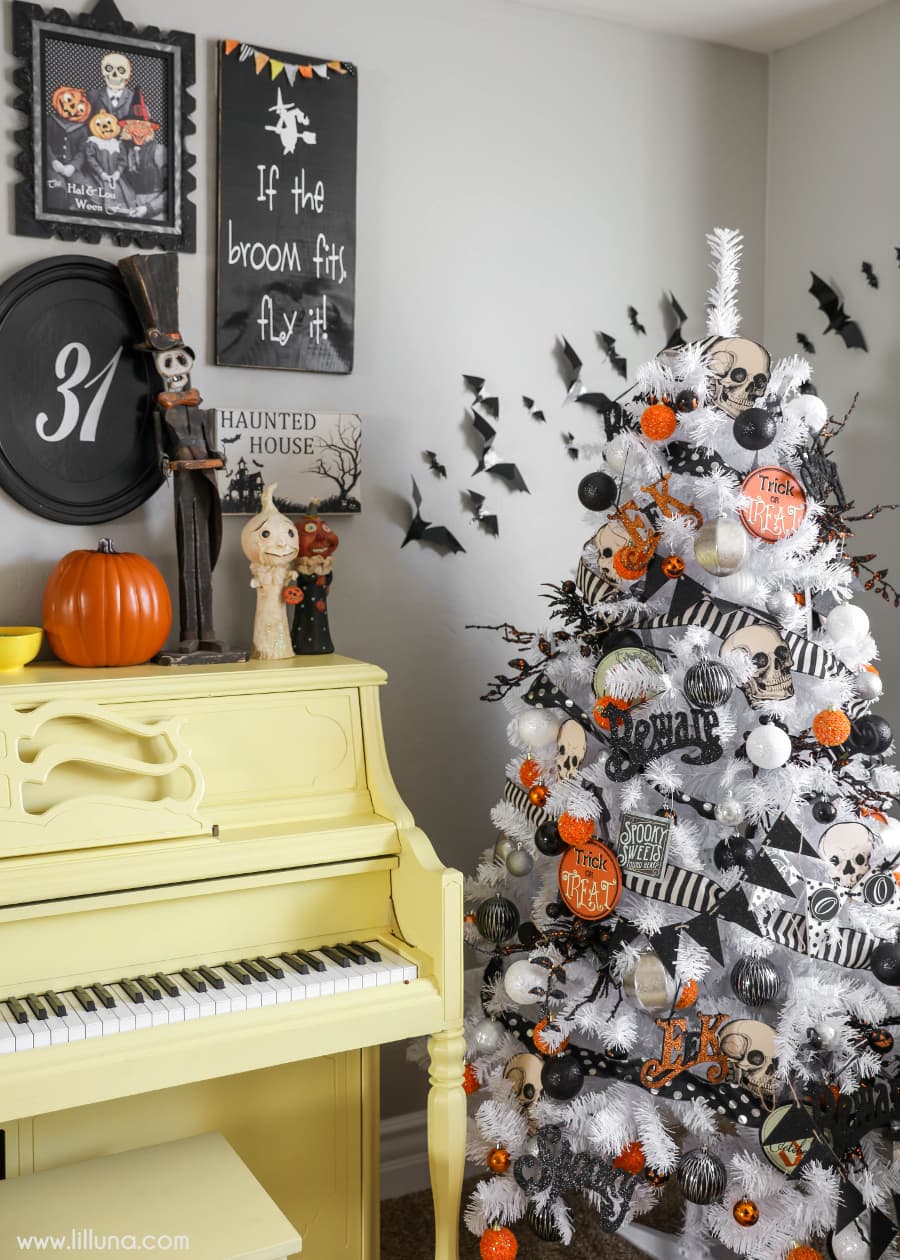
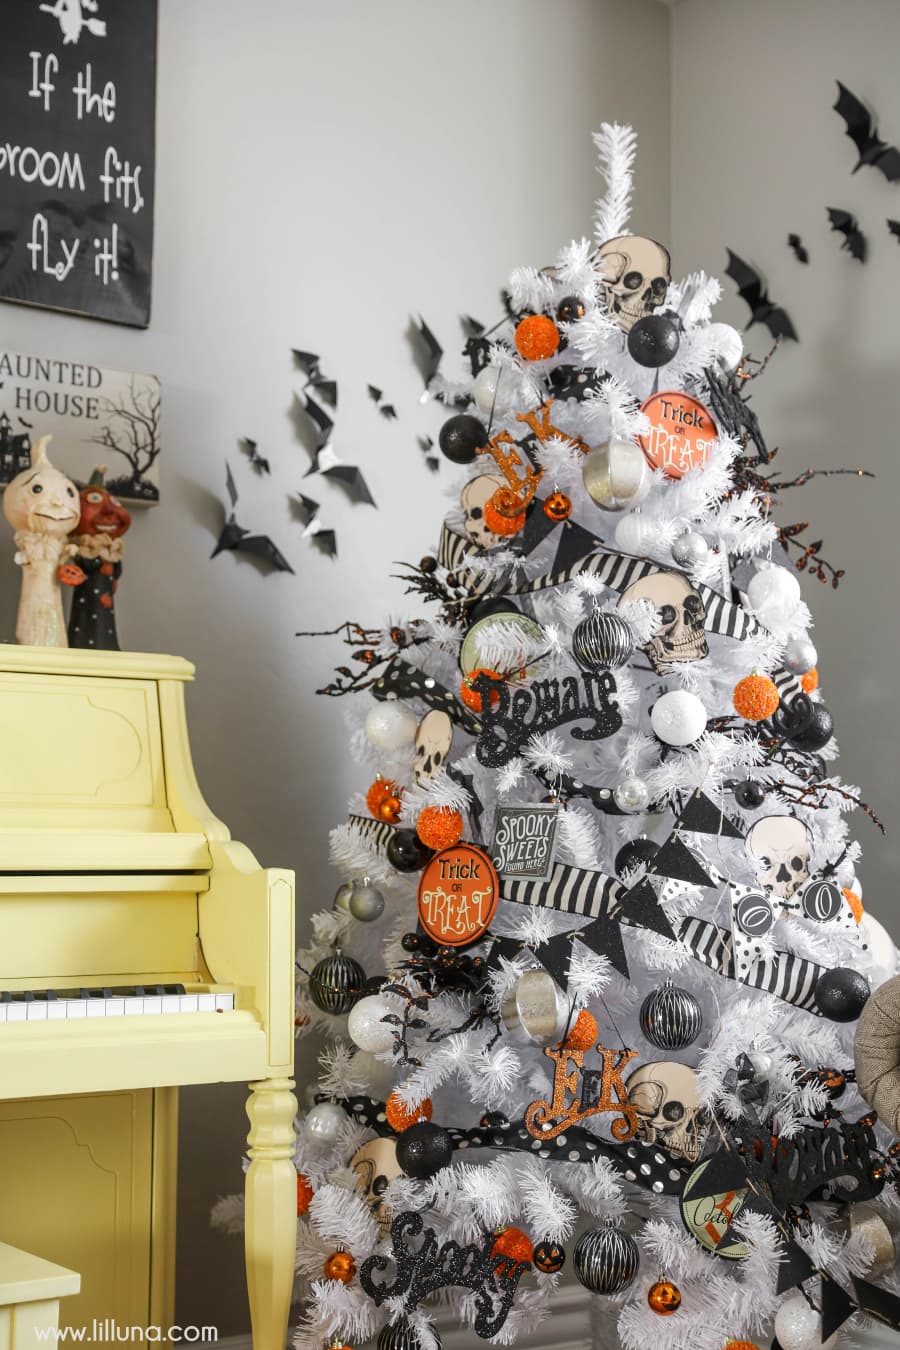
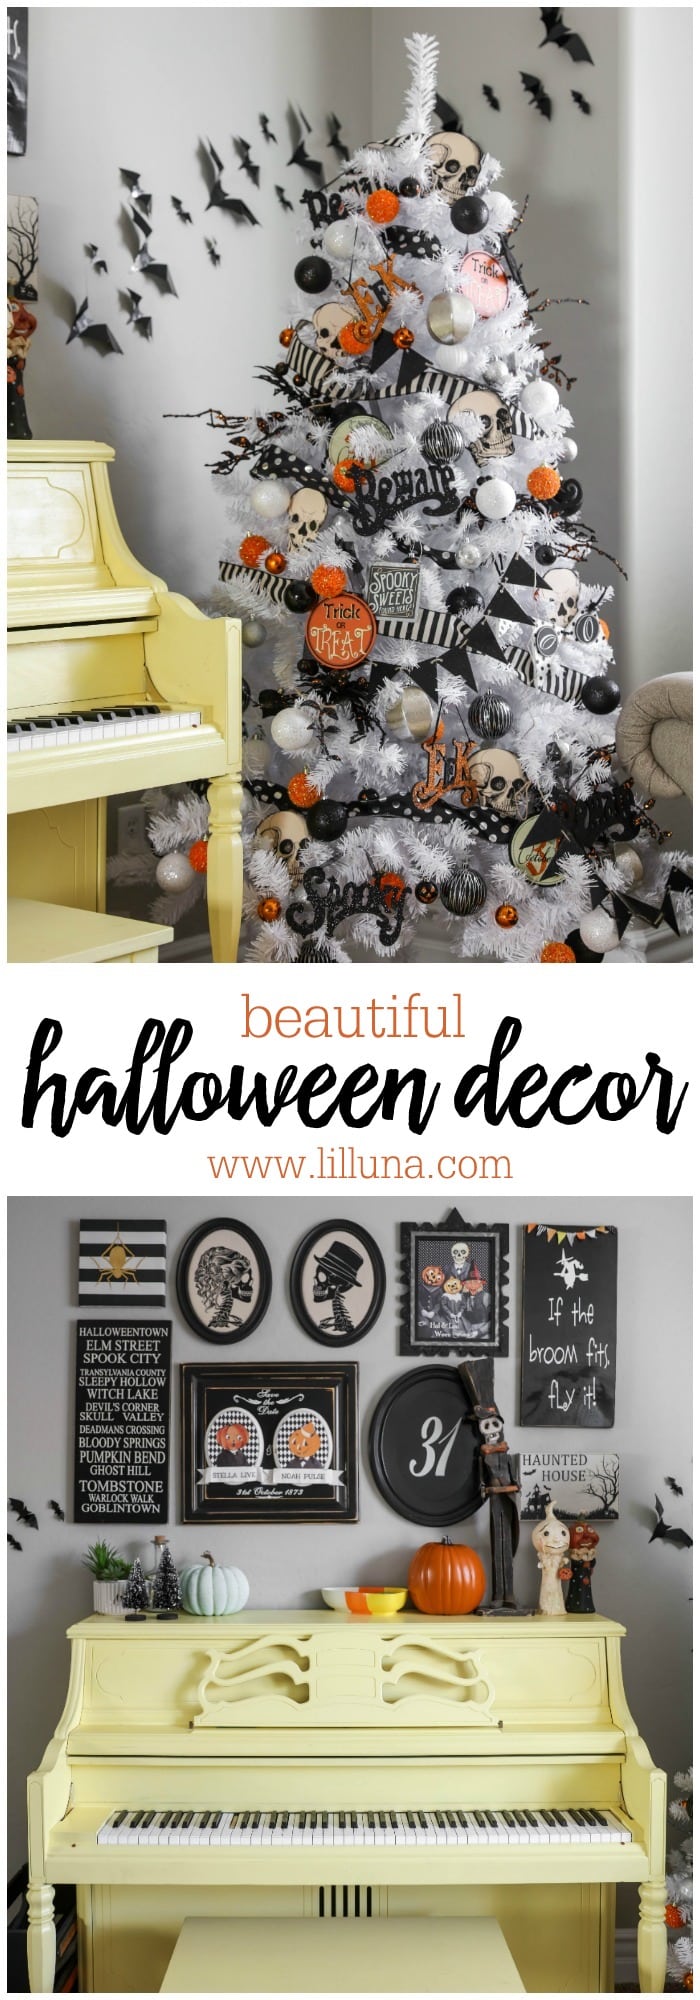
Yeah, I pretty much LOVE how it turned out! Polka dots, stripes, black, orange, silver, a little vintage, a little modern – it is exactly what I was hoping to create. So glad I was able to find most of the items for the tree at near-by stores like Hobby Lobby, Target and Rod Works. I bought the tree last year after Christmas for like $10 when it was 75% off (score!!) The rest were gathered from the above stores and a few items from Amazon.
Here is what you’ll need to make it too:
SUPPLIES:
- White Christmas Tree
- Ribbon (Black & Ivory Striped + Polka Dot Ribbon)
- Shatterproof ornaments (BLACK, ORANGE, SILVER, WHITE)
- Skull Cut Outs
DIRECTIONS:
- I always start with my ribbon by wrapping it around my tree. I like to use two ribbons to add even more patterns and color. From there I added some black branches followed by all the ball ornaments.
- I purchased the round wooden ornaments from Hobby Lobby and put those on next along with a few black bunting banners I found at the dollar spot at Target.
- I ended it by adding the paper skulls and any more ornaments to fill the gaps.
- Black bats from Target’s dollar spot were put on the wall behind just to add to the tree. 😉
You can always save on expenses when you buy your items on sale. Be sure to check the ads or buy after Halloween to use the next year for all the smokin’ deals. 😉
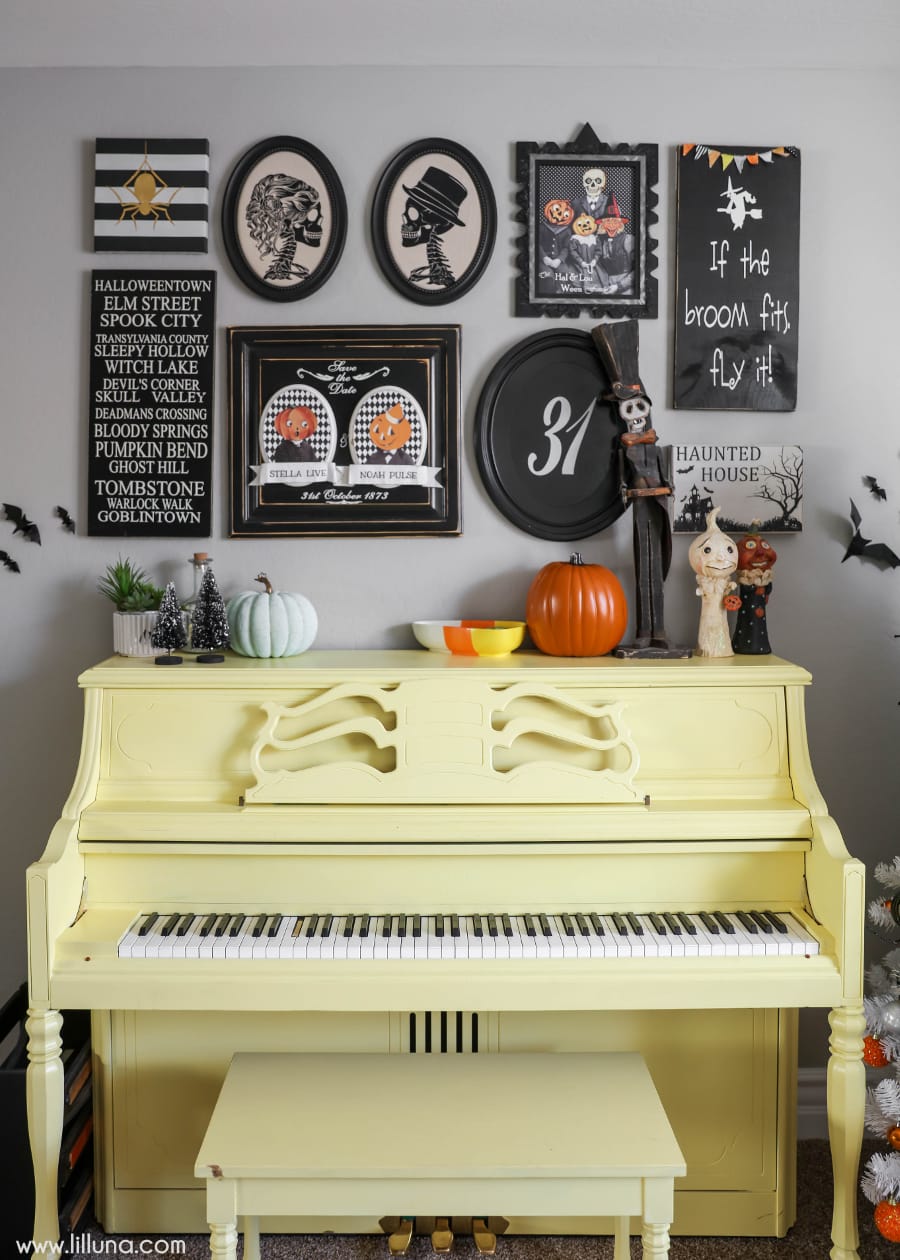
Next to my tree is my Yellow Piano, and I like to change up the decor above the piano with my Halloween signs and decorations. Here is how it turned out:
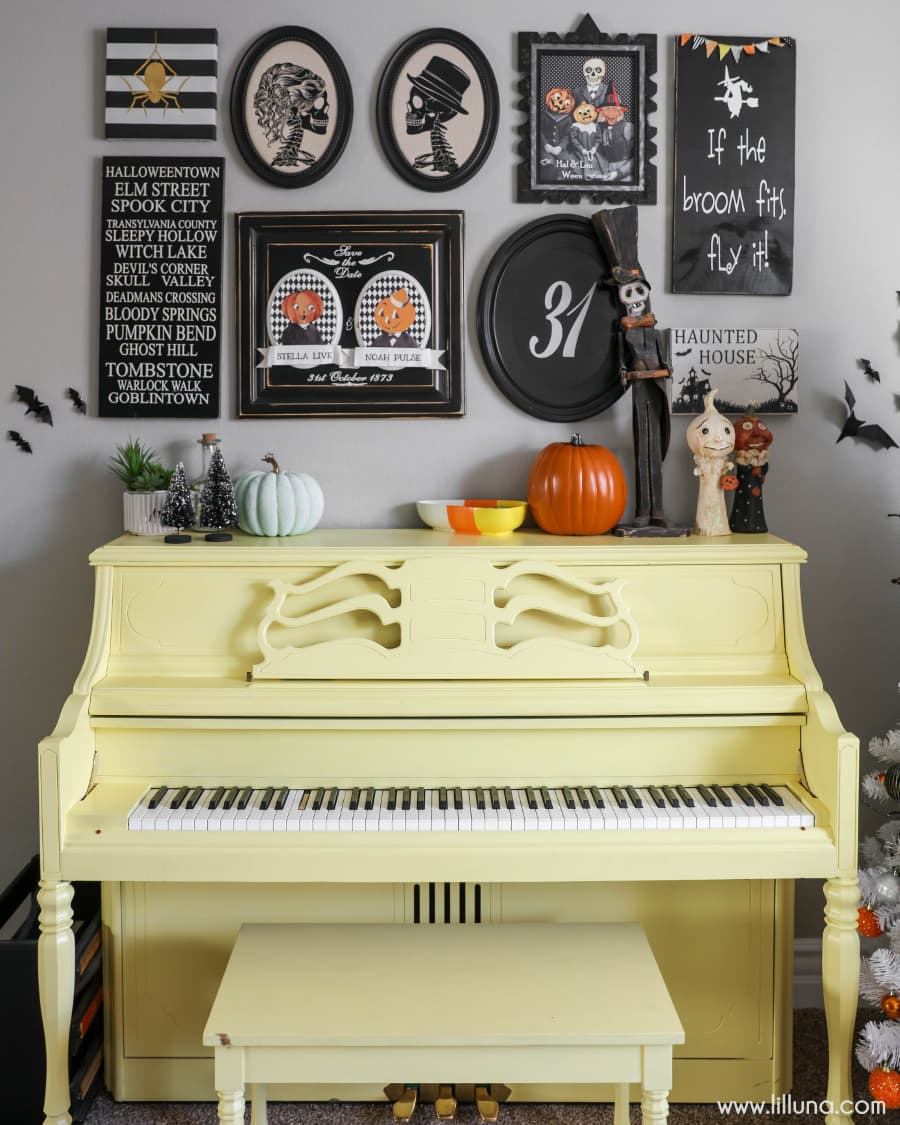
For more information about the pieces from this gallery wall you can go HERE. Half of these signs were made by me and the rest were purchased from HomeGoods. ;D
On the other side of the room is my faux mantel. We are still trying to decided what to do for the inside portion of the mantel but we added a few Halloween touches including the Candy Corn Burlap Banner my mom made for me and a pom garland from the Target dollar section. The pieces and frame on the mantel itself were also purchased from HomeGoods. If you’ve been to that store around this time of year you know they carry awesome Halloween decor!! But I must warn, it’s a pretty dangerous place, LOL!
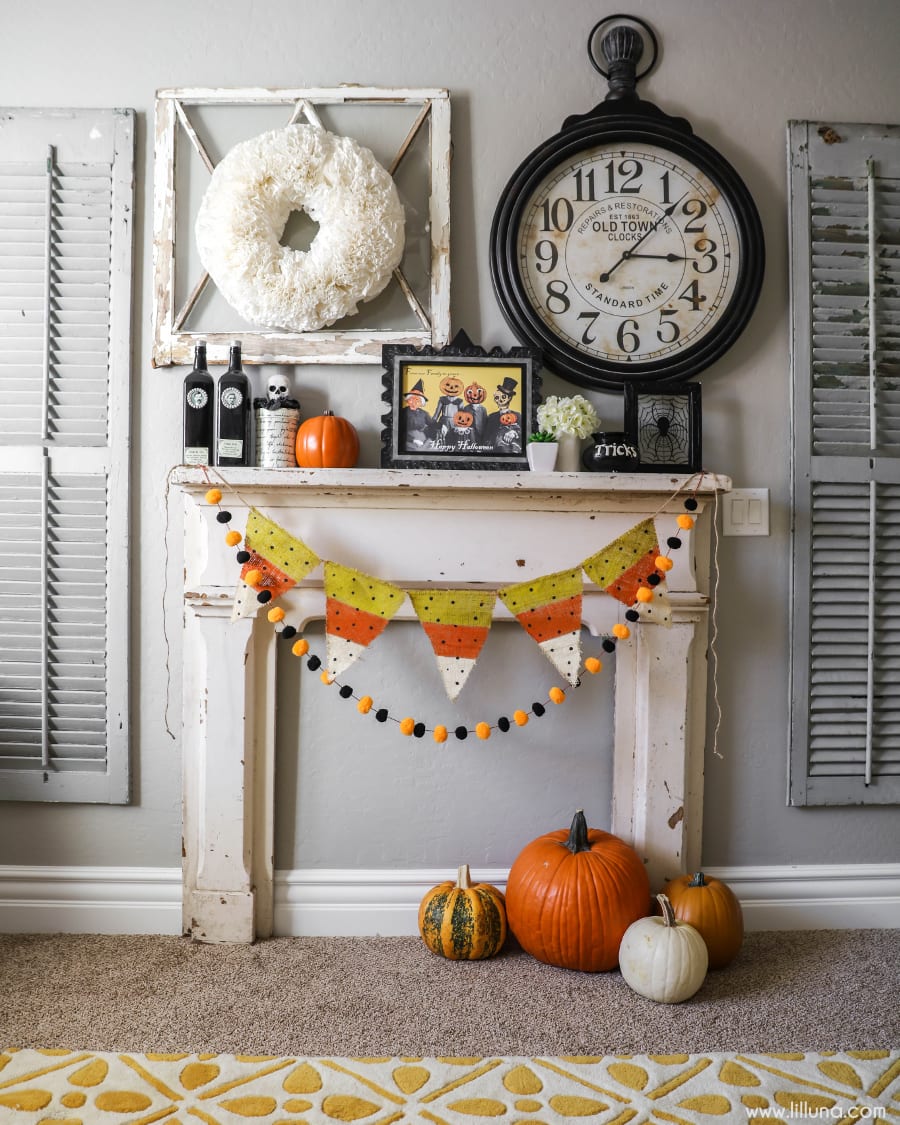
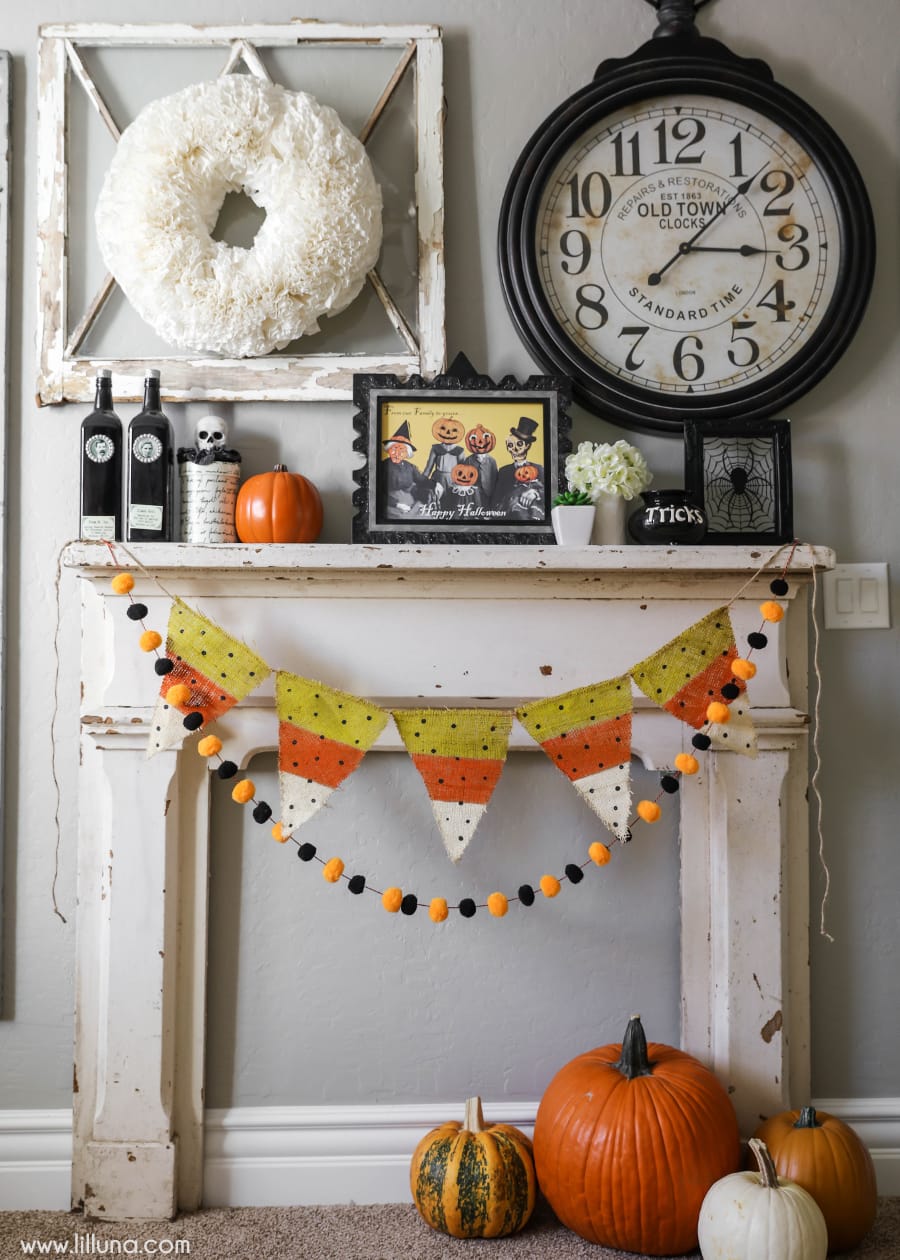
A closer look…
This room here is my living room, and I love how fun it is. I’ve added decor to the rest of the bottom floor of our home, but since this room is mostly closed off, it’s the most Halloween decorated, and for that reason I love to spend time in it. I know many don’t even think to decorate for Halloween, but it’s such a fun holiday and the kids love it!
I hope this Halloween decor provided a little inspiration for your own home!
For more Halloween ideas, check out:
For all Halloween creations go HERE.
For all Decor ideas go HERE.
For even more great ideas follow me on Facebook – Pinterest – Instagram – Twitter – Periscope –Snapchat & YouTube.
ENJOY!





Do you know what size your tree is?
6ft 🙂 Hope that helps!! Thanks!!
This is so wonderful! Where did you get the ornaments on the tree? Love, love this!
I hate to admit it but I’m usually so busy with the family and creating for work that I don’t have to time to create just for fun. When I was at some stores this week and saw all the Halloween items already half off, I knew I had to buy some of it and put together a Halloween tree, especially since I’ve been wanting to do one for years.
Yay!! It’s fun, right? Thank you for sharing!
I love all your ideas! I have one question- How do you hang your artwork for your gallery so that you can easily swap out pieces for the different holidays/seasons? I can’t imagine you’re using nails… so what’s your trick? I want to display my various pieces and change them out without ruining my walls with each switch! Thanks!!
I love using command hooks! They come off very easily!